Table of Contents
Introduction How to sign up on Scratch Introduction to Scratch interface Blocks in Scratch coding How to save your Scratch project How to share your Scratch project Creating a Scratch project Benefits of Scratch coding for kids Conclusion
Introduction
What is Scratch coding?
Scratch is a visual programming language in which you have to drag and drop blocks of code and attach them in a way you connect a jigsaw puzzle.
Scratch is a free educational website developed by MIT that provides a great way to learn to code early.
You can create interactive games, animations, and stories in Scratch instead of writing lines of code to perform any operation. You can perform tasks just by drag and drop. Scratch can be used online or offline on your system.
To download Scratch on your PC, click here – Download Scratch
To use Scratch on any browser, navigate to the Scratch website
Beginner – Friendly
Scratch is designed to learn programming concepts in an interactive and fun way. It’s a popular platform among kids to create creative games, animation, and stories.
It has different built-in extensions like text-to-speech and video sensing to make your projects more interactive. Scratch is a great platform to learn basic coding and programming concepts for beginners without prior coding knowledge.
Easy to Learn
Scratch coding is very easy to learn. It’s perfect for kids who want to start their journey into programming. The scratch interface is designed keeping kids in mind, making learning to code fun and interactive.
Suitable For All Age Groups
Scratch coding is suitable for kids who want to get introduced to programming. Scratch is designed for kids of ages 8-16, but people of all ages use Scratch to create programs.
Safe
Scratch is a completely safe platform. Your projects are made public only if you want them to, or you can set your project visibility to private.
Excited about knowing more about Scratch, let’s get started
How to Sign Up?
Navigate to the Scratch website on any browser
Click on Join Scratch.
Create a username and password.
Select your Country
Select your birth month and year.
Select your gender.
Finally, enter your email address to create your account.
Once you create the account, you need to verify your email address. To verify your email address, log in to your concerned email account & look for the confirmation email sent by Scratch. In that email, click on the provided link simply as a final step to confirming your account.
Don’t forget to look in the Spam or Junk folder because such emails sometimes land there. Remember that it is essential to verify your account because once you verify your account, only then you’ll be able to share your project with the Scratch community, friends, family & teachers.
Note: You can use Scratch without making an account, but you can not save or share your projects. By creating an account, your projects will remain online for you to look at later.

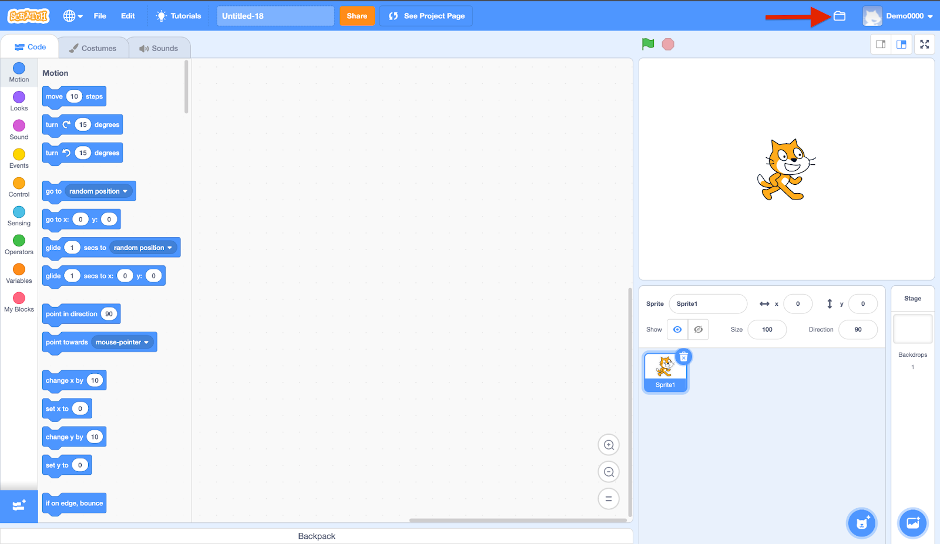
Introduction to Scratch interface
Let’s explore the Scratch interface! Scratch interface is the area where you can create your Scratch projects.
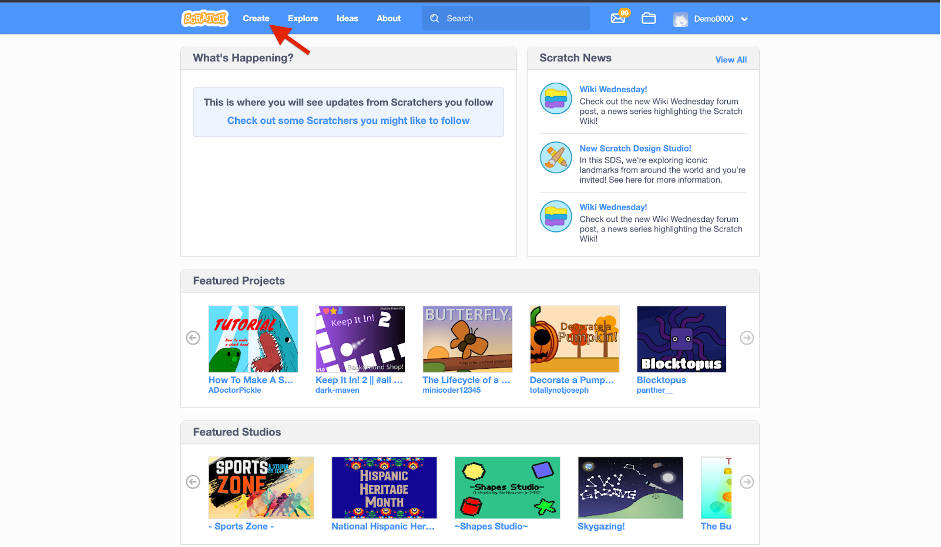
To create a project on Scratch, click on Create.

Scratch interface is divided into 4 major parts.
- Programming palette
- Sprite
- Stage
- Script area
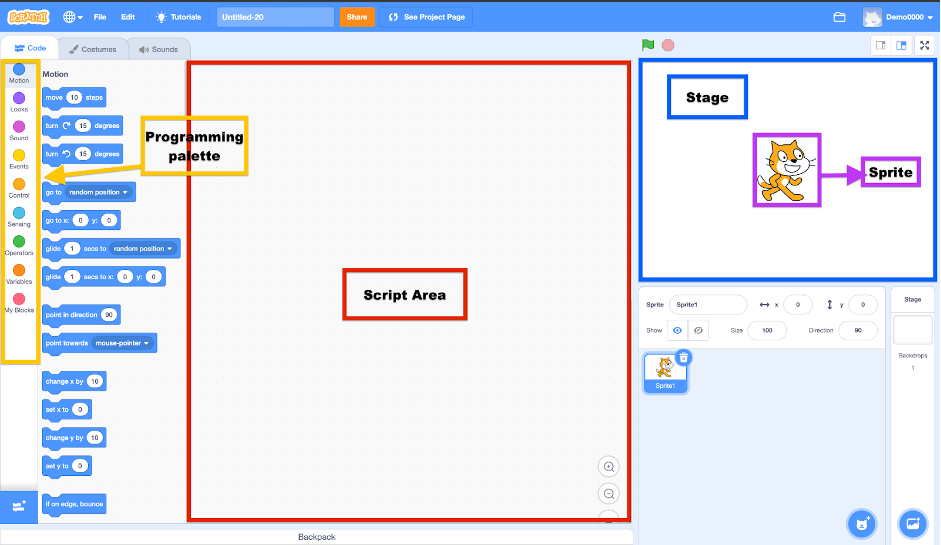
Programming Palette
It contains all the Scratch programming instructions in the form of blocks. These blocks fit together vertically like pieces of a puzzle.
As every block has a unique shape it prevents syntax errors. These connected blocks are then called scripts.
Sprite
Sprites are the characters or objects of the program. They can be the main character, enemies, objects or obstacles of your game.
You can program a sprite using the programming palette. The sprites are the target of all the actions performed in Scratch programming. By default, the sprite is a cat avatar.
You can also select sprites from the Sprite library. Click on choose a sprite in the bottom left corner.

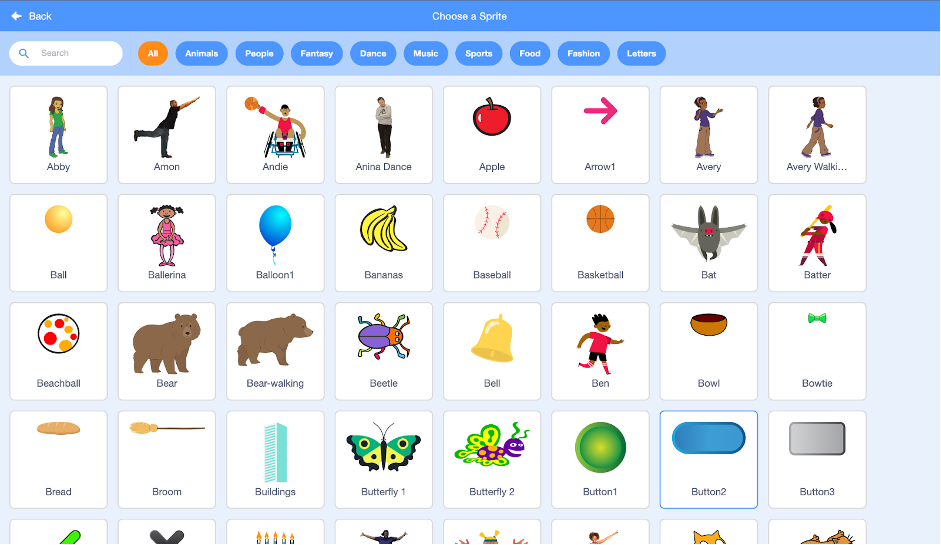
Scratch also gives you an option to paint your own sprite or upload any external sprite. To delete a sprite, click on the dustbin icon present on top of the sprite.
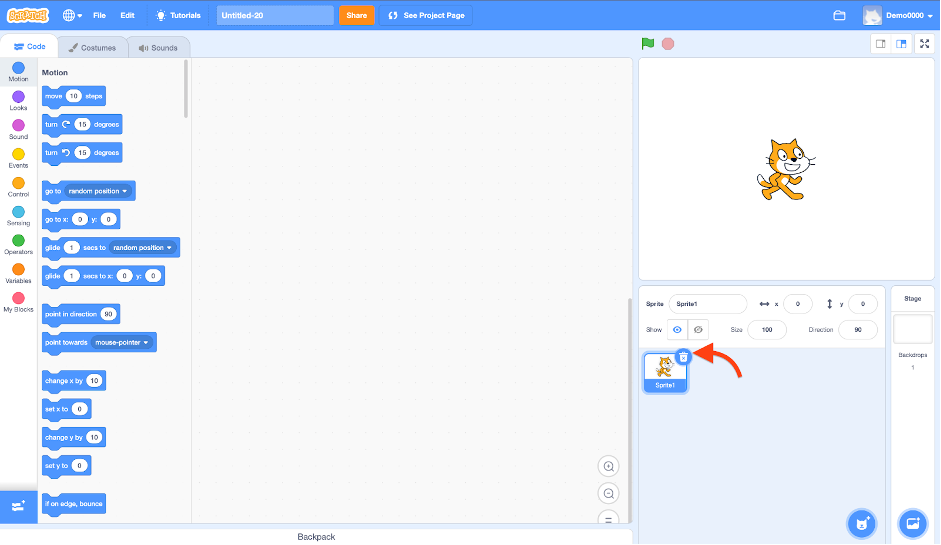
Stage Area
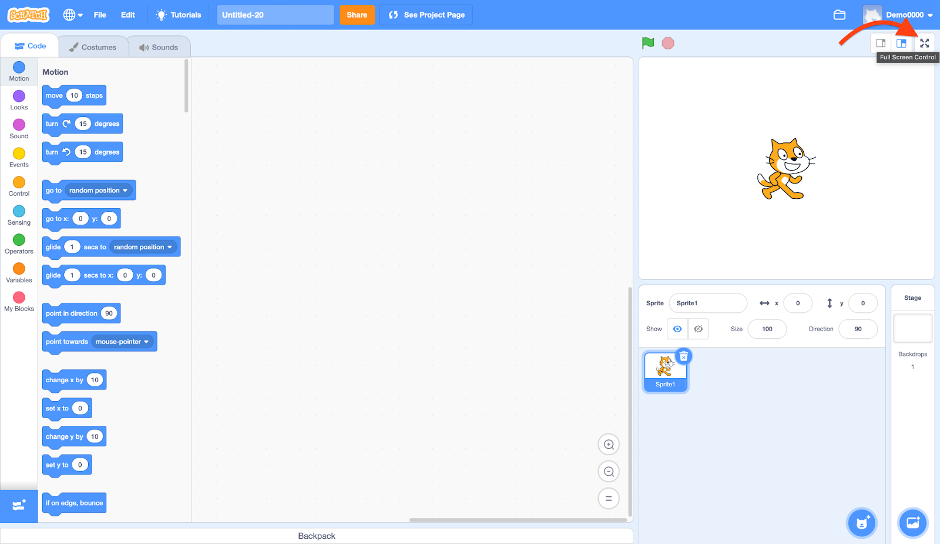
The stage area is where the action happens. Sprites appear, disappear, move, and interact as they follow the scripts. You can also go into a full screen by clicking on the Full-screen control on the top right corner.
The Stage Area makes use of (x, y) coordinates for knowing the location of different objects/sprites in it. (0, 0) is the location at the centre of the stage.
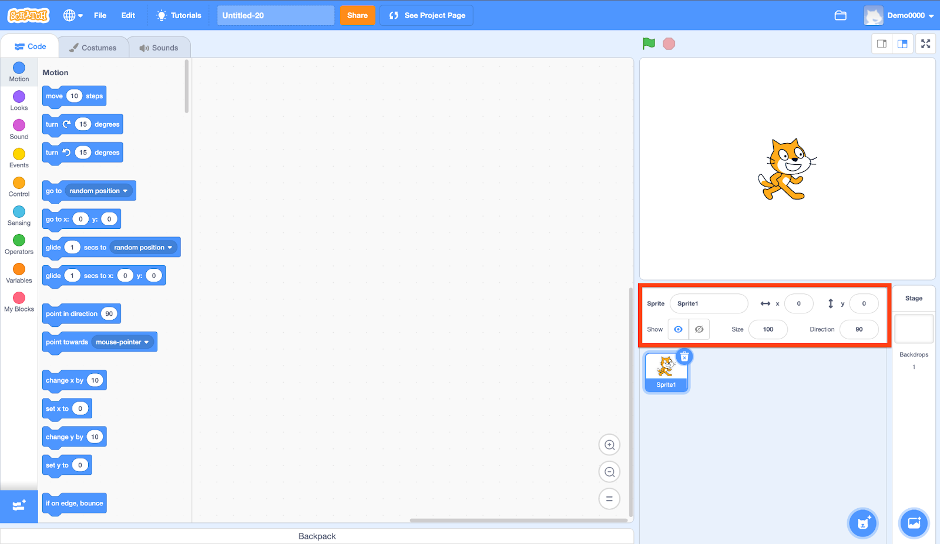
Below the stage area, highlighted by the red rectangle, are several controls for working on the sprites. This is the region where different sprites will be displayed. You can set the size, direction, position (in the form of coordinates) and the name of the sprites from this area.
Script
The area where you bring the puzzle-like pieces of Scratch coding instructions and stack them vertically to make games, animations, or programs. Every sprite is programmed with a script.
Blocks in Scratch Coding
The programming palette is categorized into nine color-coded block categories – Motion, Looks, Sound, Events, Control, Sensing, Operations, Variables, and My blocks. You can also add 11 extensions to this block category by clicking on Add extension at the bottom of the programming palette. These code blocks perform actions on sprites in your animation or games.
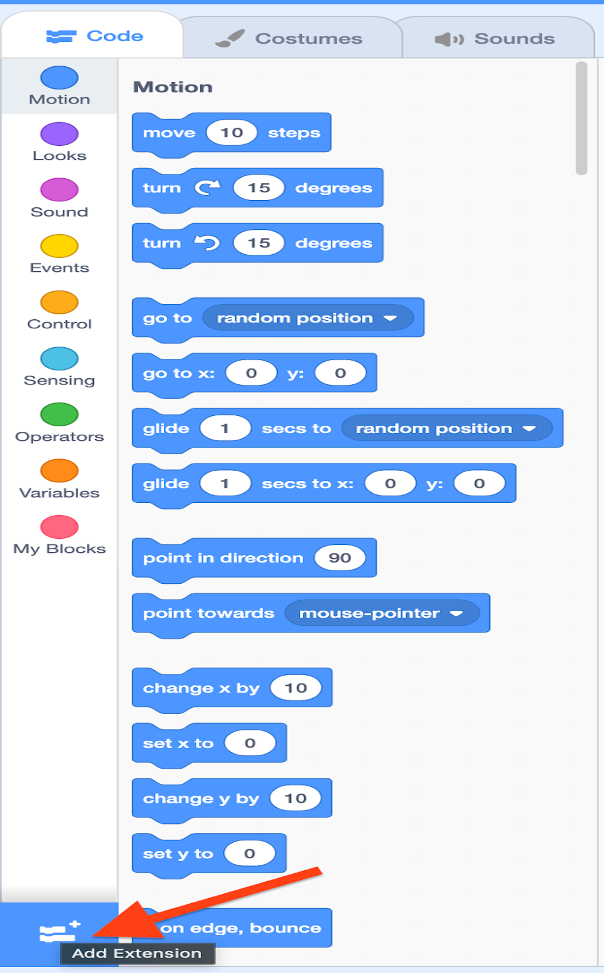
These code blocks are dragged and dropped into the script area. A collection of code blocks that fit together vertically is called a script.
1. Motion block:
Motion blocks are used to control the sprite’s movement, set its position, change its direction, control its moving speed, etc.
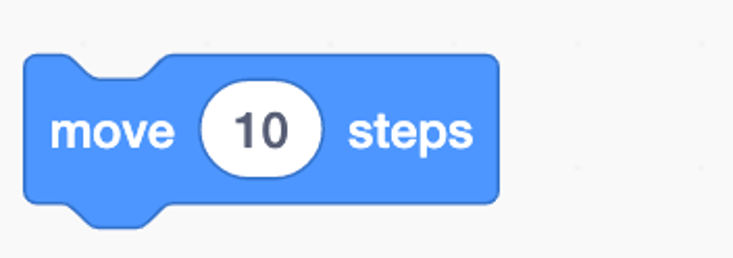
Move block – Moves the sprite by a defined number of steps.
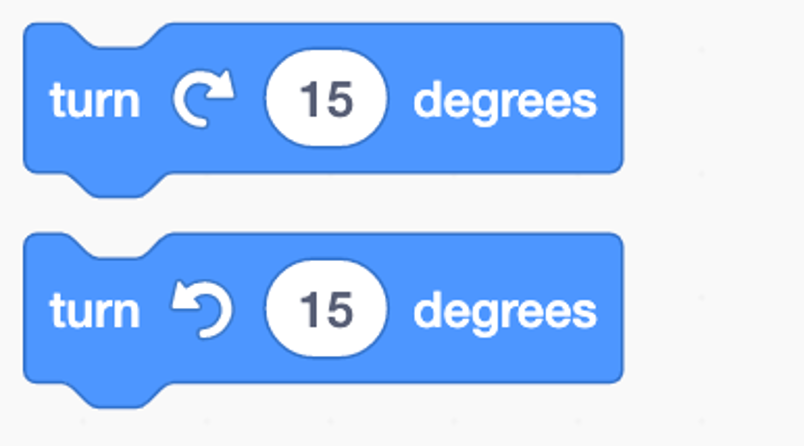
Turn degree block – It turns the sprite by a specified angle in the clockwise or anticlockwise direction.
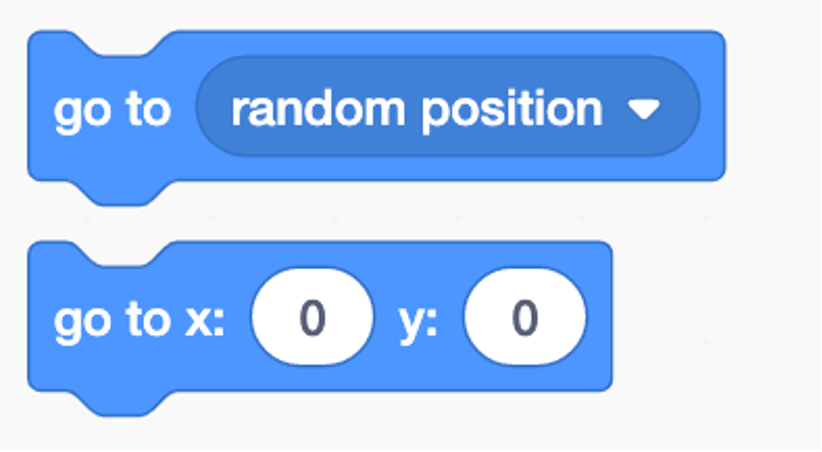
Go to block – It moves the sprite to a specific position on stage.
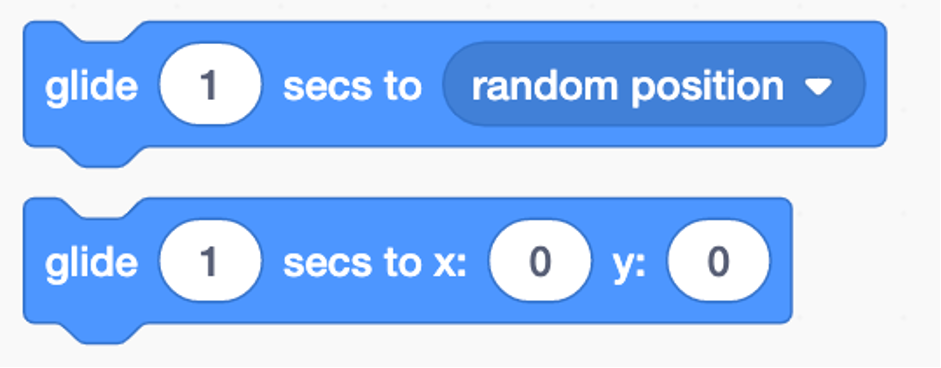
Glide block – It is used to glide the sprite to a specific position.
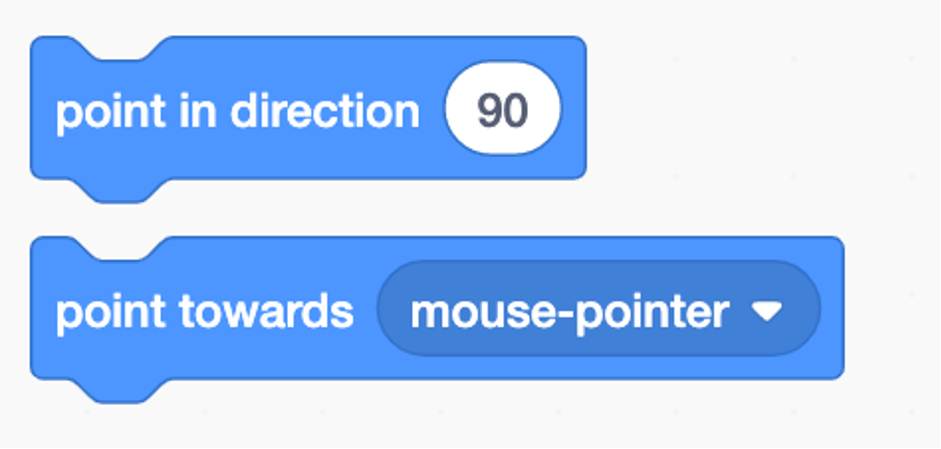
Point block – Point in any direction or towards the mouse pointer.
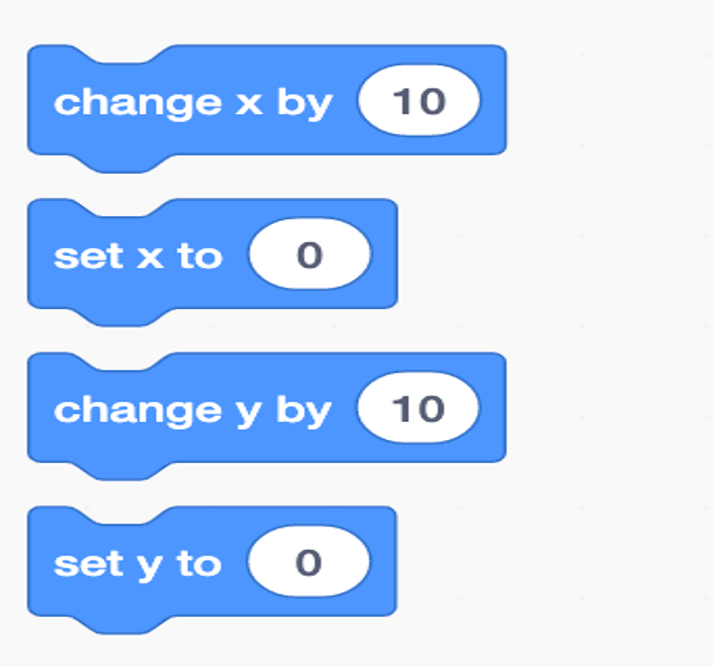
Change and set block – Move the sprite by a certain number of steps: right or left(change x position) or up or down(change y position). Set block, move the sprite to a certain position either in the x or y direction.
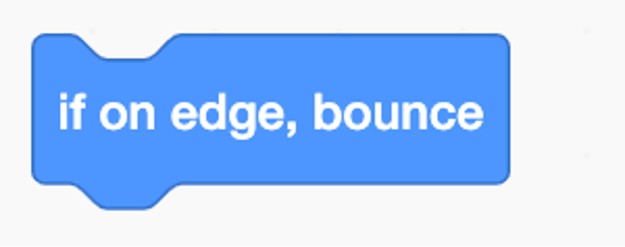
If on edge, bounce block – If the sprite touches any edges of the stage, it will bounce back.
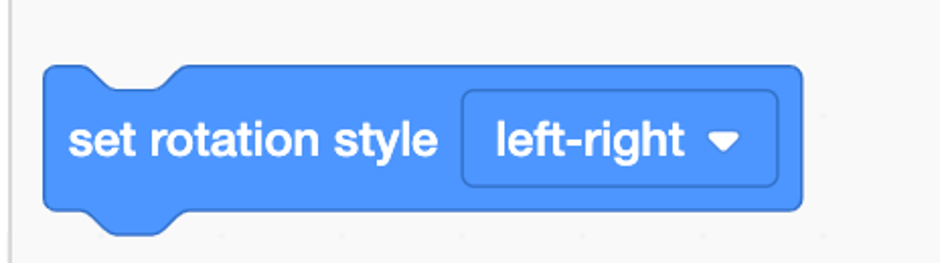
Set rotation style block – Set the rotation style of the sprite to left-right, dont rotate or all around.
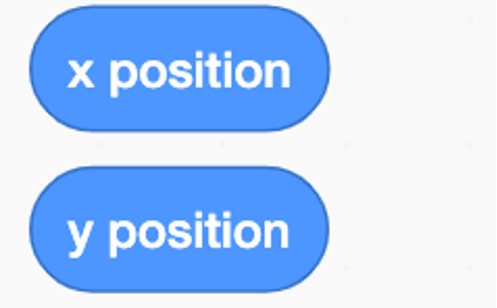
Position block – Current x or y position of the sprite.
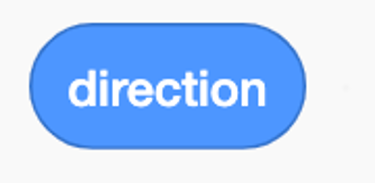
Direction block – The currency degree in which the sprite is facing.
2. Looks Blocks:
Look blocks work on the appearance of the sprites or how they interact.
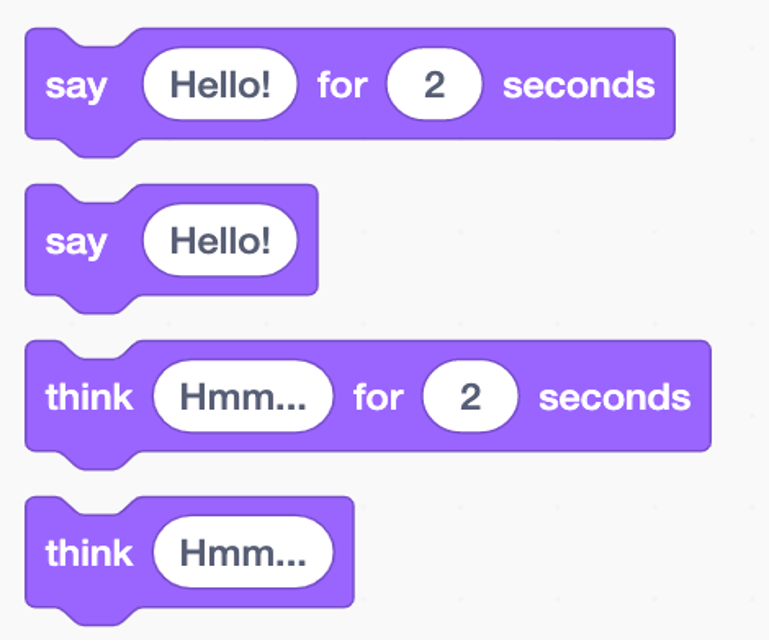
Say and Think block – These blocks represent speech by the sprites.
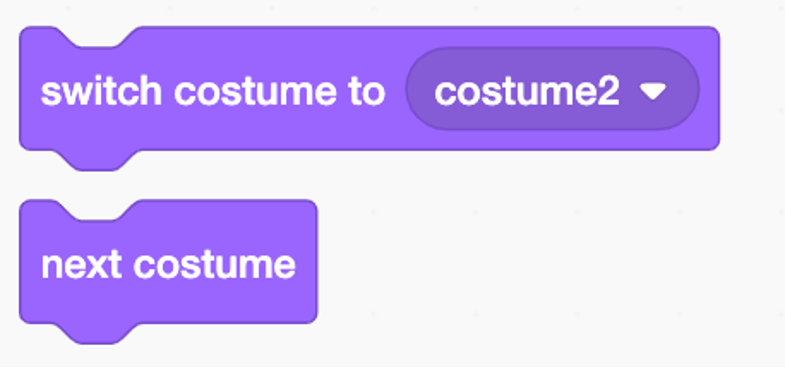
Switch costume block – Changes the costume of the sprite.
Switch backdrop block – Changes the backdrop.
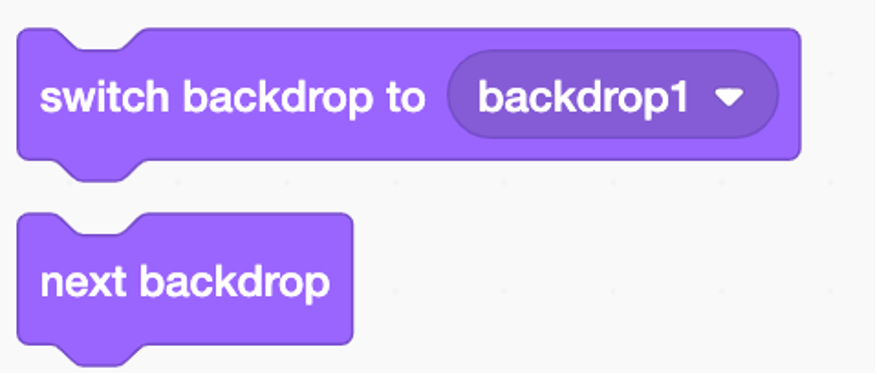
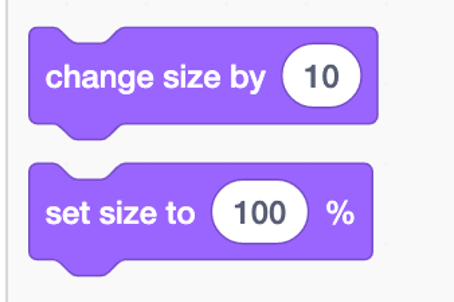
Change and set size block – Change or set the sprite size using these blocks.
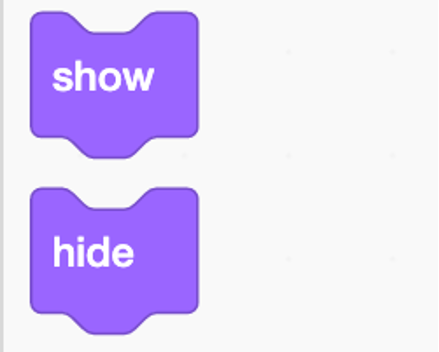
Show/Hide block – Show or hide the sprite from the stage.
Change effect block – Change the selected effect like colour, brightness, etc. for a sprite by a certain amount.
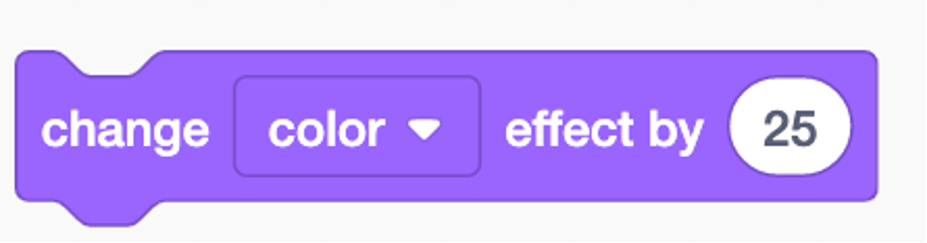
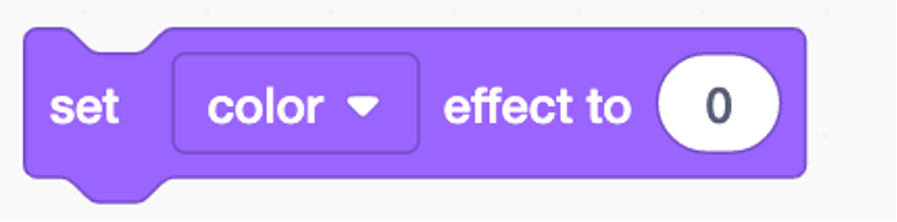
Set effect block – Set the selected effect like color, brightness, etc. for a sprite by a certain amount.
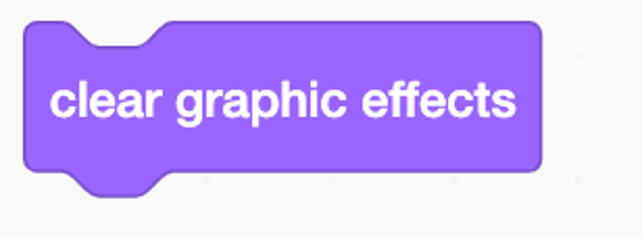
Clear graphic effect block – Remove all the effects of a sprite.
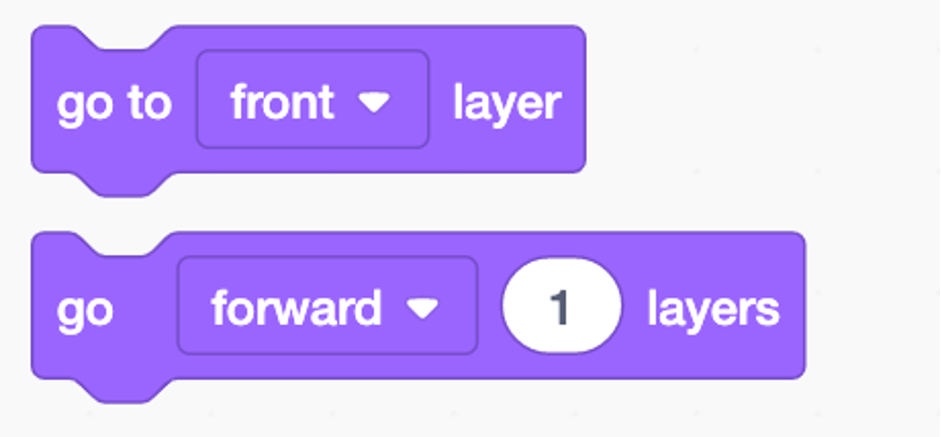
Go to layer block – Make the sprite go to the front or back layer.
Size block – Size of the sprite
Costume block – Select the current costume name or number.

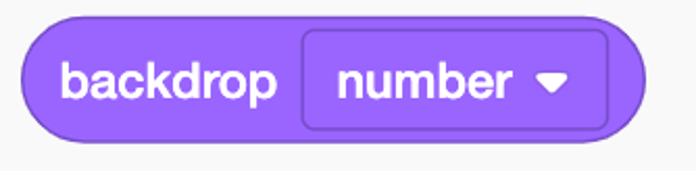
Backdrop block – Select the current backdrop name or number.
3.Sound blocks:
Using these blocks you can add sound effects to a sprite.
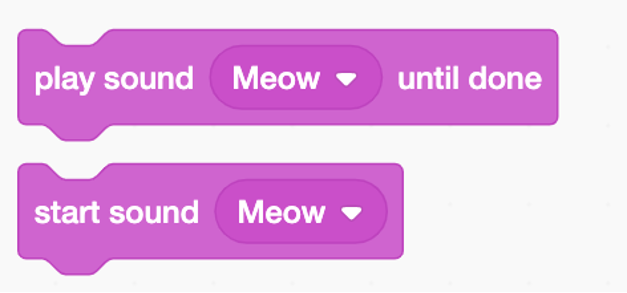
Play/ Start sound block – Plays the selected sound.
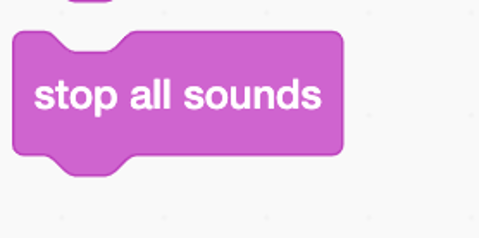
Stop all sounds block – This block stops playing all the sounds.
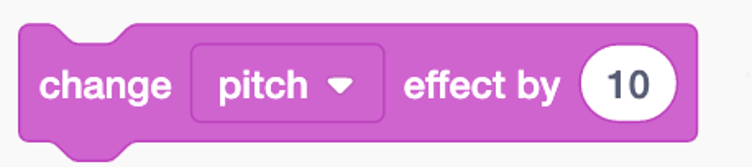
Change pitch effect block – This block changes the pitch of the sound by a specific value.
Set pitch effect block – This block sets the pitch of the sound to a specific value.

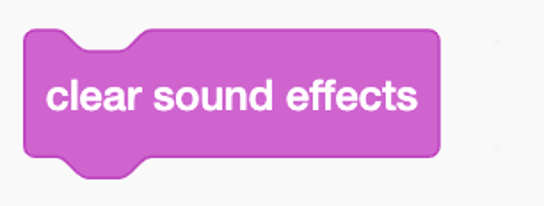
Clear sound effect block – Clears any sound effect used.
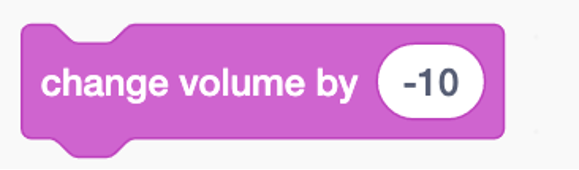
Change volume block – You can increase or decrease the volume by a certain amount.
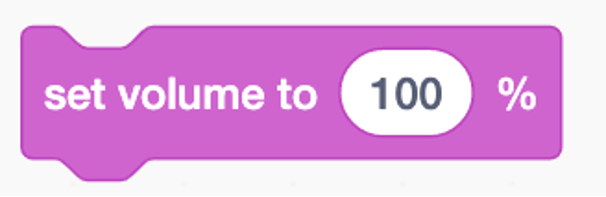
Set volume block – Set the volume of sound effects to a certain percentage.
Volume block – Value of current volume.

4.Events blocks –
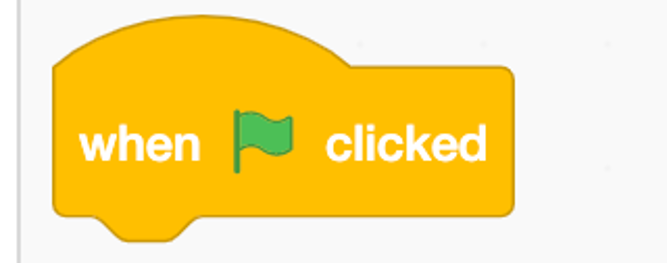
When green flag clicked block – The blocks attached below this block will run when the green flag is clicked.
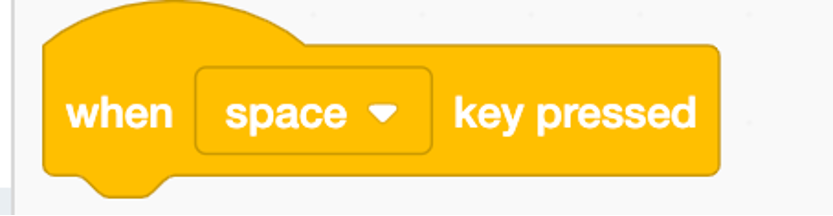
When the space key is pressed block – The blocks attached below this block will run when the selected key is pressed.
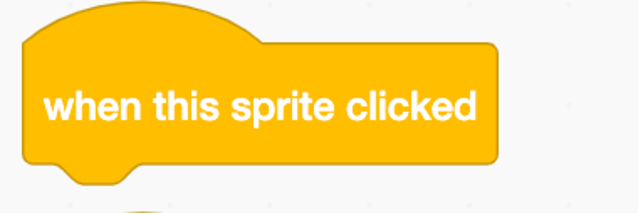
When this sprite clicked block – When the sprite gets clicked, the blocks attached below this block will run.
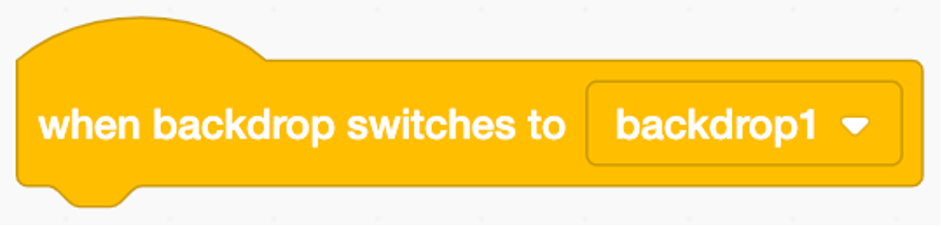
When backdrop switched to block – When the backdrop is switched to the selected backdrop, the blocks attached below this block will run.
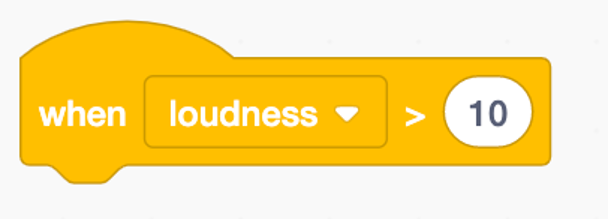
When loudness block – The blocks attached below this block will run when the computer hears the sounds louder than the specified value.
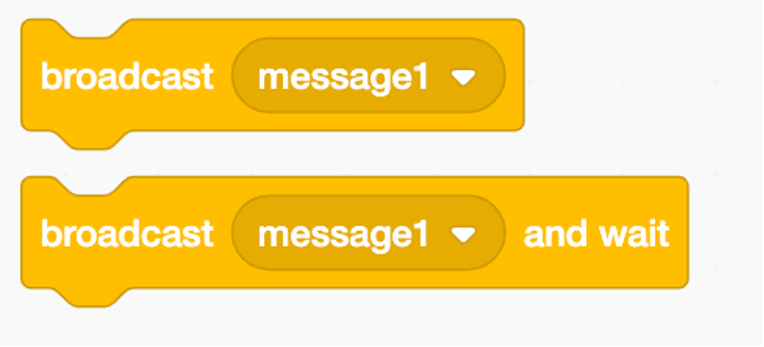
Broadcast message block – Broadcast a specific name message to other sprites.
5. Control blocks:
Control blocks are the logical blocks. It teaches the concept of loops and conditionals in coding.
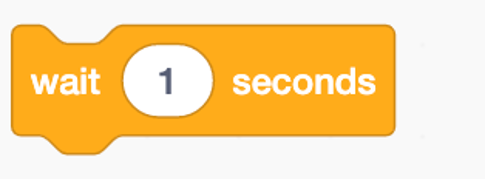
Wait block – Pauses the script for a specified second.
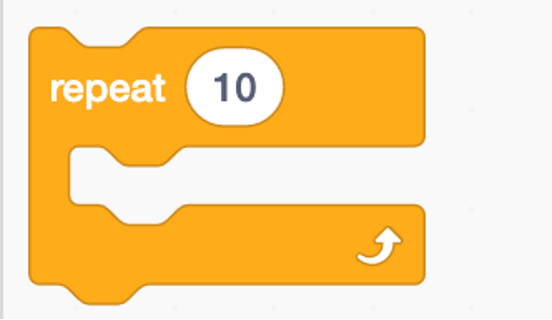
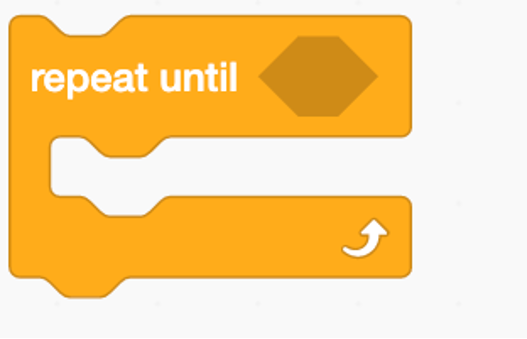
Repeat block – The blocks inside the repeat block will run for a specified number of times.
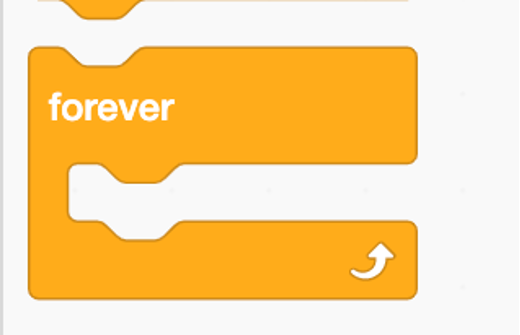
Forever block – The blocks inside the forever block will run again and again till the game is stopped.
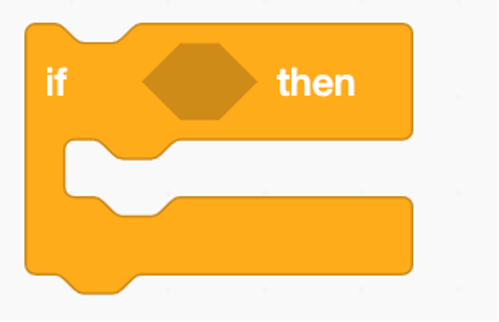
If then block – Runs the blocks inside the if block only if the specified condition is met.
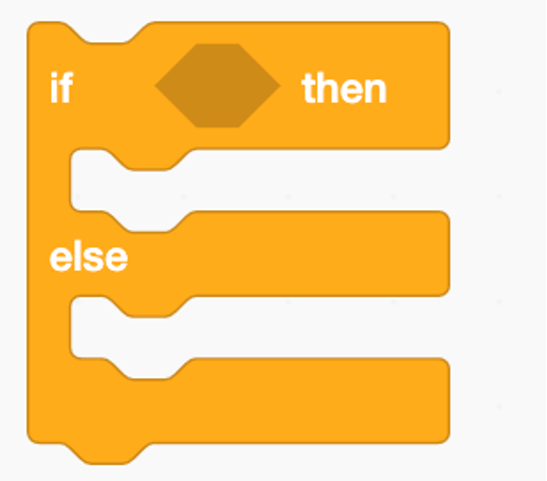
If then else block – Runs the blocks inside the if block when the specific condition is met. If the condition is not met, the blocks inside the other block will run.
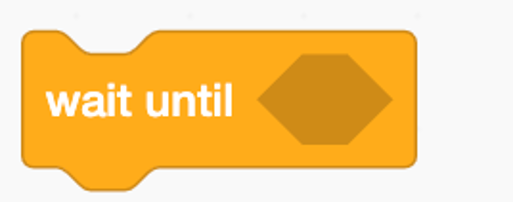
Wait until block – This block pauses the program until the specified condition is met.
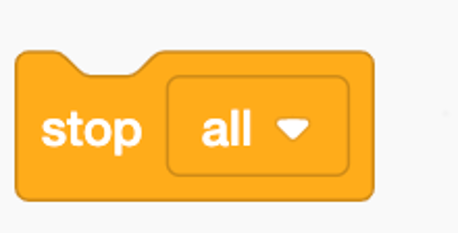
Stop block – Stops the selected script in the program.
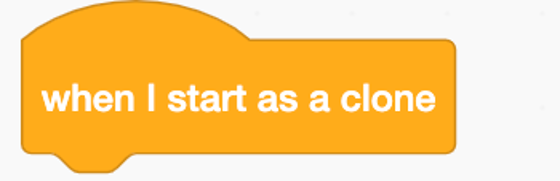
When I start as a clone block – It’s an event block that controls the clone.
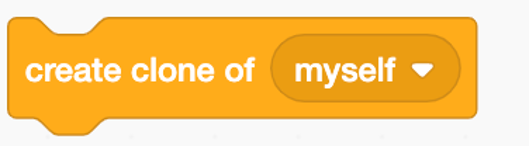
Create clone block – Creates a clone of the sprite.
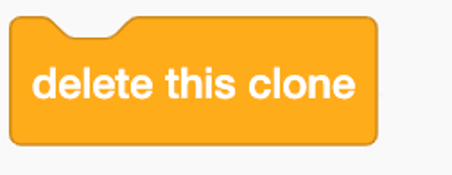
Delete this clone block – This block deletes the current clone, making it disappear from the stage.
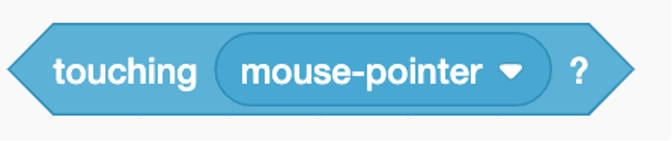
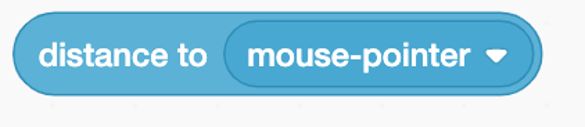
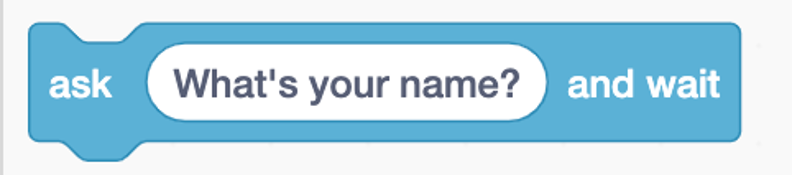
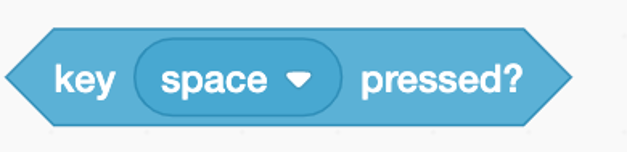
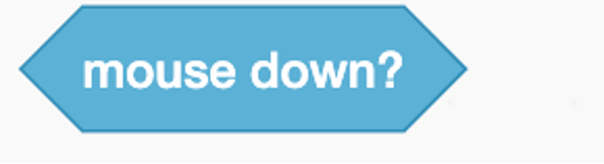
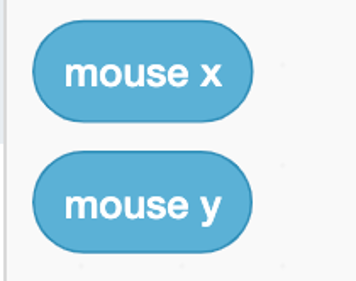
6. Sensing blocks:


7. Operators block:
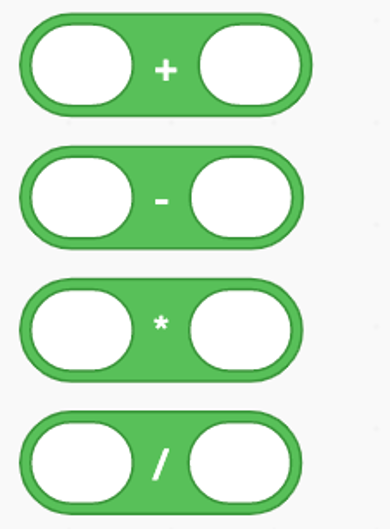 Perform a comparison between two numbers like greater than, less than, and equal to.
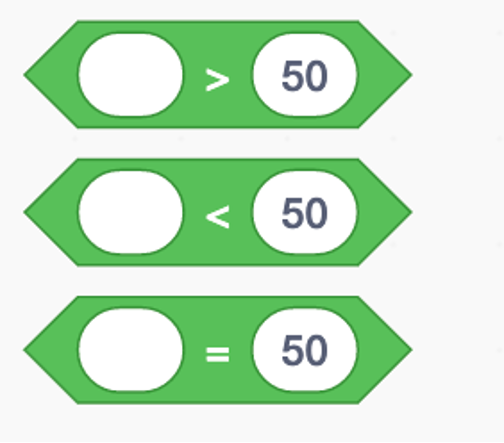
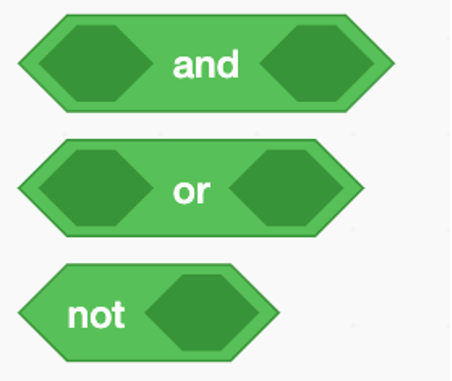
Combine conditions such as And, Or, and Not.
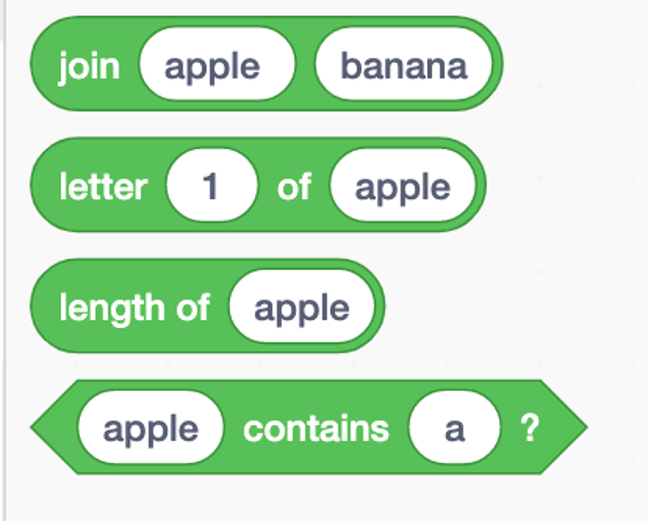
Perform string handling, such as joining two strings, and calculating the number of letters in a string or the length of the string.
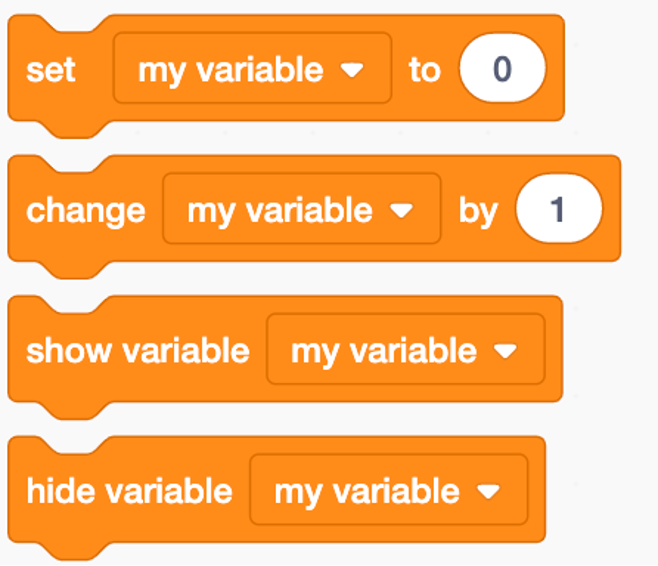
8. Variable block:
Variable blocks are used to create variables for storing numbers, letters, or special characters like colons, exclamation marks, etc. This set of instructions includes blocks for creating or setting variables, changing their values & making variables visible or invisible.
9. My blocks:
My Blocks are used when you want to create a custom block using the already given blocks. This custom block can be saved and then used in the script whenever required. This block becomes helpful when you think that a specific set of instructions has to be used repeatedly in a program.
How to Create a Scratch project?
How to Save Your project?
You must be logged in to Scratch to save your projects. When you start creating a project on Scratch, Scratch auto-saves the work. You can also manually save the project by clicking on ‘Save now’ at the top of the Scratch editor.
How to Share Your project?
Scratch allows you to share your projects online with others as well.
Follow the below steps to share your project-
- On the Scratch homepage, click on your username in the top right corner and click on ‘My stuff.’
- On the My Stuff page, you will find the list of projects created by you. Click on the required project that you want to share.
- You can also add instructions for other users on how to use your project.
- Click on the orange ‘Share’ button on the top.
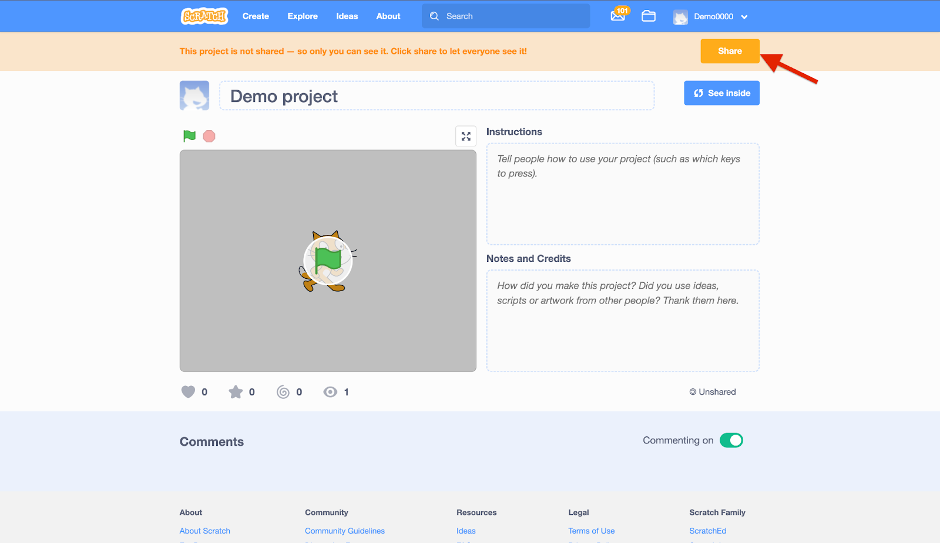
5. Your project is shared now. Click on ‘Copy link’ to share your projects with others.
People can view your project, remix it, and also comment on it. You can not share your project from the offline editor.
Steps to Creating a Scratch Project
Now we have a good understanding of the Scratch interface and blocks, let’s learn to create a small farm project.
Step 1 – Click on ‘Create’ on the top left of the scratch home page.
Step 2 – Setting up a scene: Delete the default cat sprite by clicking on the dustbin icon next to the sprite.
Step 3 – Click on ‘Choose a Backdrop’ in the bottom right corner.
Step 4 – Search for the ‘Farm’ background in the search bar and select the background.
Step 5 – Now let’s choose a sprite by clicking on ‘choose a sprite.’
Step 6 – Search for the ‘Rooster’ sprite in the search bar and select the sprite.
Step 7 – Decrease the size of the Rooster sprite to ‘50’. You can do that by changing the value of size from the size box.
Step 8 – Bring the cursor to the Rooster. Drag and drop the Rooster at the entrance of the hut.
Step 6 – Add code to your project: Drag and drop the ‘When green flag clicked’ block from the Events section into the script area. This block will trigger the execution of code.
Step 7 – Now attach the ‘Start sound’ to the event block. This block will add sound to our project.
Step 8 – Now go to the ‘control’ section drag and drop the ‘forever’ bloc and attach it below the start sound block.
Step 9 – Drag and drop the ‘Next costume’ block from the ‘looks’ section and attach it inside the forever block. This block will change the costume of the ‘Rooster’ sprite.
Step 10 – Take the ‘Wait 1 second’ block from the control section and attach it below the ‘Next costume’ block. You can change the value from 1 to 0.2. This block makes sure that the Rooster sprite changes the costume with a wait of 0.2 seconds.
Step 11 – Now let’s make the Rooster move. Drag the ‘move 10 steps’ blocks from the motion section and place it below the wait block. Change the value of 10 to 2. This will make the Rooster sprite move 2 steps at a time.
Step 12 – Run the project: Click on the green flag to run your project. Click on the ‘Red ’ button next to the green flag to stop the project.
Step 13 – Rename your project: Give a name to your project.
Activity link – https://scratch.mit.edu/projects/740173768
Benefits of Scratch coding for kids
Scratch is a widely used and popular programming language for kids. Scratch coding has many benefits, some of them are:
- Scratch is easy to use and understand. Scratch coding is designed for kids, making complex coding concepts easy to grasp.
- Scratch is easily accessible. Scratch programming is free and accessible to anyone with an internet connection. It gives kids the freedom to learn Scratch coding from the comfort of their homes.
- Scratch is a visually appealing programming language. It uses block coding, allowing kids to drag and drop colourful blocks of code. Kids can visualize their programming, which makes it more fun and mesmerizing.
- Scratch coding builds logical and analytical thinking for kids.
- Scratch coding helps kids develop their creative skills.

Conclusion
Scratch coding serves as an introduction to coding for kids. It helps kids get a grip on the basics that support all kinds of coding languages.
Kids can use Scratch to code their own interactive stories, animations, and games. In the process, they learn to think creatively, reason systematically, and work collaboratively — harnessing essential 21st-century skills.
Codingal motivates kids to bring their imagination to life by engaging in Scratch course activities individually and in groups. Let kids explore their interests and grow; as a result, they become better prepared for the future and all it holds! Try a free class and get started on the perfect pathway for kids to explore and learn coding with Scratch.