Table of Contents
Introduction Step 1: Understanding the basics of GUI game development Step 2: Setting up your environment for GUI game development Step 3: Creating a Graphical User Interface (GUI) Step 4: Adding widgets and scripts to your GUI Step 5: Testing and debugging your game Step 6: Finalizing the game and making it accessible to others ConclusionIntroduction
According to a survey conducted by the Game Developers Conference, Python is one of the most popular programming languages used by game developers, with over 16% of respondents using it.
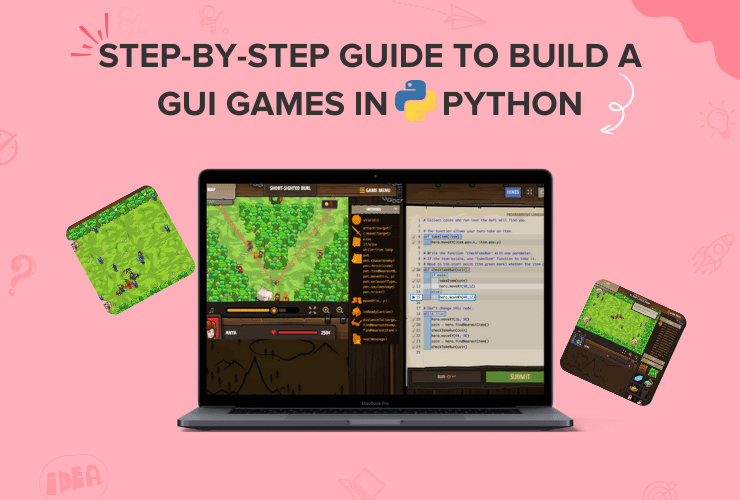
Looking for a fun and unique way to learn the basics of coding in Python? Then why not try building your own GUI game? Because this will not only give you the opportunity to learn Python’s fundamentals but also will introduce you to a whole new world of graphical programming.
This step-by-step guide will show you how easy it is to create your very own visually appealing and interactive game using simple programming techniques. With this tutorial, anyone can explore the possibilities of creating a game using Python’s graphical user interface tools.
So, let’s get started on this journey to learn the fundamentals of game development with Python!

Step 1: Understanding the basics of GUI game development
GUI stands for Graphical User Interface, which is a way of interacting with a computer using graphical elements such as windows, buttons, and menus. In game development, a GUI is used to create a user-friendly interface for players to interact with the game.
To create a GUI game, you need to understand the basics of GUI programming. Python provides several libraries for GUI programming, such as Tkinter, Pygame, Pyglet, and PySide. Each library has its own strengths and weaknesses, and choosing the right one depends on your game’s requirements.
Step 2: Setting up your environment for GUI game development
Before you start coding, you need to set up your environment for GUI game development. You’ll need to install Python on your computer and choose a suitable Integrated Development Environment (IDE) for coding.
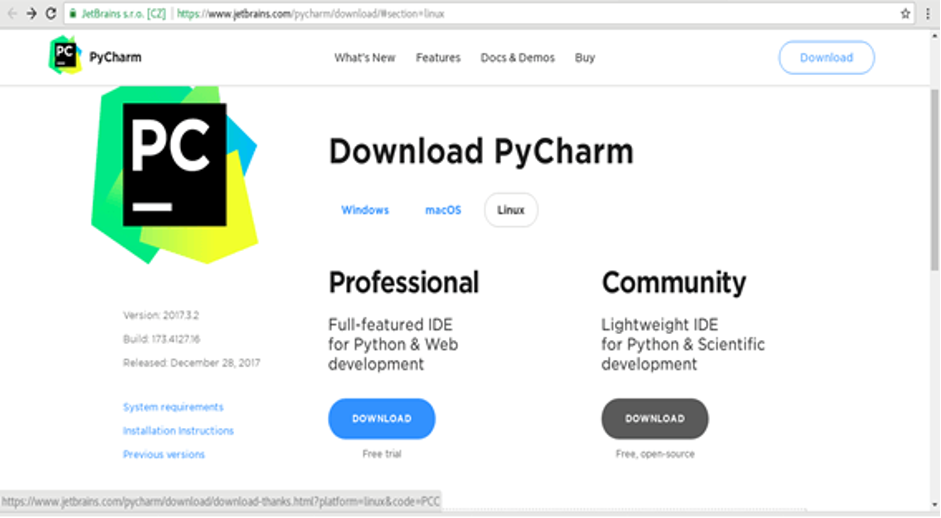
IDEs such as PyCharm, Visual Studio Code, and Spyder provide tools that simplify the coding process and make it easier to debug and test your code. Once you have installed Python and an IDE, you can start coding your game.
Step 3: Creating a Graphical User Interface (GUI)
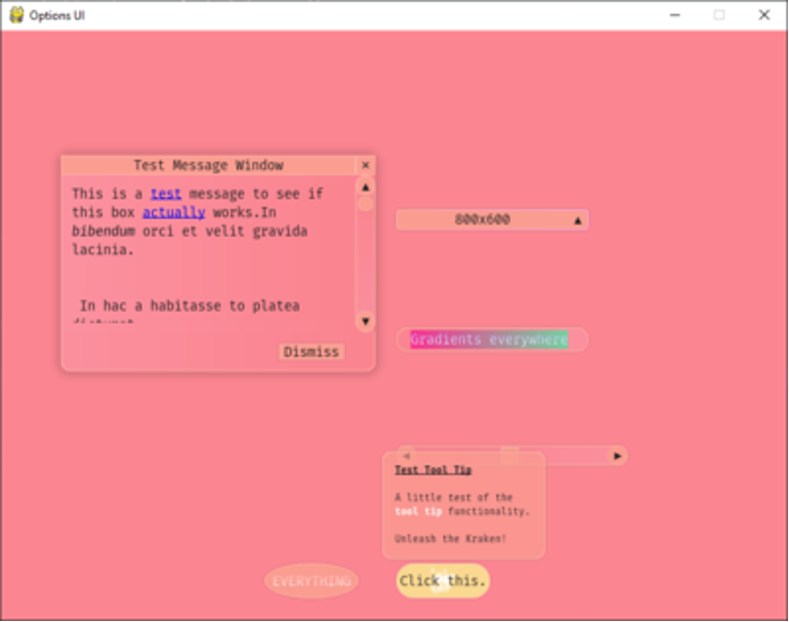
Creating a GUI for your game involves designing the game’s interface and adding the necessary graphical elements such as buttons, menus, and windows. Tkinter is a popular Python library for creating GUIs, and it comes pre-installed with most Python distributions.
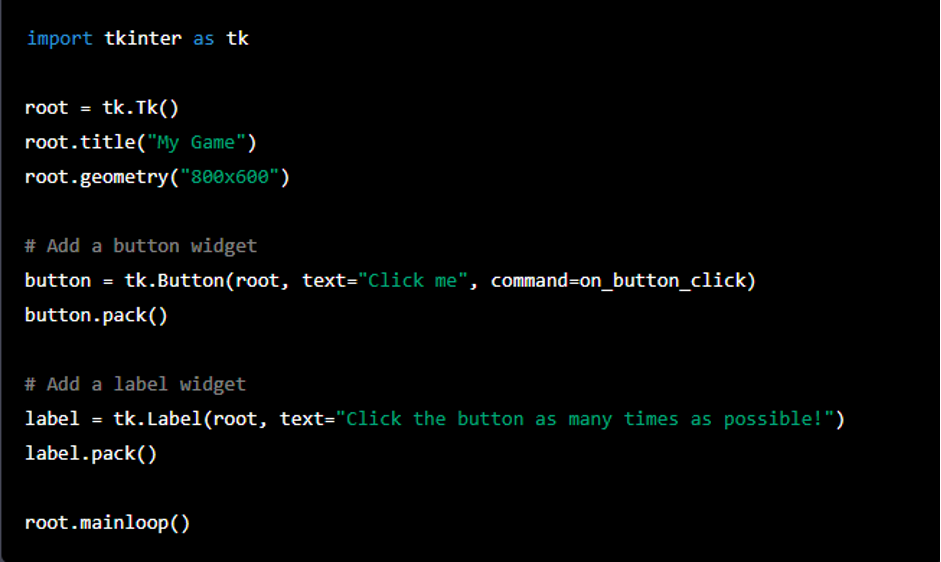
Here’s an example code for creating a simple window using Tkinter:
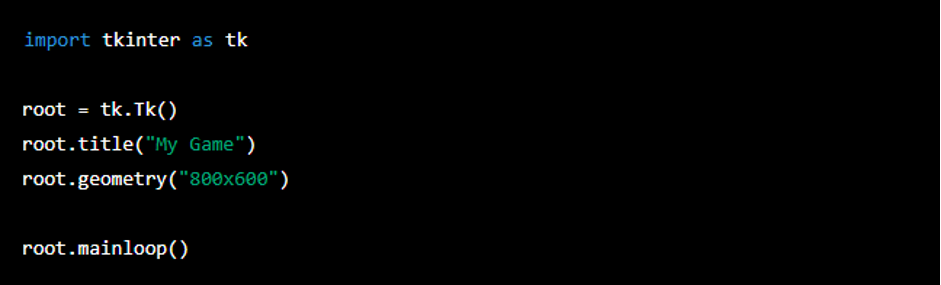
In this code, we import the Tkinter library, create an instance of the tk class, set the title and dimensions of the window, and run the mainloop() method to display the window.
Step 4: Adding widgets and scripts to your GUI
Once you’ve created the GUI, you need to add widgets such as buttons and labels to create a functional game. You also need to write the scripts that define the game’s logic and behavior.
For example, let’s say you’re creating a simple game where the player has to click a button as many times as possible within a certain time frame. Here’s an example code for adding a button and a label to the window:
In this code, we add a button and a label to the window using the Button() and Label() methods. We also define a function called on_button_click() that gets called whenever the button is clicked.
To make the game work, we need to define the on_button_click() function to keep track of the number of clicks and update the label accordingly. Here’s an example code:
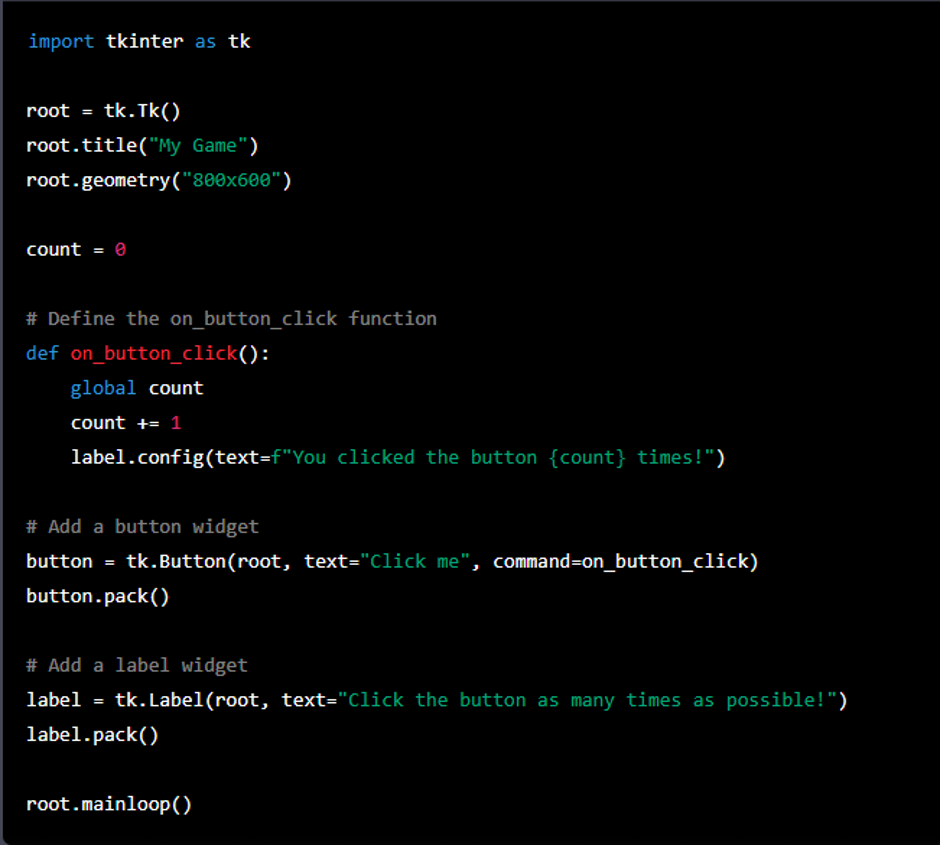
In this code, we define the on_button_click() function to increment the count variable each time the button is clicked and update the label’s text to display the current count.
Step 5: Testing and debugging your game
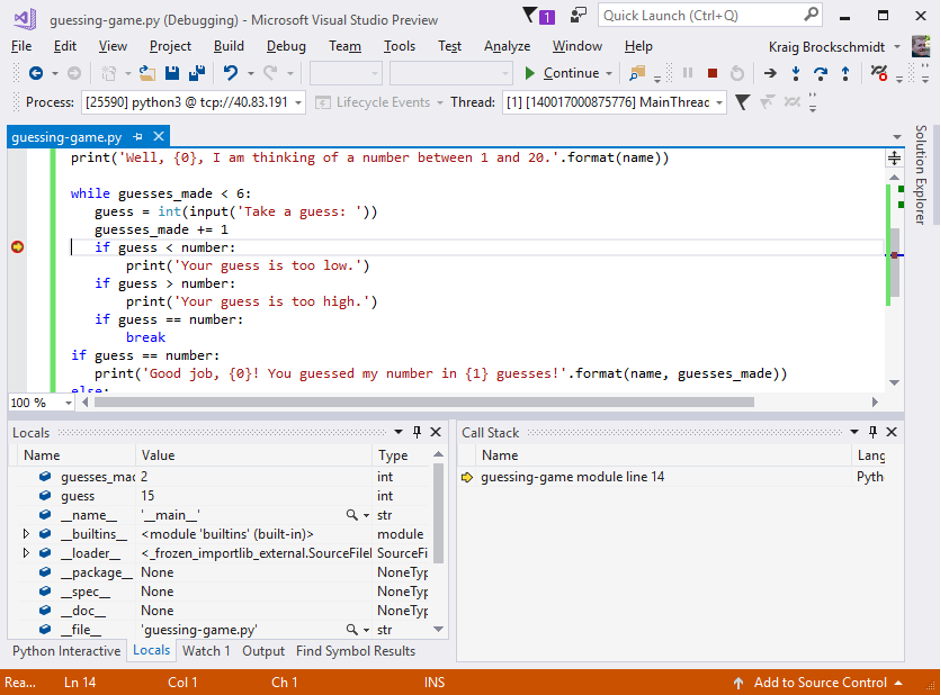
Once you’ve written your code, it’s time to test and debug your game. Testing involves running your game and making sure it works as expected. Debugging involves finding and fixing any errors or issues in your code.

To test your game, you can simply run the code and interact with the GUI. If you encounter any issues, you can use the IDE’s debugging tools to identify and fix the problem.
Step 6: Finalizing the game and making it accessible to others
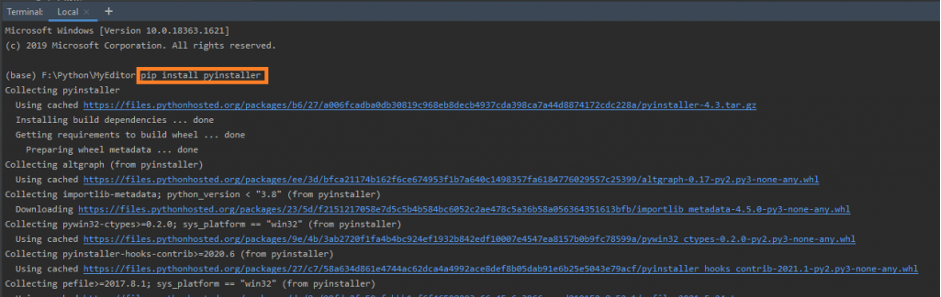
Once you’ve tested and debugged your game, it’s time to finalize it and make it accessible to others. You can package your game into a standalone executable file using tools such as PyInstaller or py2exe.
Alternatively, you can host your game on a website or upload it to a platform such as Steam or itch.io. Make sure to follow any relevant guidelines or regulations when distributing your game.
Conclusion
In this guide, we learned the basics of GUI game development with Python. We explored the different libraries and tools available for GUI programming and learned how to create a simple GUI game using Tkinter.
We also learned how to add widgets and scripts to our GUI, test and debug our game, and finalize it for distribution. By following these steps, anyone can create their own visually appealing and interactive games using Python’s graphical user interface tools.
Python is a versatile programming languages. It is considered to be one of the most used languages in the world.
Python is widely used in various fields such as data analysis, machine learning, software testing and prototyping, web development, and in many other areas.
We provide 1:1 live interactive online coding classes for kids with expert coding instructors. Along with lifetime access to course content and downloadable learning resources, we also cater to every child’s need by providing a personalized journey. Python for kids will help your child to enhance cognitive, logical, and computational skills.