Introduction
Are you ready to become a coding wizard? In this tutorial, we will learn how to make a timer in Scratch, a fun and interactive programming language.
With Scratch, you can create your games, animations, and even practical tools like timers! So, let’s dive in and create a timer that will help you keep track of time in your projects.
What is a Timer?
A timer is a device or tool used to measure or track the passage of time. It helps you keep track of how much time has passed or how much time is left for a specific activity. We see timers all around us, from cooking to exercising, studying, games, and more. In many of the games you play or make, you would need to use the timer.
For example, in a game of Scrabble, you need to make a word on the board before the time runs out.
Scratch Programming
Scratch is a visual programming language and an online community developed by the MIT Media Lab. It is designed to teach coding concepts to beginners, especially kids, in a fun and interactive way.
Scratch provides a graphical interface where users can drag and drop blocks of code to create animations, games, stories, and interactive projects. If you are new to scratch programming, then we recommend you read this introductory article on block coding.
How to create a timer in Scratch
In this tutorial, we will explain to you step by step how to add a timer to an existing Scratch project or even a new one. You may need to adjust the scripts slightly to suit your game.
Step 1: Timer Variable
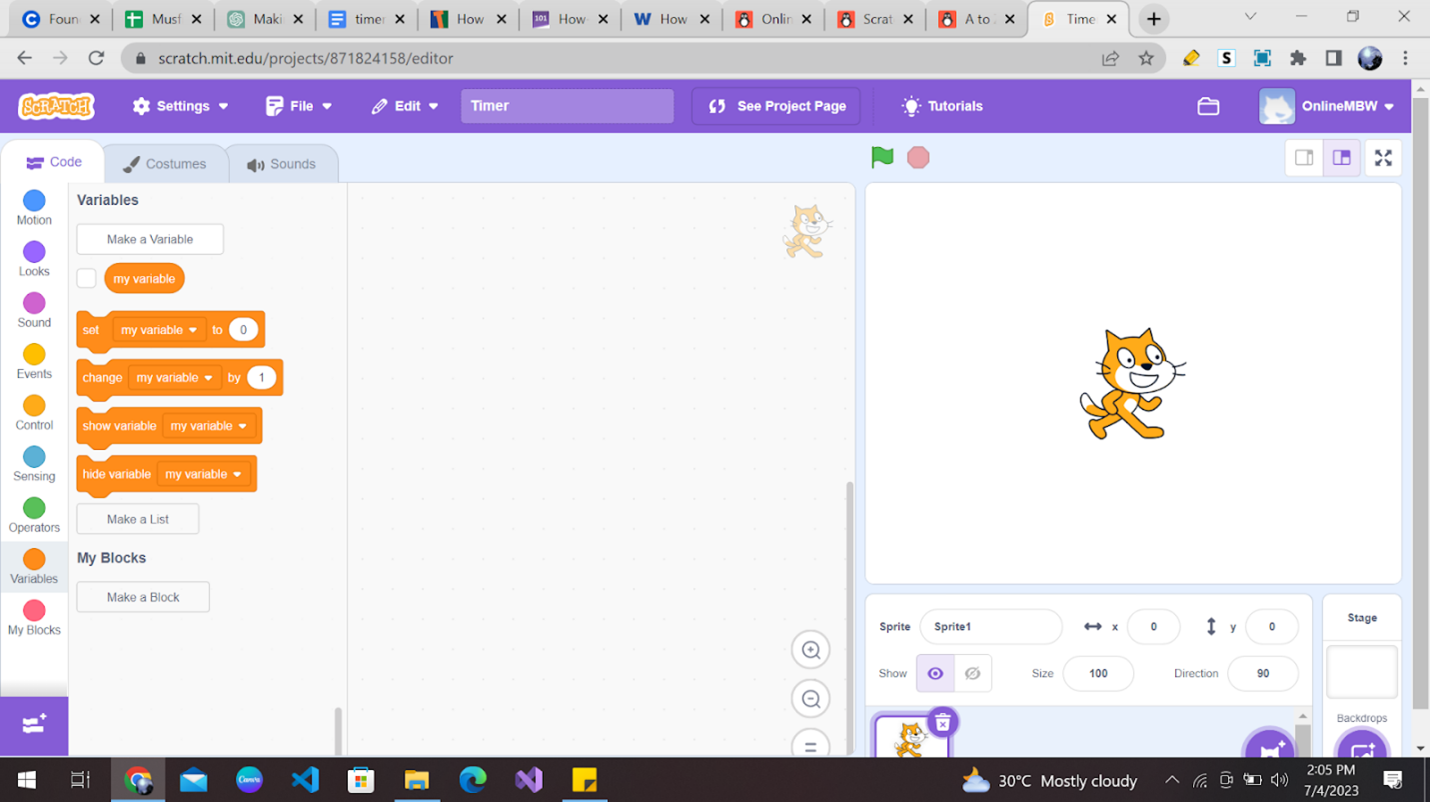
A variable is like a container that can hold different values. In this case, we want to create a variable to store the time in seconds. To create a new variable, click on the “Variables” category in the blocks palette and then click “Make a Variable.”
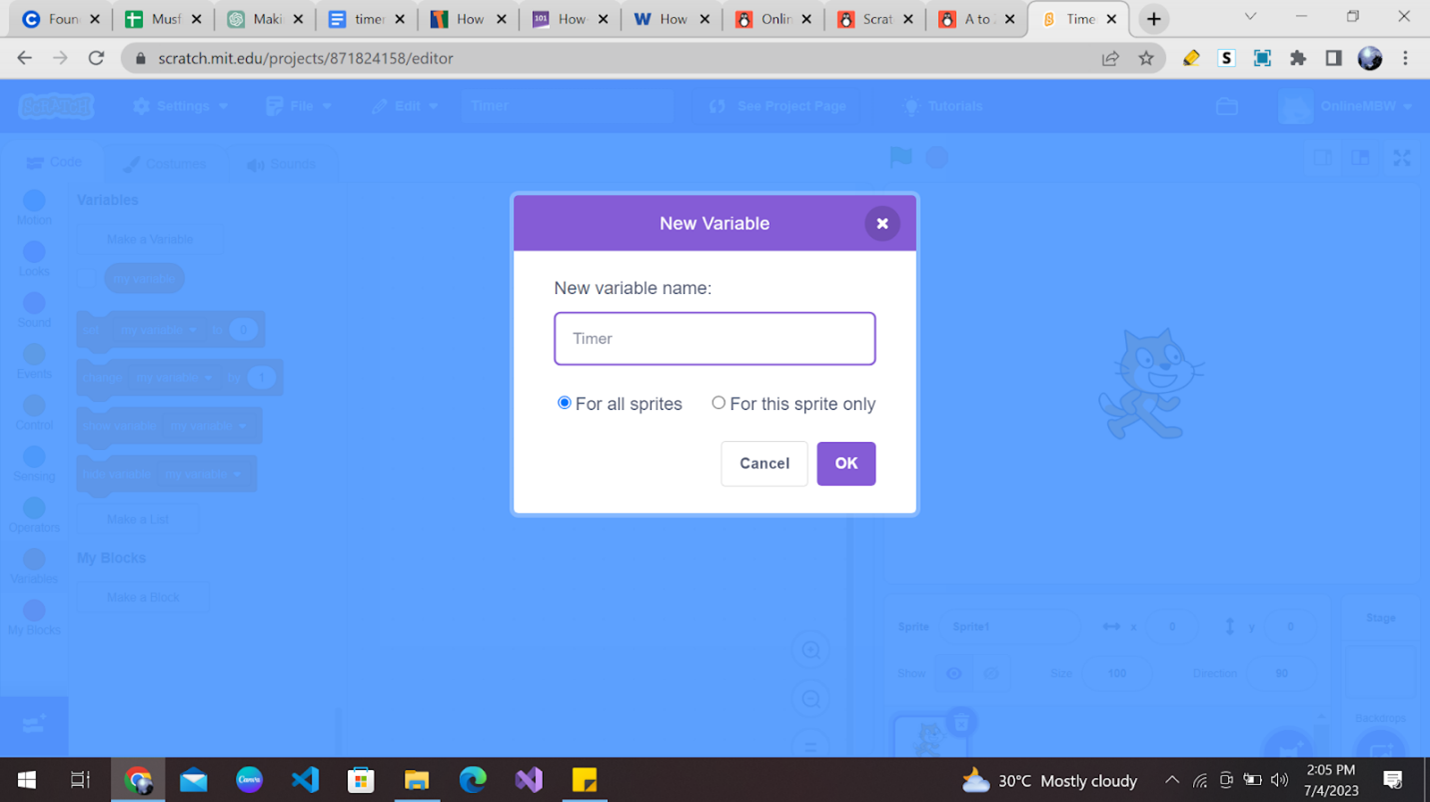
Let’s name our variable “timer” and set its initial value to 0. You can do this by clicking on the gear icon next to the variable name and selecting “for all sprites” to make it a global variable.
Step 2: Displaying the Timer
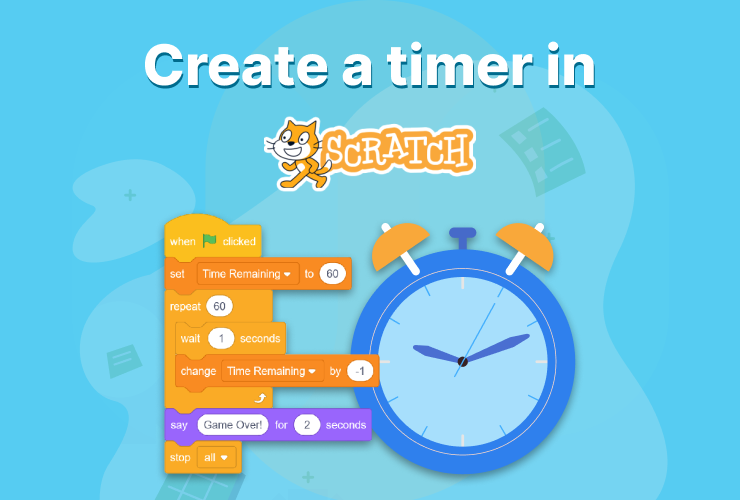
Now that we have our timer variable, let’s create a way to display it on the screen. We can use the “say” block to show the current value of the timer. Drag out a “say” block from the Looks category and place it inside the “when green flag clicked” block.
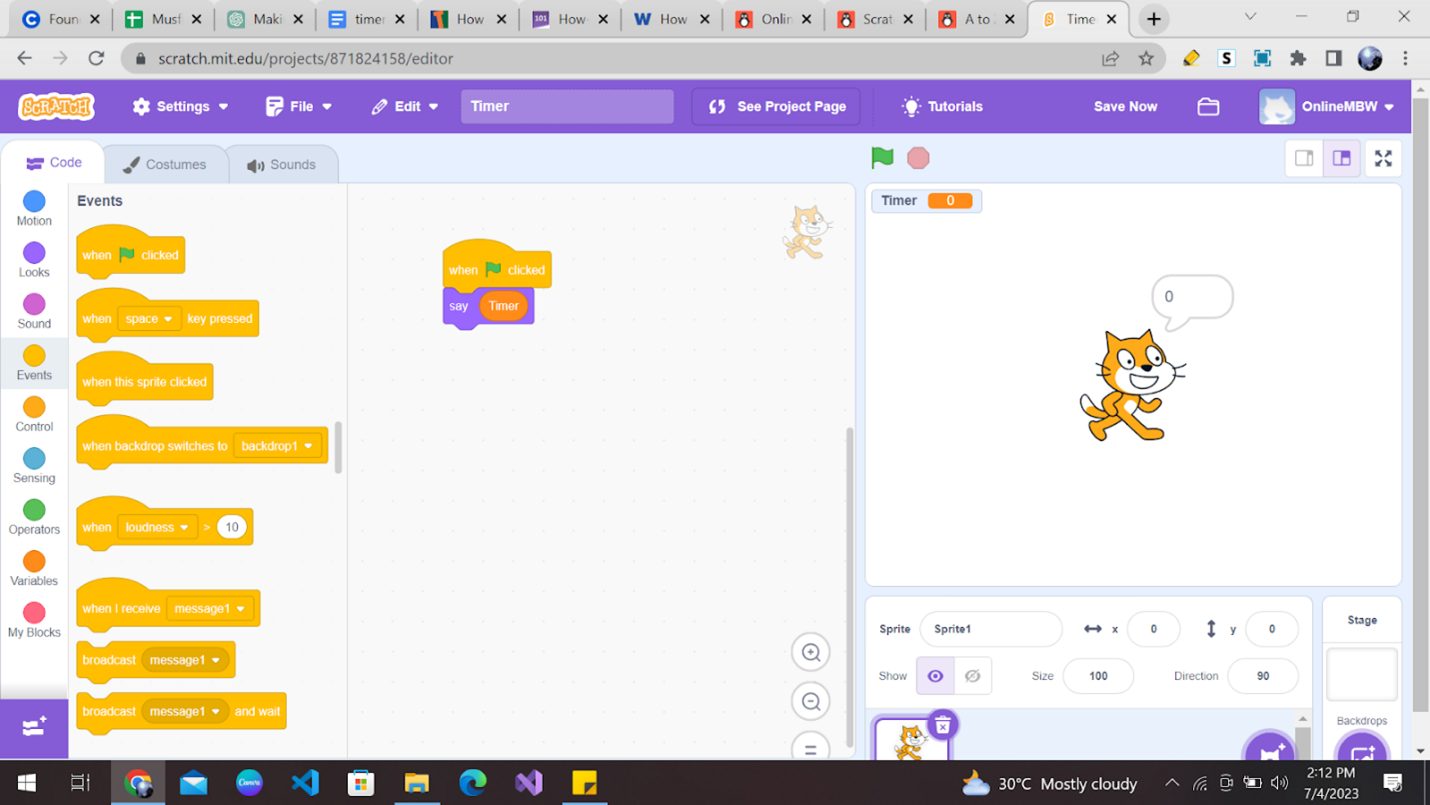
In the say block, type “timer” to show the value of the timer variable. You can also customize the appearance of the text by changing the font, size, and color.
Step 3: Updating the Timer
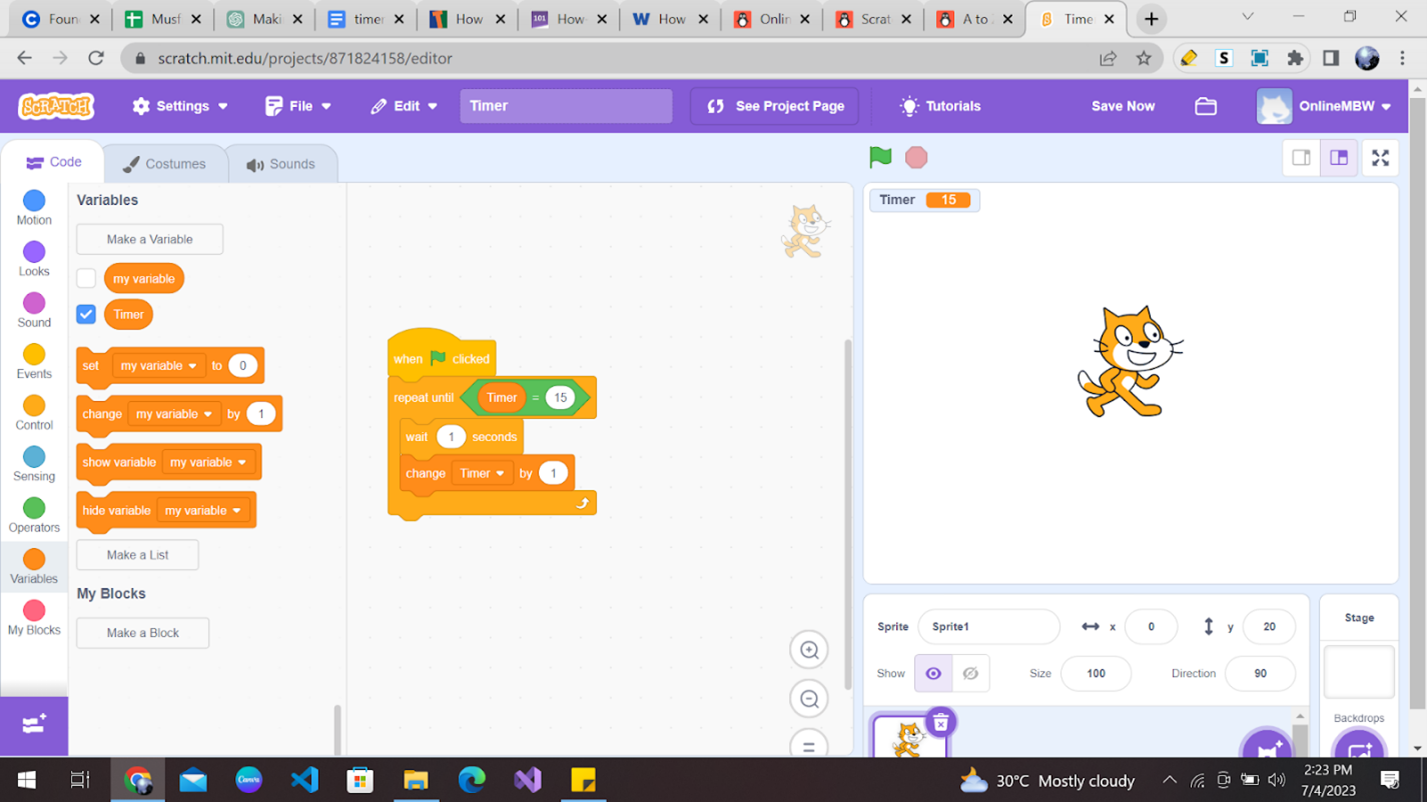
The next step is to add an operator block which will control the time set for our timer. We first need to decide the time limit for our timer, let’s say 15 seconds. The basic logic behind the timer would be:
Does the timer equal 15? If no, wait 1 second and then increase the timer by 1 second. Repeat until the timer equals 15.
Step 4: Resetting the Timer
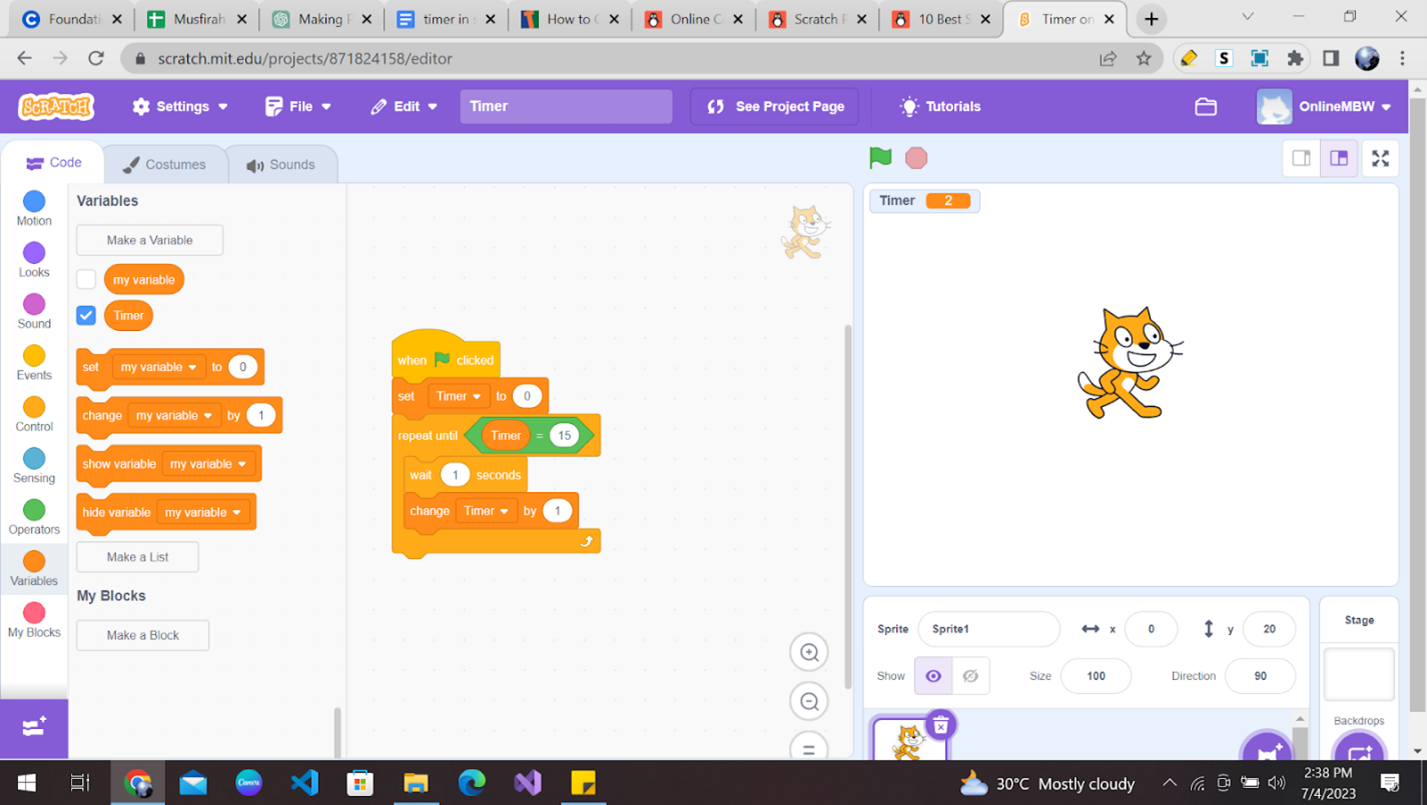
Every time you click the green flag, the timer must be set to 0 again. You must have noticed that this functionality has not been achieved thus far. To add this functionality, you just need to add one code block to your existing code.
Can you think of what code block we must add? Yes! You guessed it correctly. We must add a control block that sets the variable “Timer” to 0 every time we click on the green flag.
Step 5: Test the timer
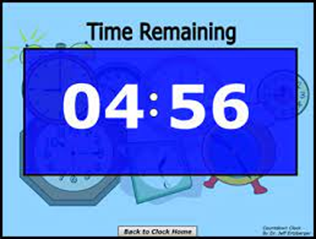
Now that we have implemented a timer, your job is to check whether the time works fine or not. Does the timer stop at 15 seconds? Does the timer display the correct time?
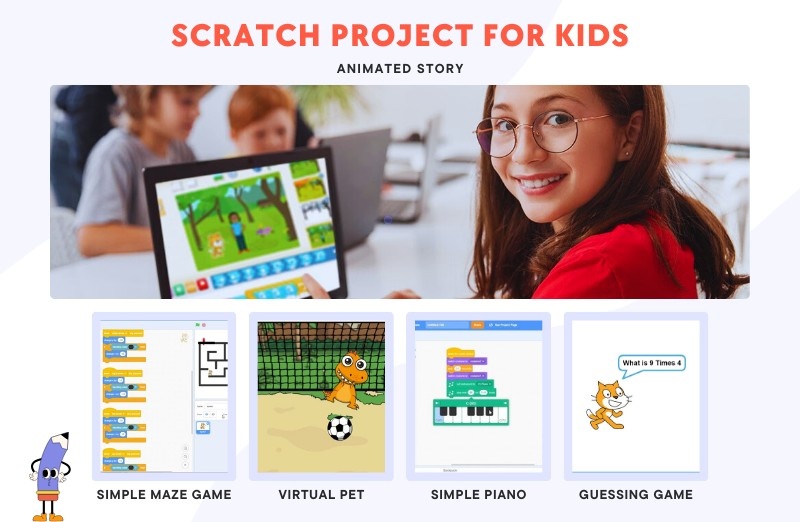
You can let your imagination run wild by customizing your timer. You can display a game over the screen, implement this timer in your other games, and even make a multiplayer timed game.
If you want, you can make any of these fun games on Scratch and implement your timer there.
Conclusion
Congratulations! You’ve created your very own timer in Scratch. Feel free to customize your timer by adding more buttons or changing the appearance of the sprites and costumes. You can also experiment with different timing intervals or add sound effects to make it even more exciting!
Scratch is a powerful tool that allows you to unleash your creativity and learn the basics of coding in a fun and engaging way. Begin your journey in scratch programming with Codingal’s fun and elaborative course, where you can unlock your full potential and learn something new at every step. So keep learning with us, and who knows what amazing projects you’ll create next?
Happy Coding!