Table of Contents
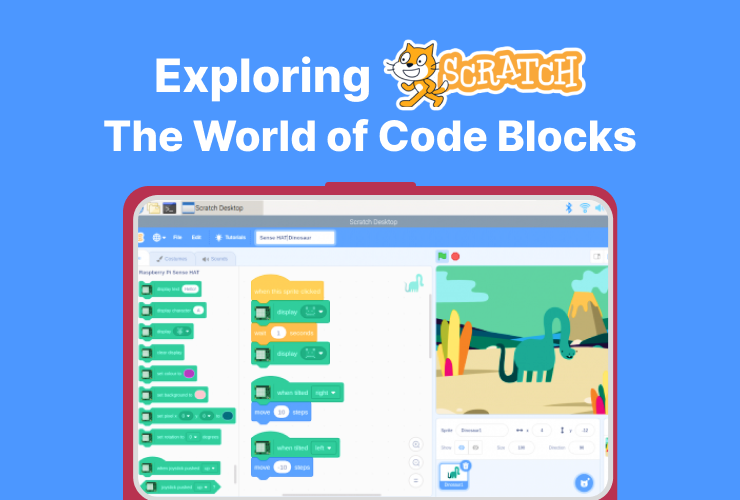
Introduction Scratch Programming What is a Code Block in Scratch? Categories of Code Blocks Block Types Conclusion![Scratch Programming for Kids: Claim your free trial lesson now!]() Introduction
Introduction
Are you ready to become a Scratch Expert? In this tutorial, we will learn all about coding blocks- the secret recipe of Scratch, a fun and interactive programming language.
With Scratch, you can create your own games, animations, and even practical applications for different programs! So, let’s dive into the world of coding blocks.
Scratch Programming
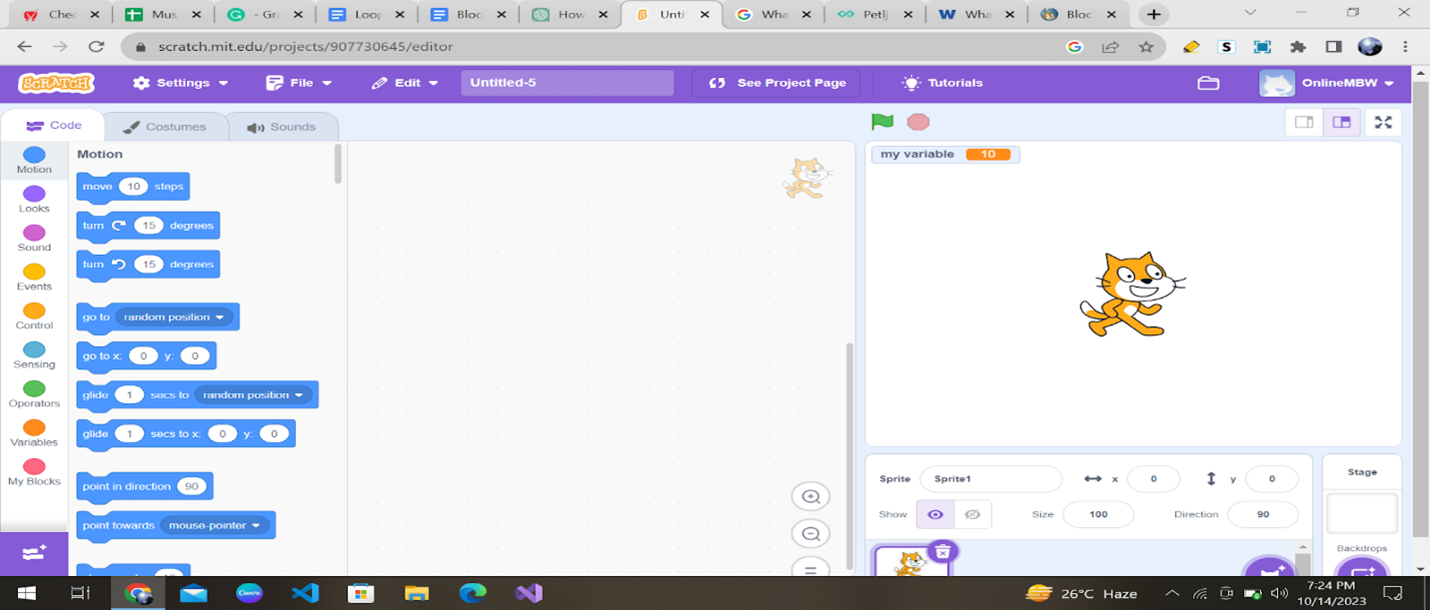
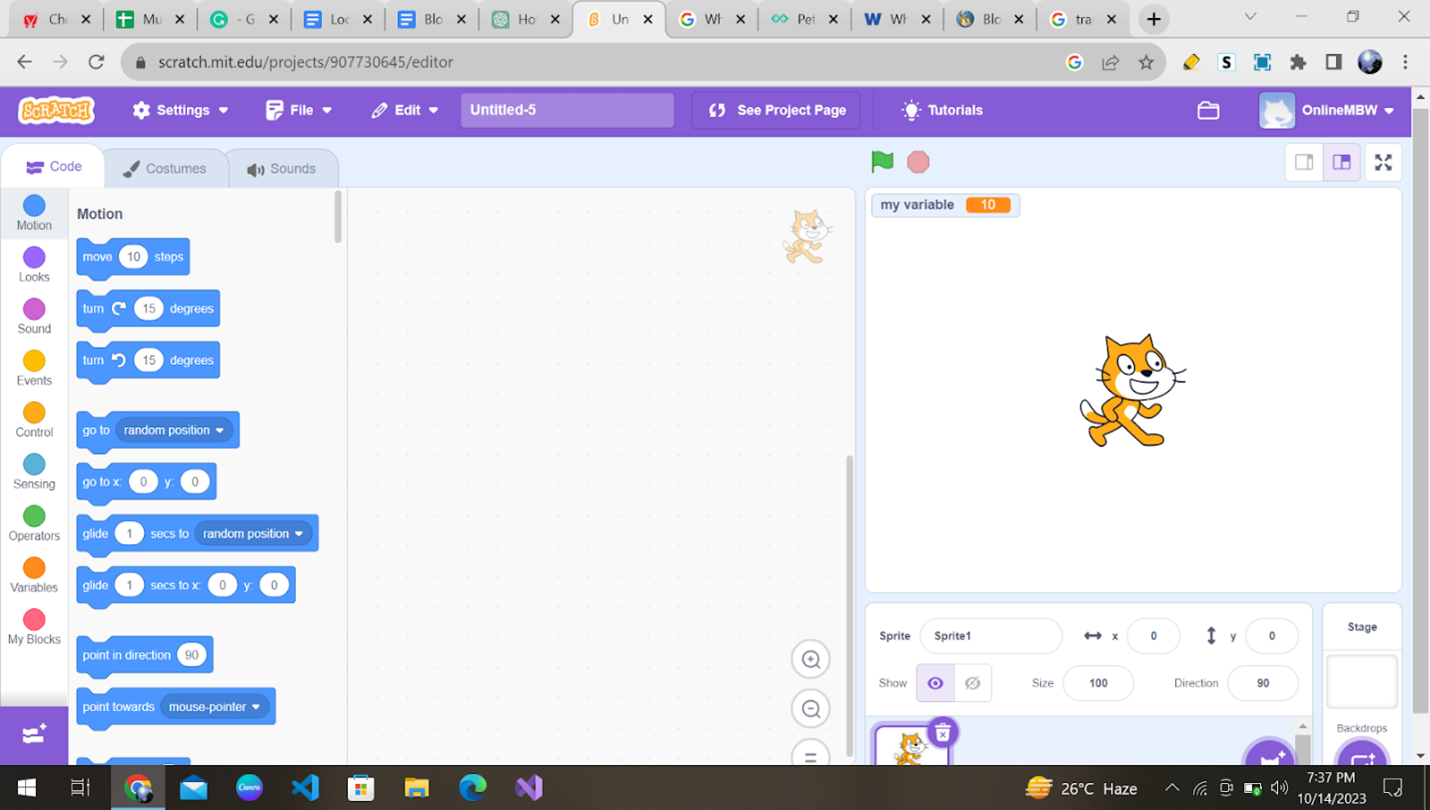
Scratch is a visual programming language and an online community developed by the MIT Media Lab. It is designed to teach coding concepts to beginners, especially kids, in a fun and interactive way.
Scratch provides a graphical interface where users can drag and drop blocks of code to create animations, games, stories, and interactive projects. If you are new to scratch programming, then we recommend you read this introductory article on block coding.
What is a Code Block in Scratch?
Computer programs are sets of commands that we use to explain to the computer how to complete a particular task or solve a problem.
In Scratch, we don’t write commands; instead, we use blocks representing them. We create programs by arranging (stacking) blocks in the appropriate order.
So, these blocks are like puzzle pieces. They come in various shapes, sizes, and colors; you combine them to create cool projects. Each block represents a specific command, action, or function that you want your animated characters and games to perform.
Categories of Code Blocks
Code blocks are grouped based on their functionality. There are nine built-in Scratch coding blocks, which we will discuss below.
Each code block is represented using a circle, and each circle has a different color. The blocks that perform a similar task are put into the same category and share a common color.
![]()

Other than these built-in blocks, you can add additional blocks to the Scratch using extensions. You can see a purple-colored extension button available at the bottom left of the Scratch interface.
If you click on the extension button, you will find 11 extensions, including translation and text-to-speech features.
Other than these, the blocks are further categorized into 7 different categories based on their shapes and functions. You’ll study about them below. Stay Tuned!!
1. Motion Block
These blocks are all about making your characters move, spin, or glide around the screen. These colorful blocks allow you to control their position, direction, and speed. These blocks are dark blue in color and have 18 blocks under them.

For example, you can make a character dance or move across the stage by using motion blocks.
2. Looks Block
Looks blocks allow you to control how your characters appear on the stage. You can make them change costumes, show or hide, and even change their size.
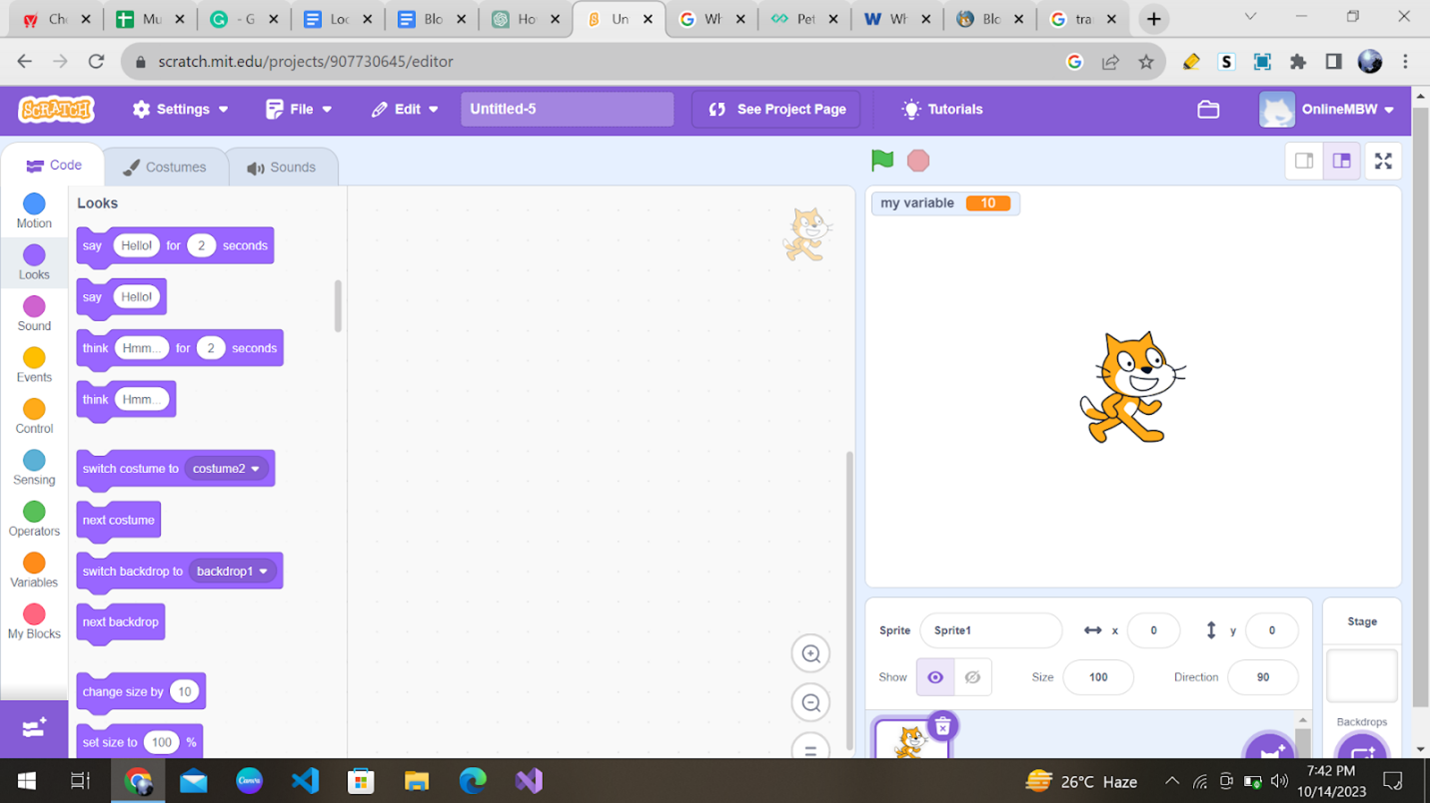
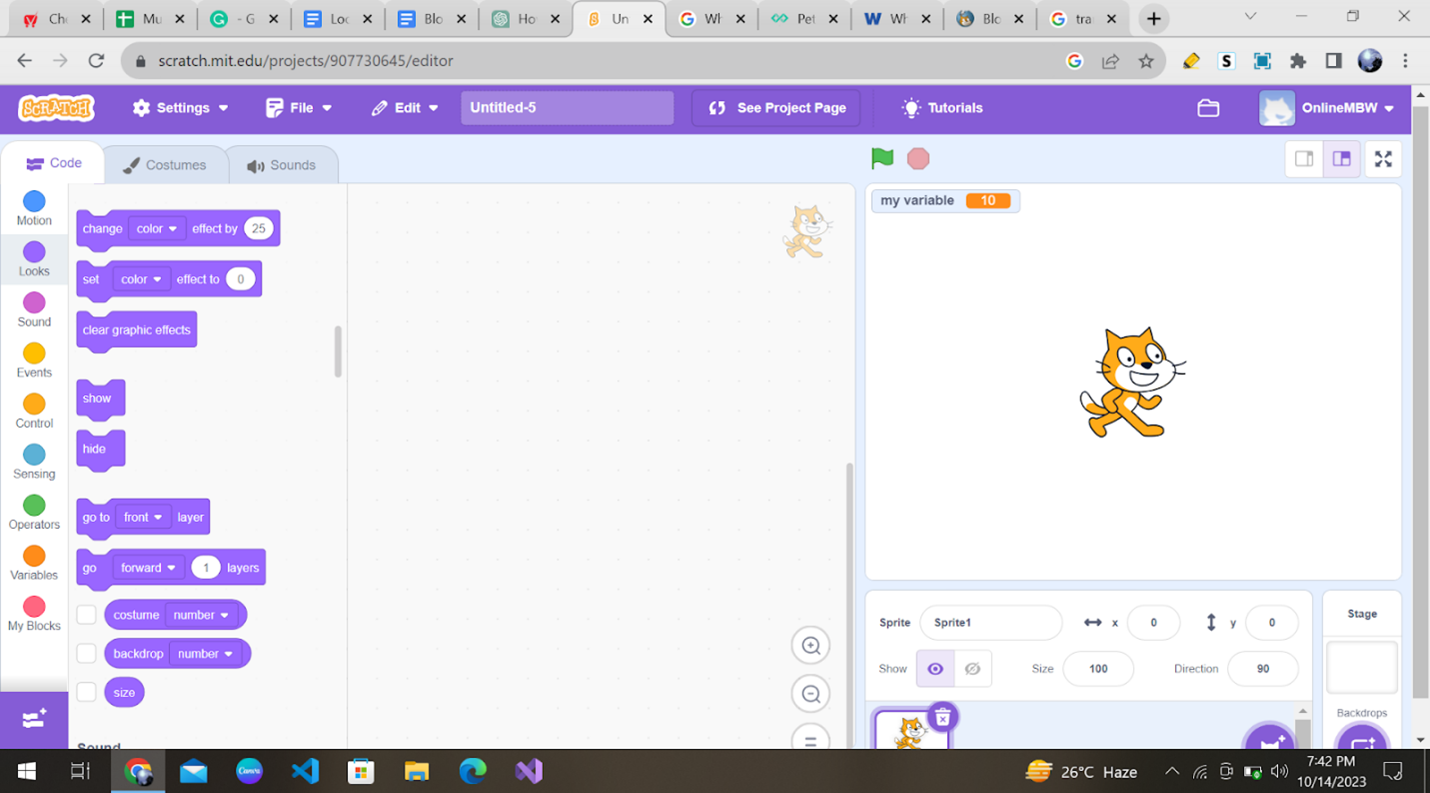
These blocks are purple in color and have 20 blocks under them. 14 are only for sprites, and 4 are only for the stage.
3. Sound Block
Want to add sound effects or music to your projects? Sound blocks are what you need. You can play sounds, stop them, or even change the volume.
Scratch has a rich library of sounds and the possibility to record our own voice or download sound recordings from our computer in .wav or .mp3 format.
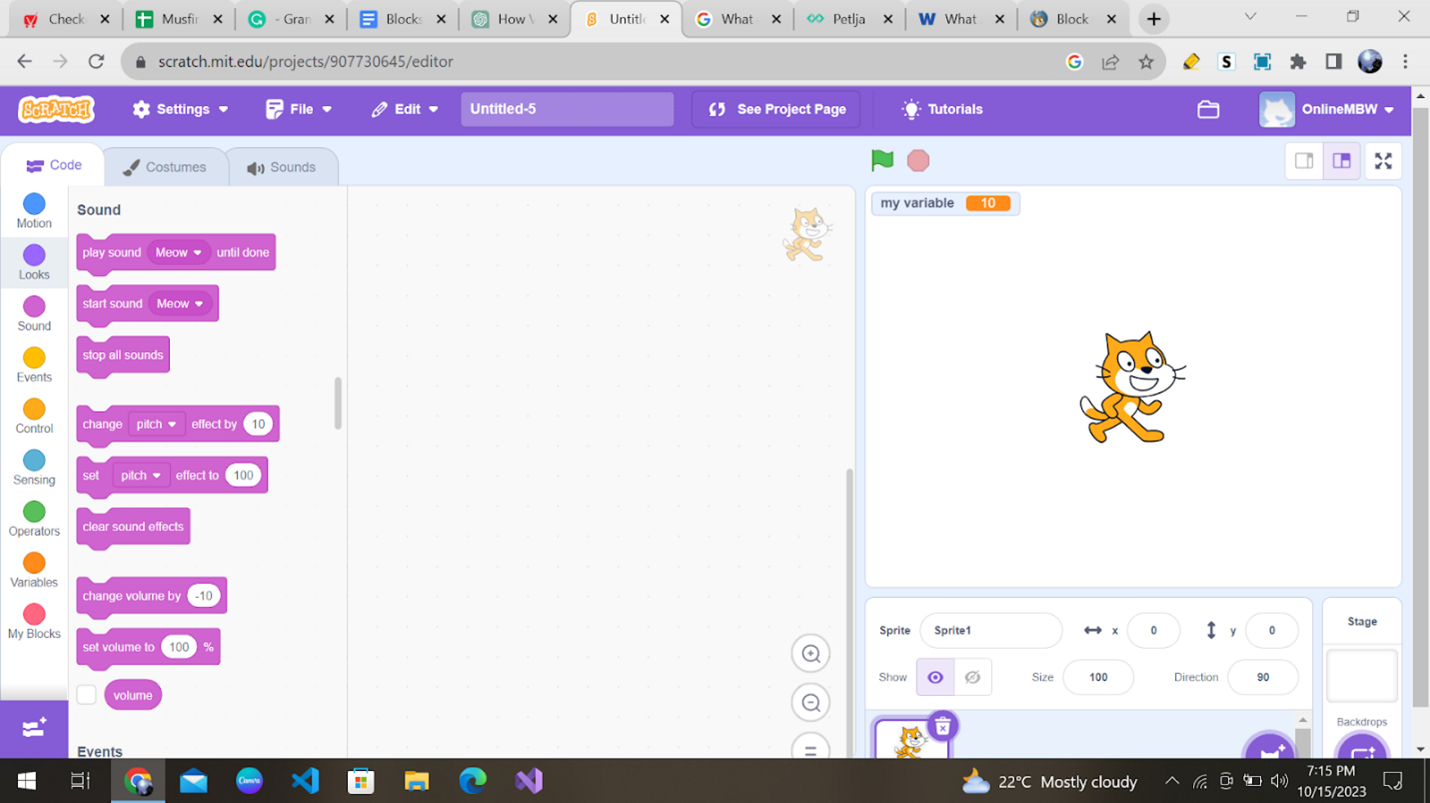
These blocks are dark pink in color and have 9 blocks under them.
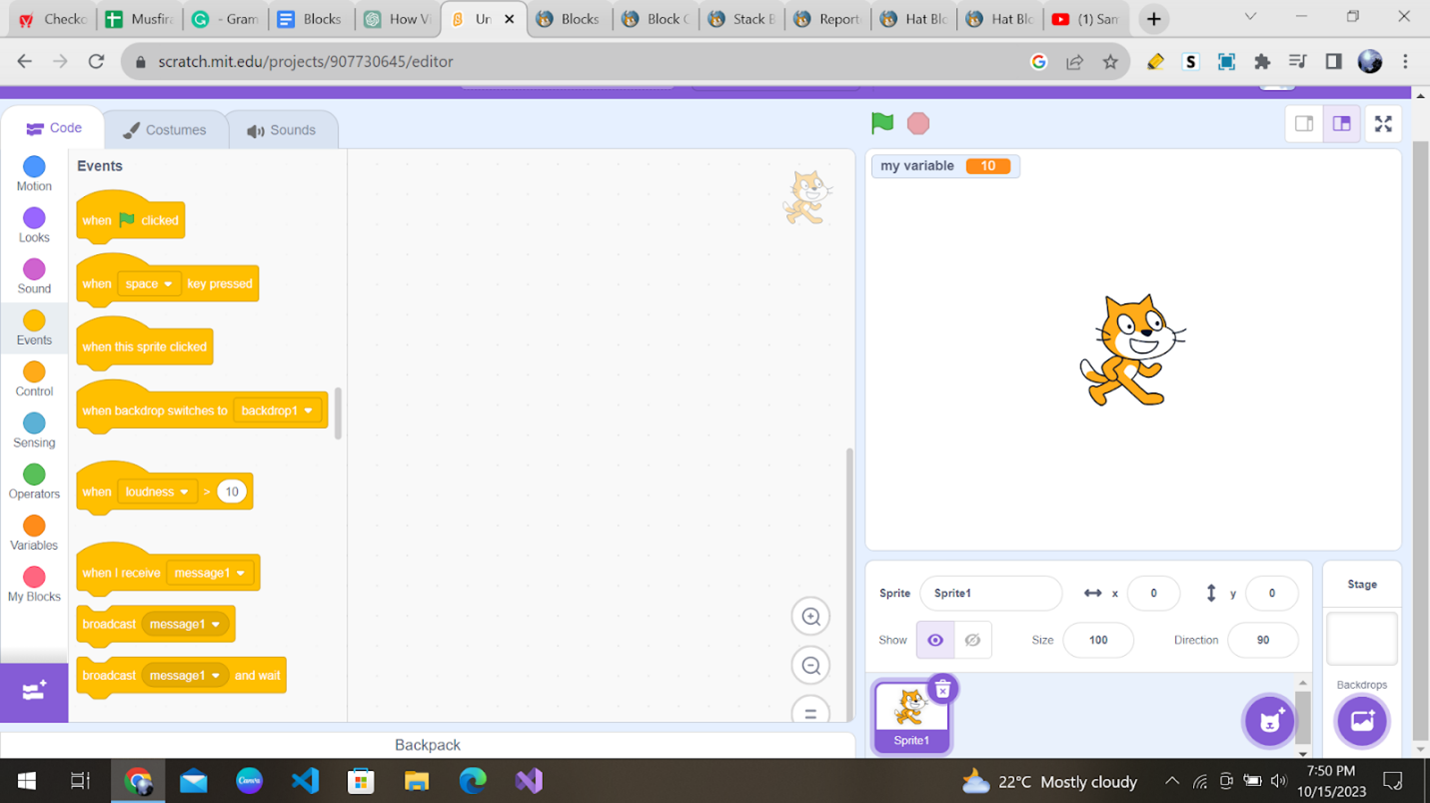
4. Events Block
Events blocks let you decide what happens when an event occurs. For instance, you can make your character jump when a key is pressed or start a game when the green flag is clicked.
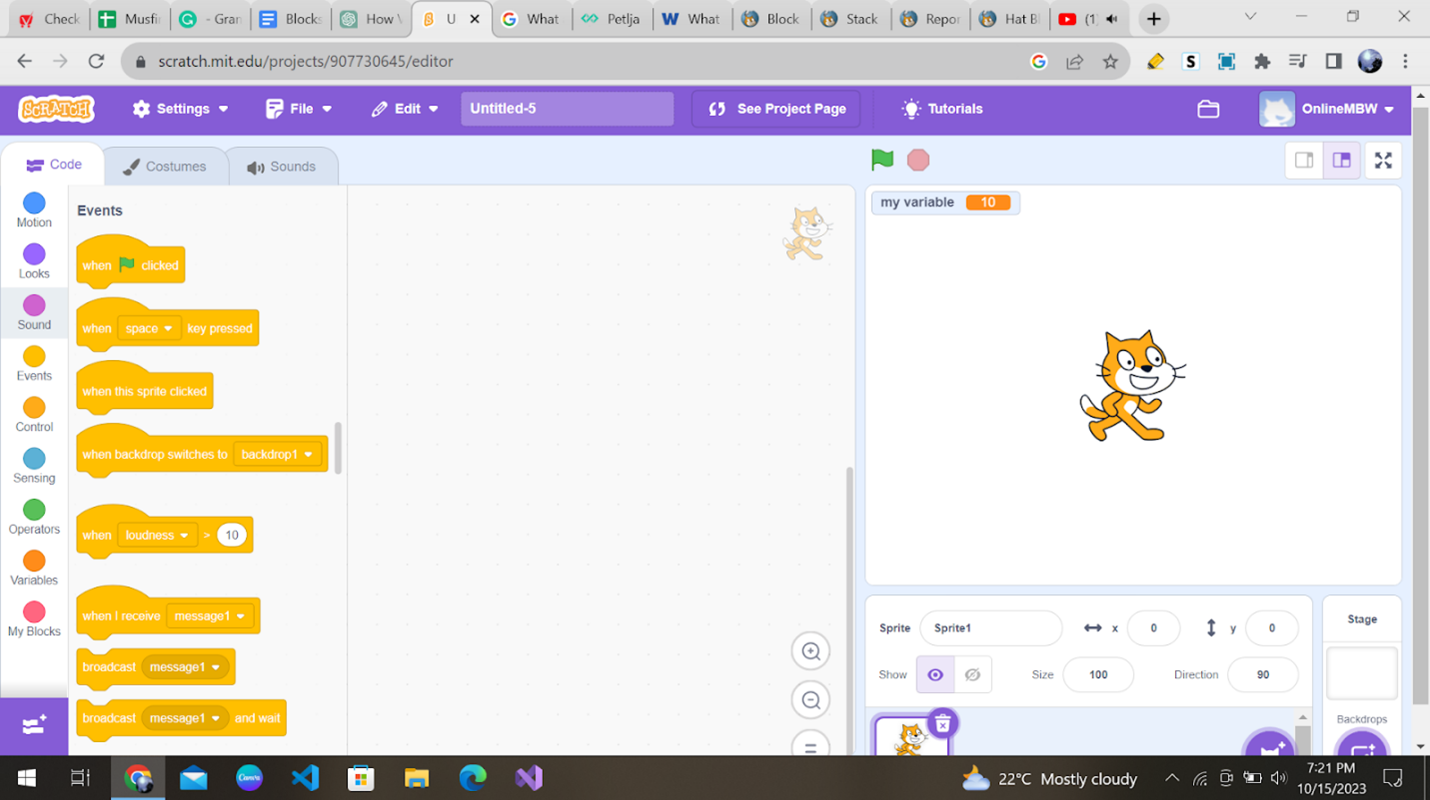
These blocks are yellow in color and have 8 blocks under them.
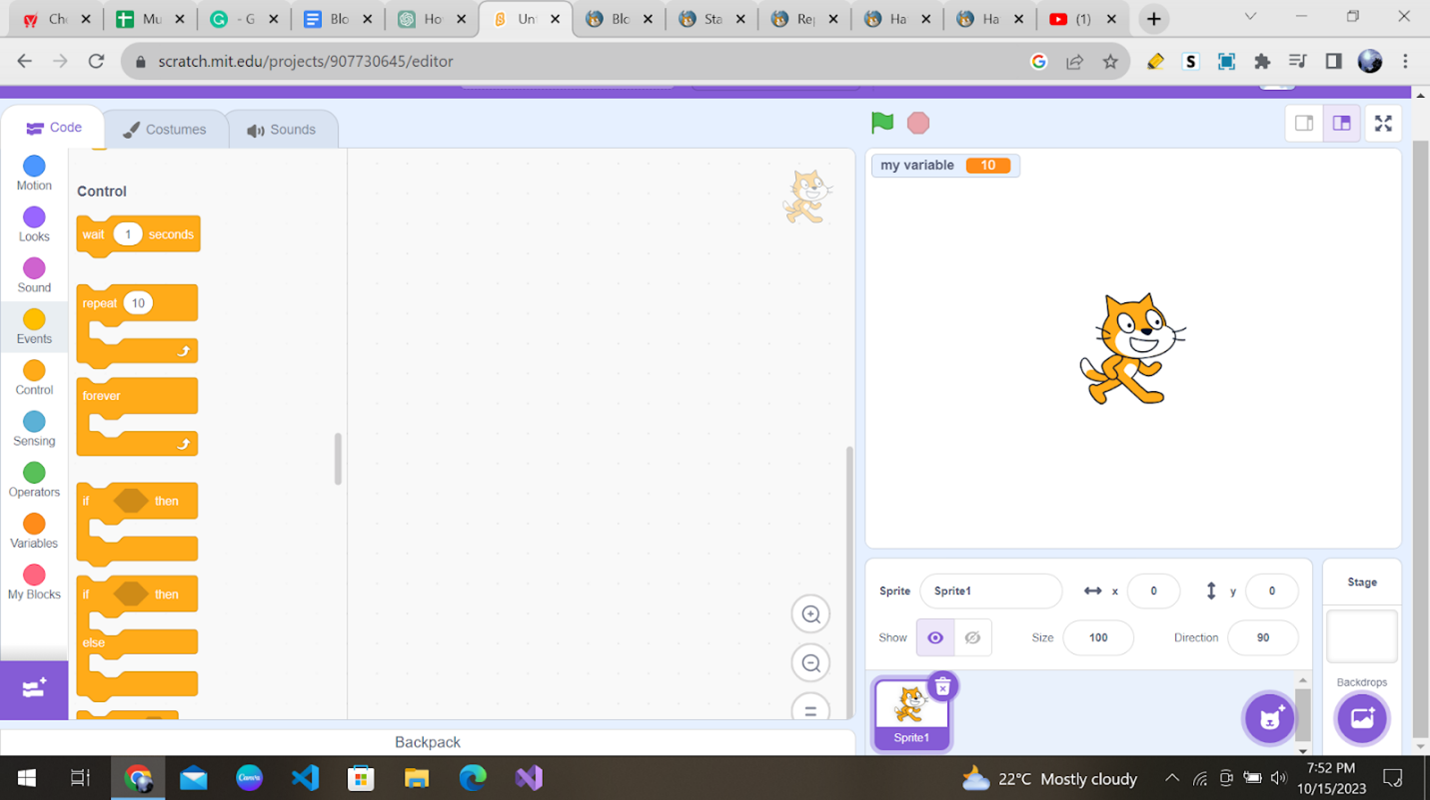
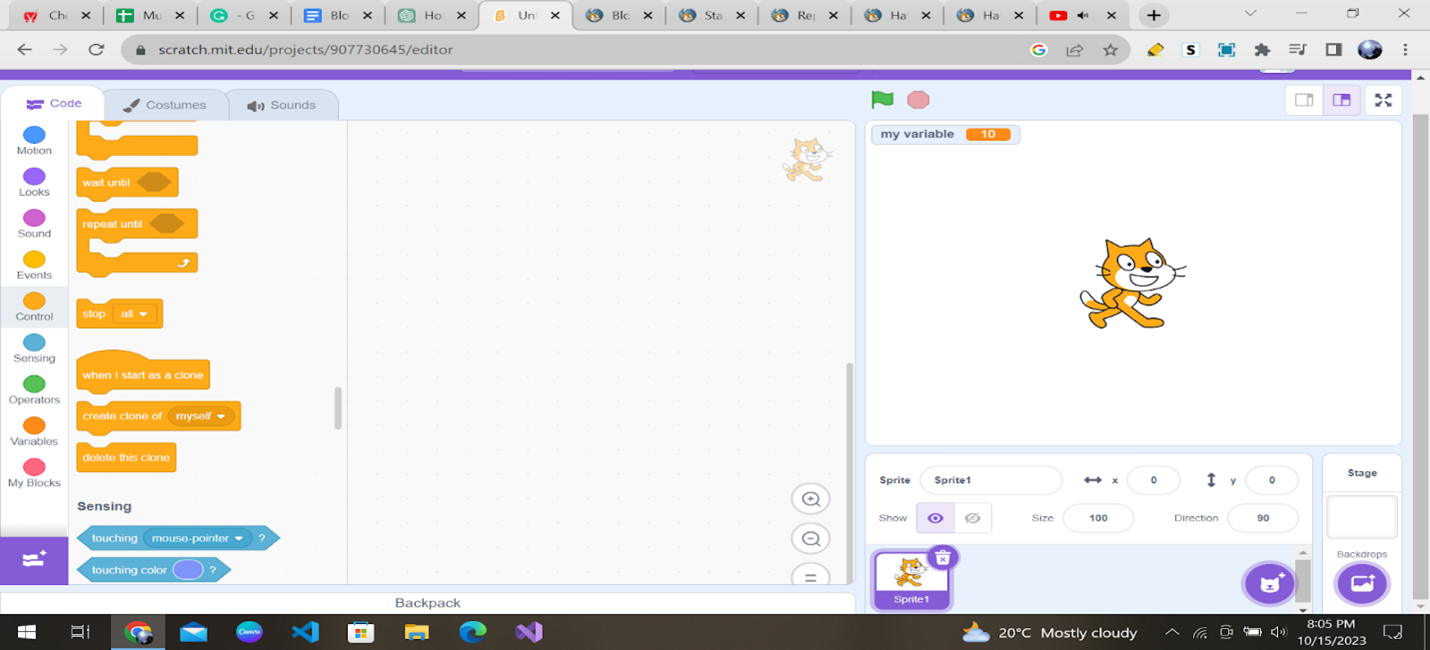
5. Control Blocks
Control blocks help you create loops, conditions, and sequences in your code. With these blocks, you can make your characters follow your instructions step by step or repeat actions until a particular condition is met. They “control” the project and enhance its running.
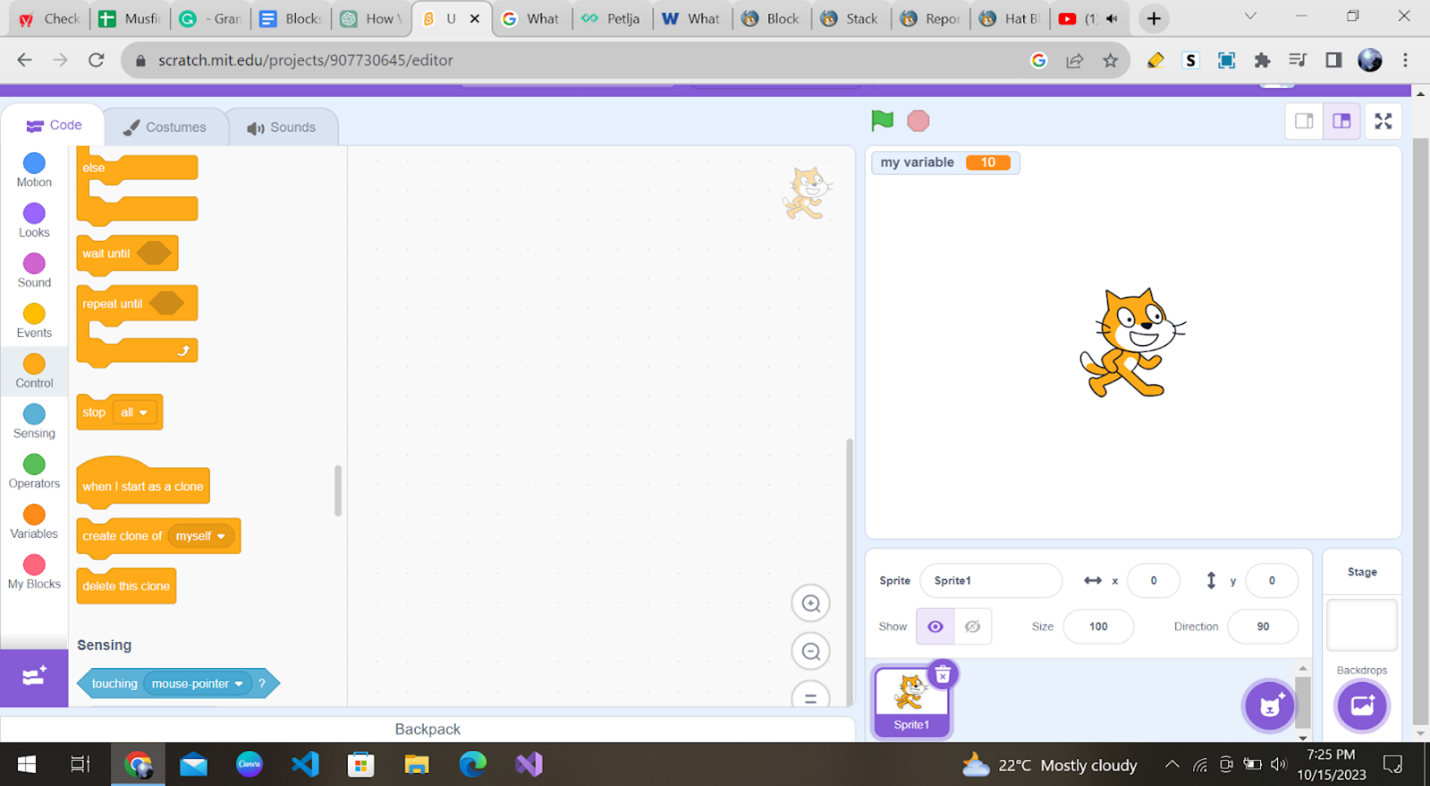
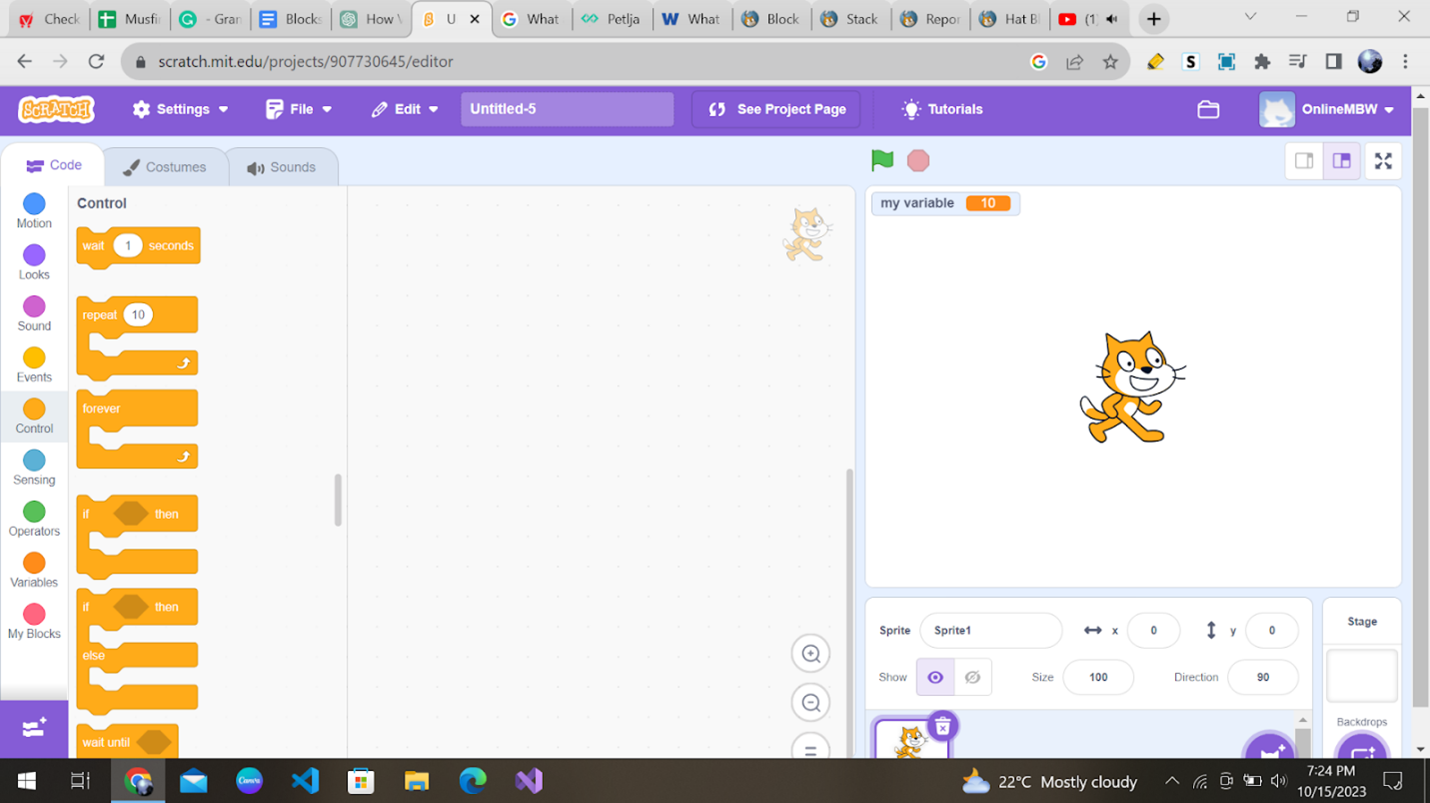
These blocks are amber in color and have 11 blocks under them.
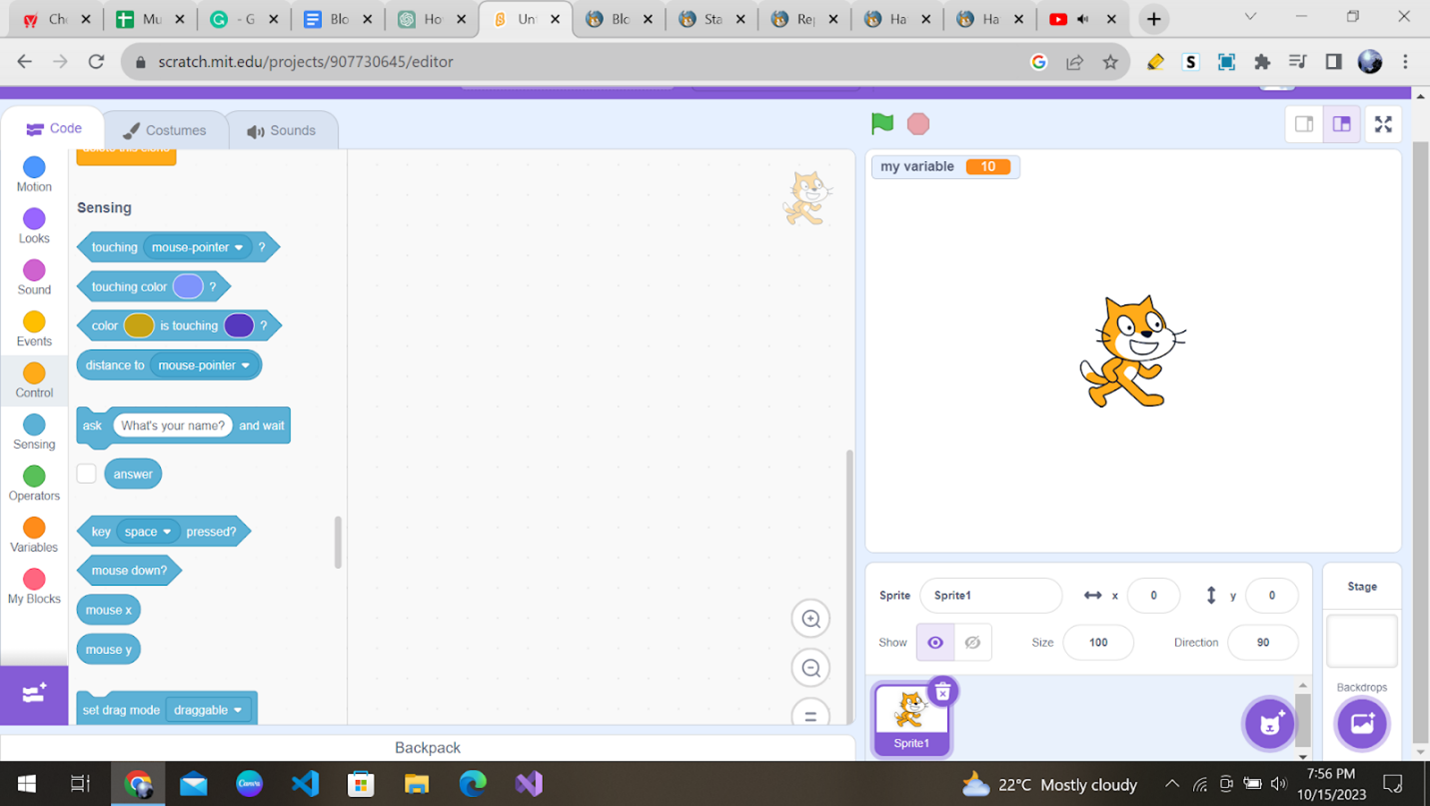
6. Sensing Blocks
Sensing blocks help your characters make decisions based on what’s happening in the project. They can detect mouse clicks, key presses, or even the position of other characters. Want your sprite to say something when it’s clicked? Sensing blocks have got you covered.
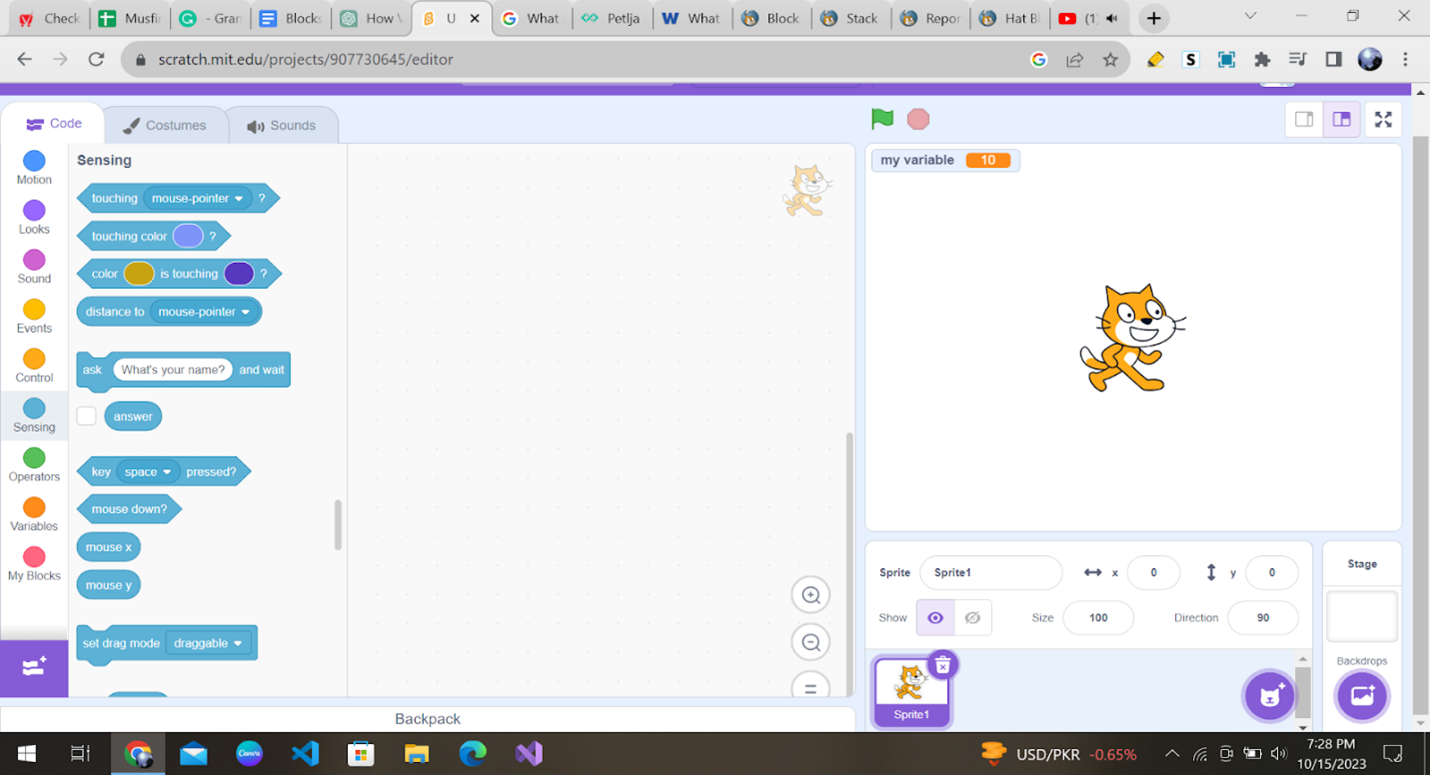
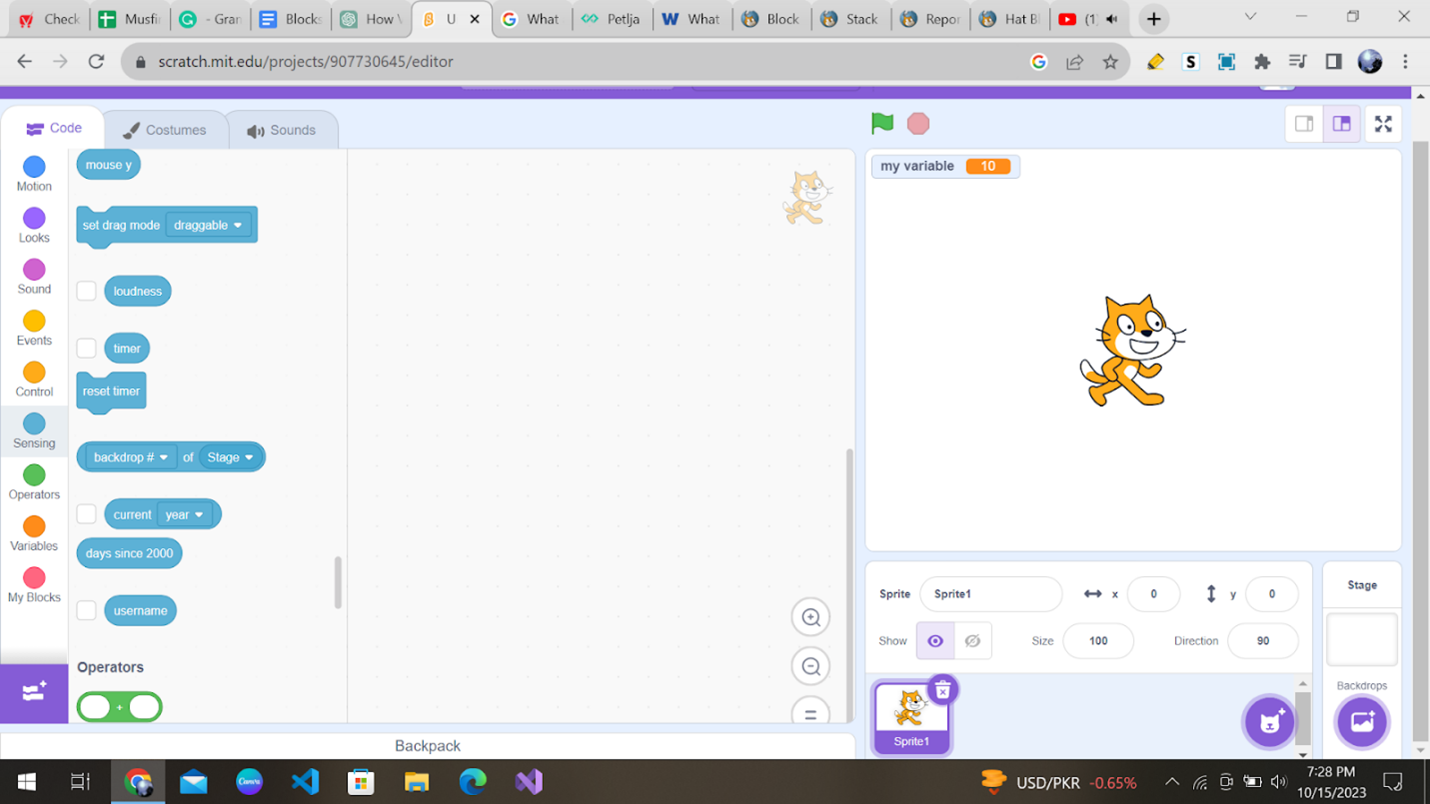
These blocks are cyan in color and have 18 blocks under them.
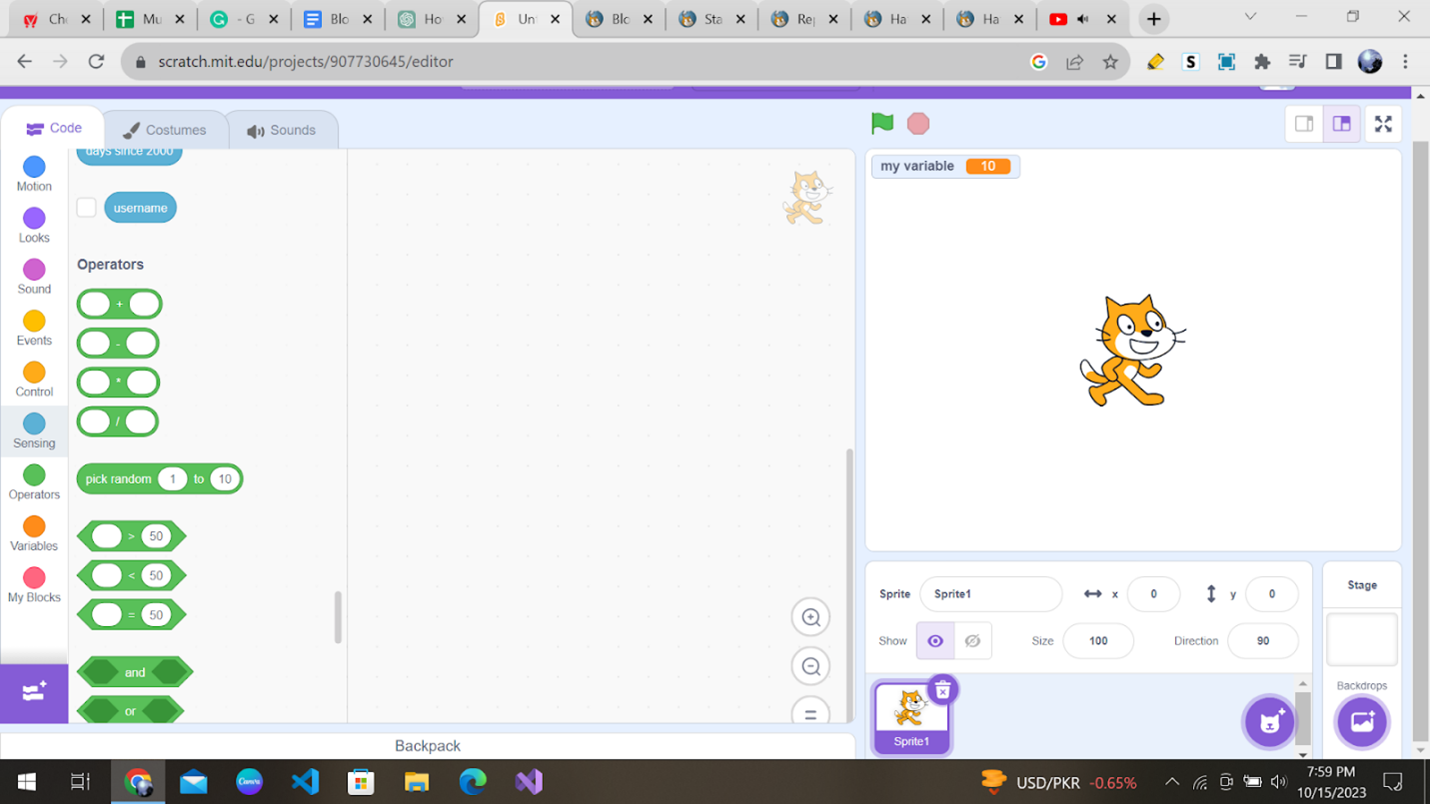
7. Operators Block
Operators blocks let you perform mathematical and logical operations. You can add numbers, compare values, or even create complex equations. These blocks are perfect for making your games smarter and more interactive.
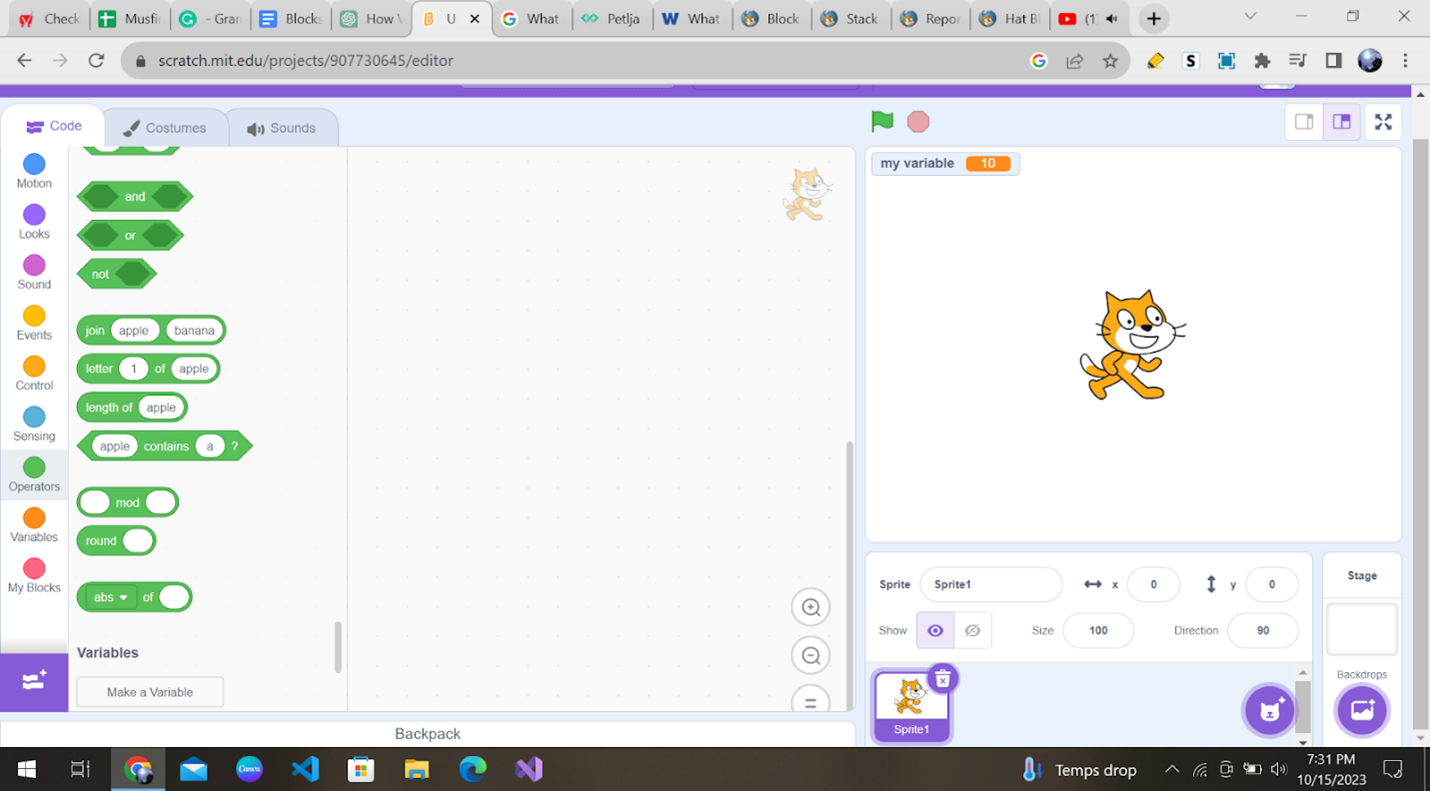
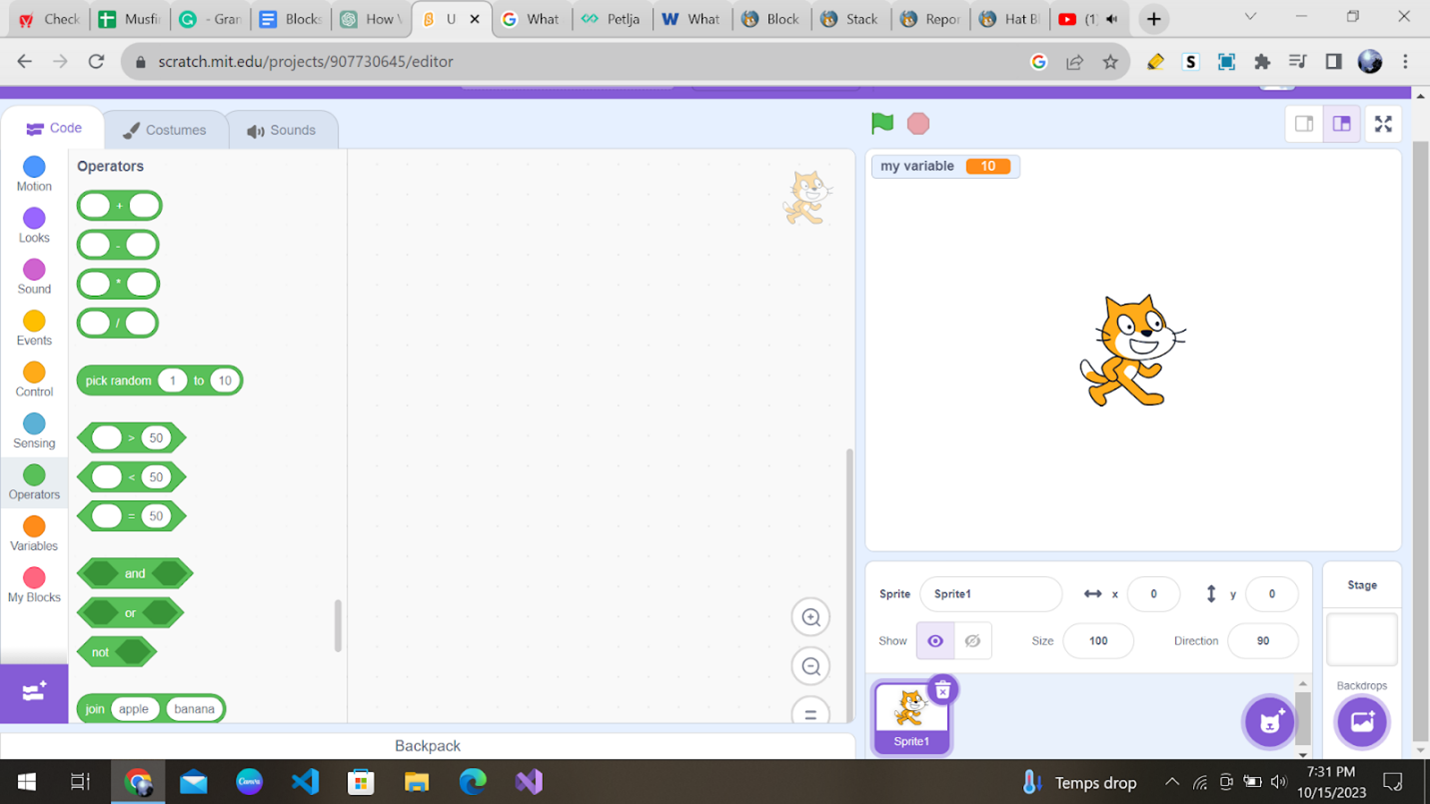
These blocks are green in color and have 18 blocks under them.
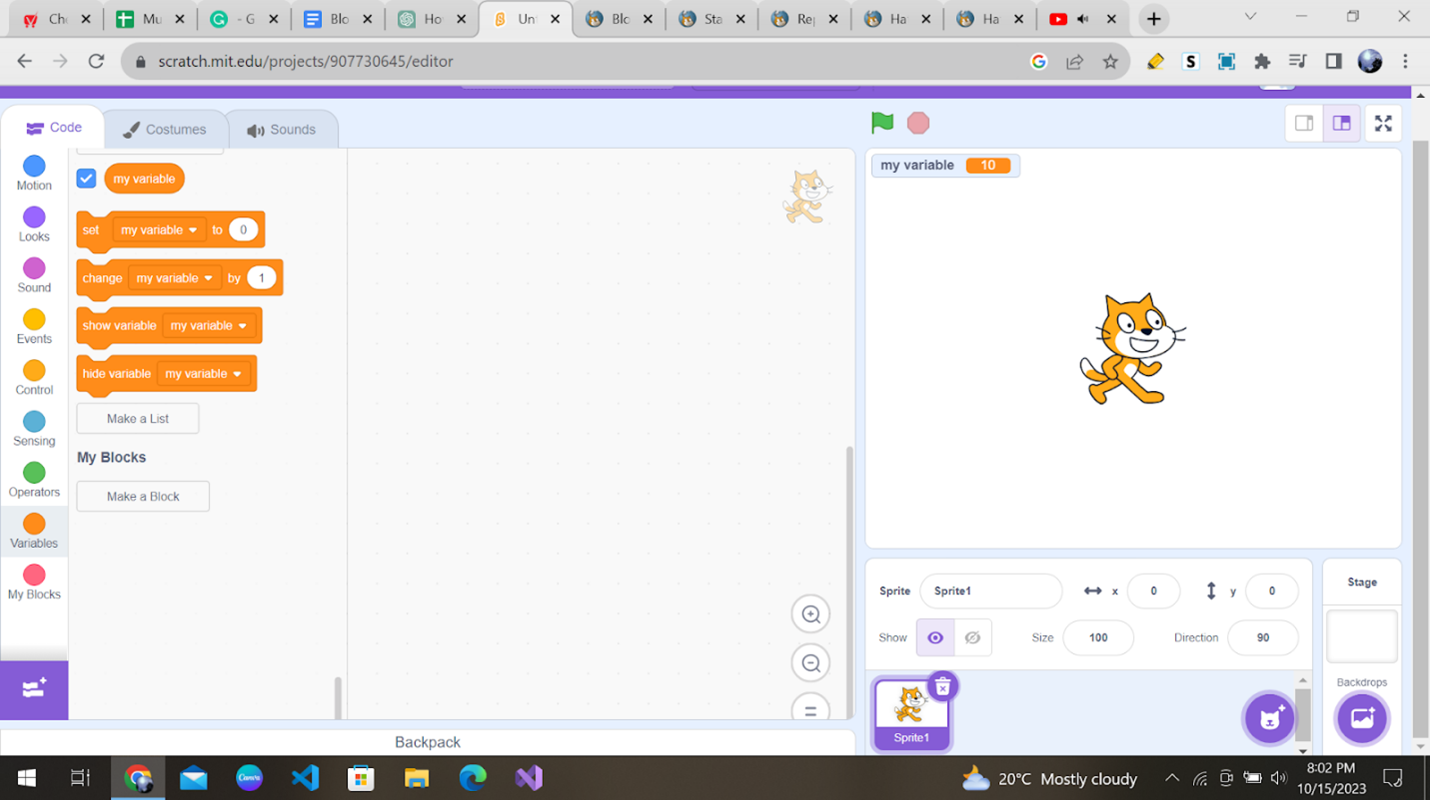
8. Variables Block
Variables blocks allow you to store and use data in your projects. You can create your variables to keep track of scores, player names, or any other information you need.
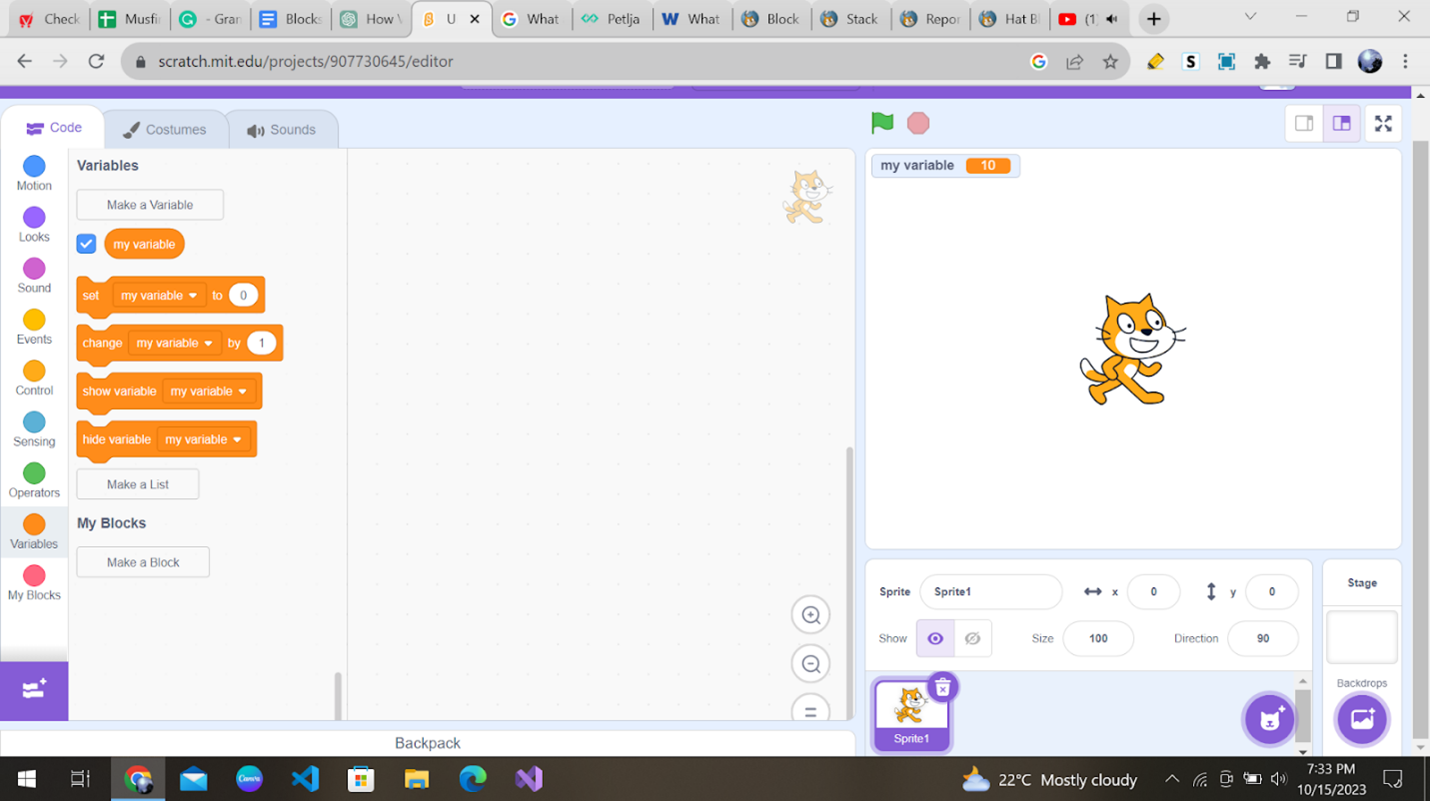
These blocks are orange in color and have 5 blocks under them.
9. My Blocks
My blocks allow you to create custom blocks with your own commands. It’s like inventing your very own coding language, and it can make your projects super unique.
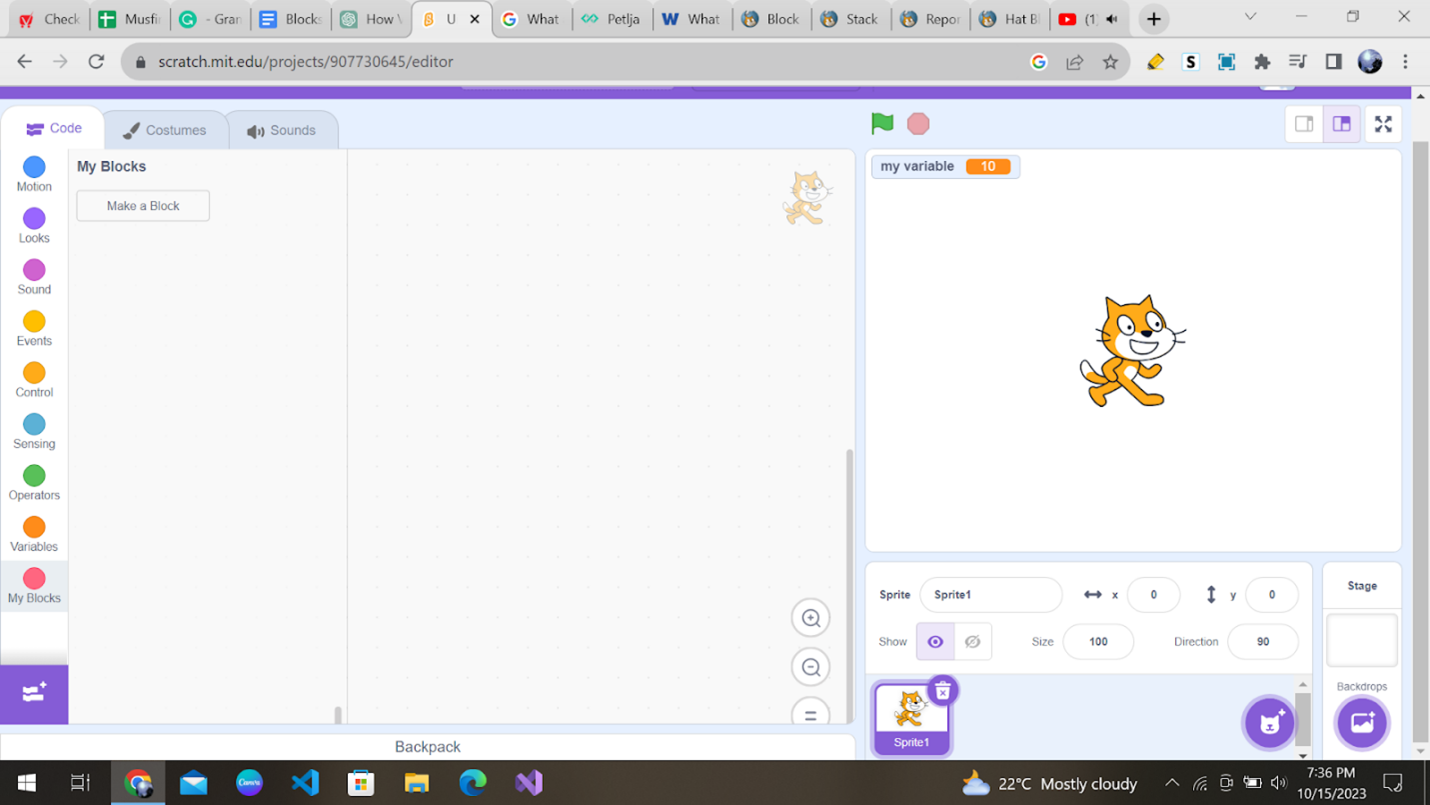
These blocks are pink in color and have a “Make a Block” button, using which customized blocks can be created.
Block Types
Blocks are puzzle-piece shapes that are used to create code in Scratch. The blocks connect vertically like a jigsaw puzzle, where each of the 6 block types has its own shape and slot shape for it to be inserted into.
There are 6 different block types in Scratch: Hat, Stack, Boolean, Reporter, C, and Cap. Let’s study them one by one.
1. Hat
Hat blocks are at the top of your code and start a script. They are usually triggered by events, like clicking the green flag or a sprite, or by sensing something in the environment. There are twenty-six Hat blocks in Scratch. There are some examples of hat blocks.
All hat blocks are Control, Events, My Blocks, or Extension blocks. In the Experimental Viewer, the first word of their name is capitalized.
2. Stack
Stack blocks are the most common and form the central part of your script. They are connected vertically and contain instructions executed one after the other.
As you can see, they are shaped with a notch at the top and a bump on the bottom, so blocks can be placed above and below them. There are 62 Stack blocks.
3. Boolean
Boolean blocks return either true or false. They are used in conditions and control structures to make decisions in your code.
They have a stretched hexagonal shape. These blocks are inserted into holes of other blocks with the same shape.
4. Reporter
Reporter blocks provide information. They return a value when used, such as the position of a sprite or the result of a mathematical calculation. They are often used inside other blocks.
They are shaped with round corners and can hold numbers and strings.
5. C Block
C blocks are specialized reporter blocks that can be used to create custom mathematical equations.
C blocks are blocks that take the shape of “C’s”. These blocks loop the blocks within the Cs or check if a condition is true. There are five C blocks, and they can be found in the Control category.
6. Cap
Cap blocks are found at the end of a script and signify its completion. They are used to finish a script and are not required in every script.

As you can see, they are shaped with a notch at the top and a flat bottom. Scratch has two Cap blocks, which can be found in the Control category.
Conclusion
Congratulations! You’ve learned everything about coding blocks and how they are used in Scratch. Anytime you create a project on Scratch, you will have to use different coding blocks.
Scratch is a powerful tool that allows you to unleash your creativity and learn the basics of coding in a fun and engaging way.
Begin your journey in scratch programming with Codingal’s fun and elaborative Scratch course, where you can unlock your full potential and learn something new at every step. So keep learning with us, and who knows what amazing projects you’ll create next?