Table of Contents
Introduction Step 1: Designing the User Interface Step 2: Creating the Maze Step 3: Adding Player Movement Step 4: Adding Win/Lose Conditions Step 5: Testing and Publishing the Game ConclusionIntroduction
This blog is a step by step tutorial on how to create a Maze game in Thunkable. Maze games are used to test the ability of players to think critically and solve problems, which is fun and engaging. Making your own maze game has never been easier ever with mobile app development platforms.
Thunkable is a drag-and-drop platform for building mobile applications without any coding.
In this tutorial, we’ll go over how to make a maze game in Thunkable, including how to design the user interface, make the maze and player movement, and provide win/lose criteria.
To learn more about app development check courses on codingal.

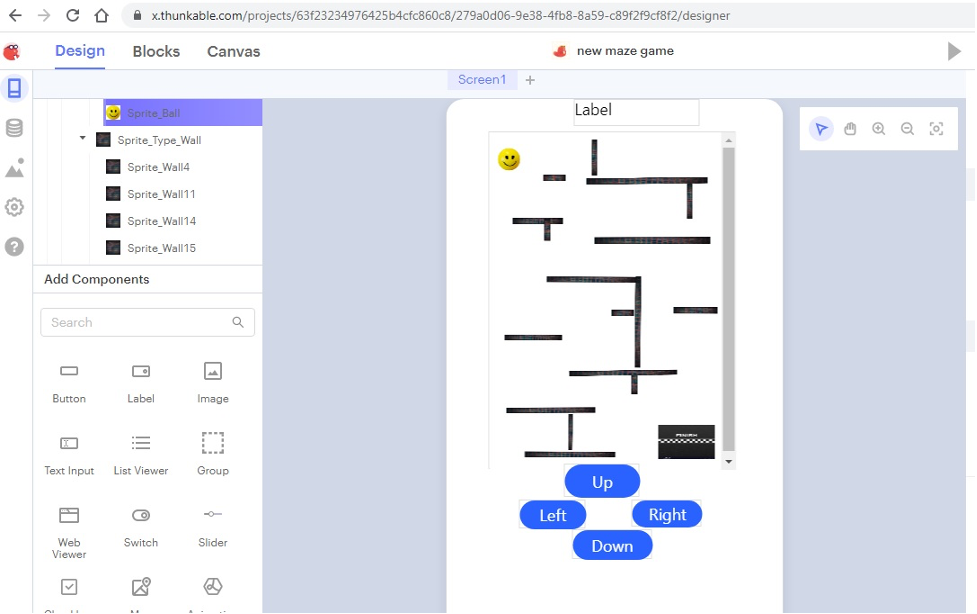
Step 1: Designing the User Interface
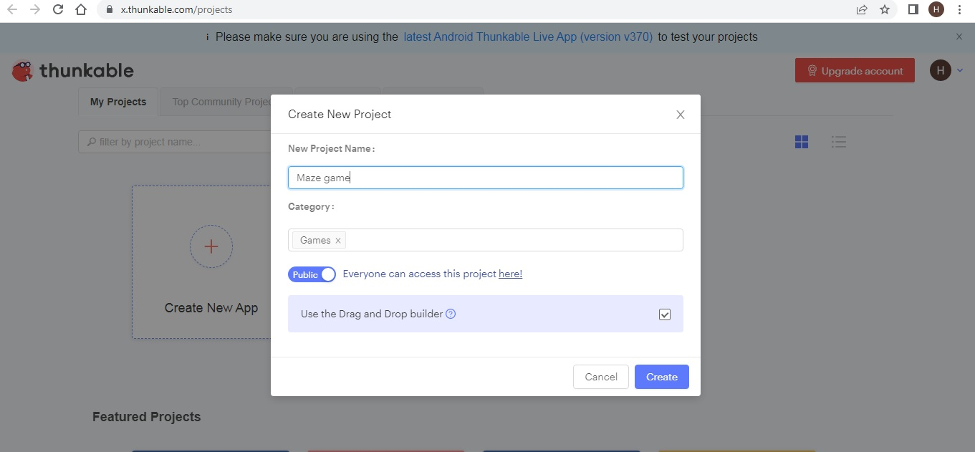
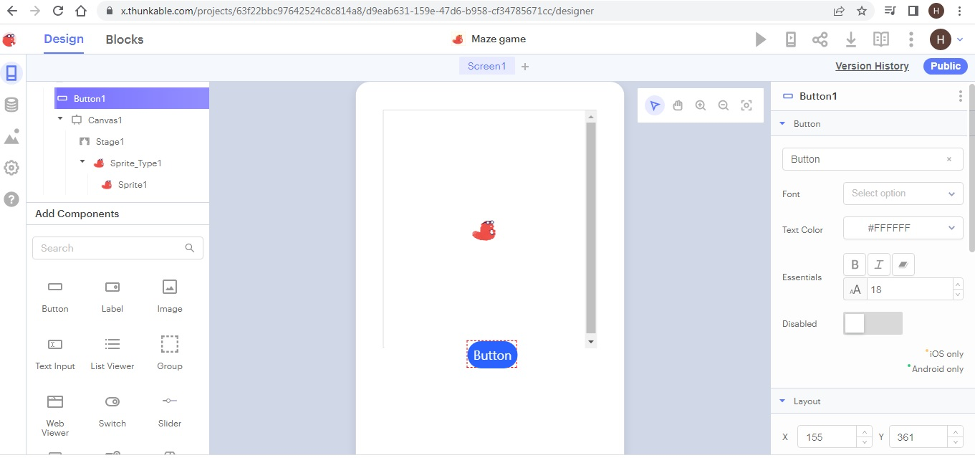
The user interface of your game will be the first thing players see when they start the app, so it’s crucial to make it visually appealing and simple to use. Open Thunkable and start a new project to get started.
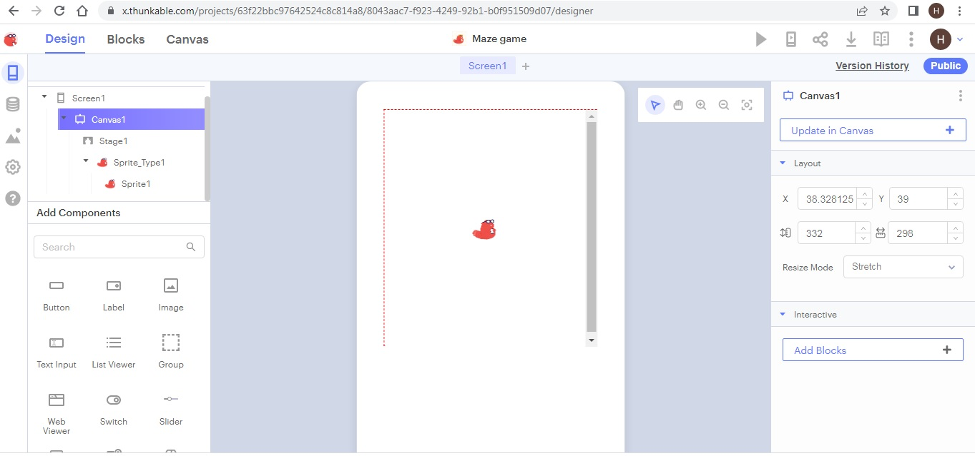
Then, Drag and Drop the “Label” component and give the label “Maze Game” to the game. Now, Drag and Drop the Canvas component on the screen to create the user interface of the Maze Game.
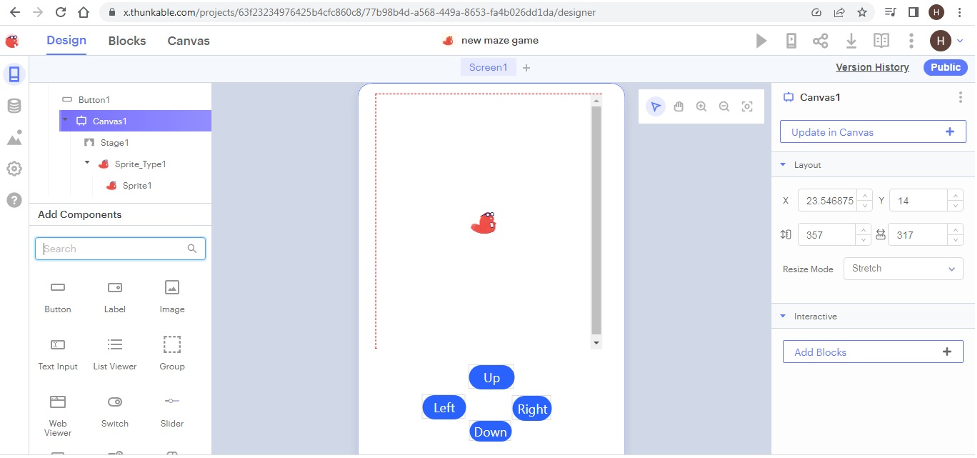
Add a “Button” component to the screen. This will regulate how the player moves in the game. As pressing this button will be the first thing players must do to start the game. We will create four buttons up, down, left and right to move the player.
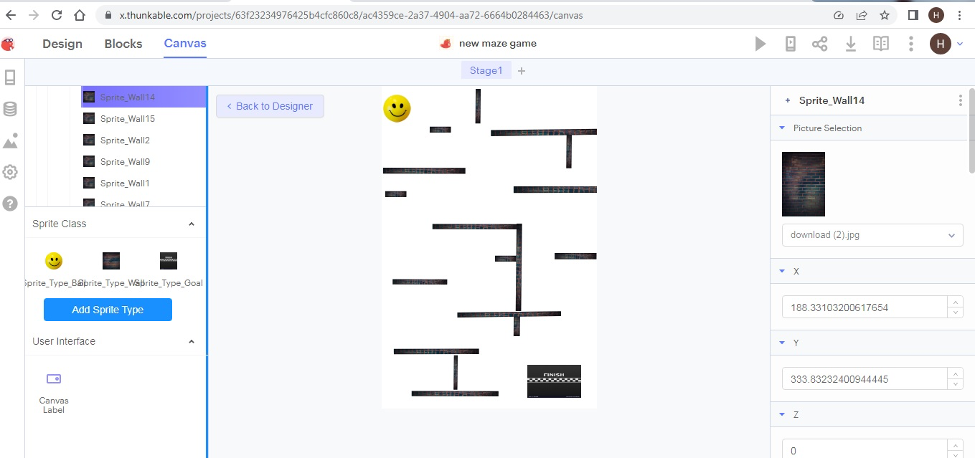
Step 2: Creating the Maze
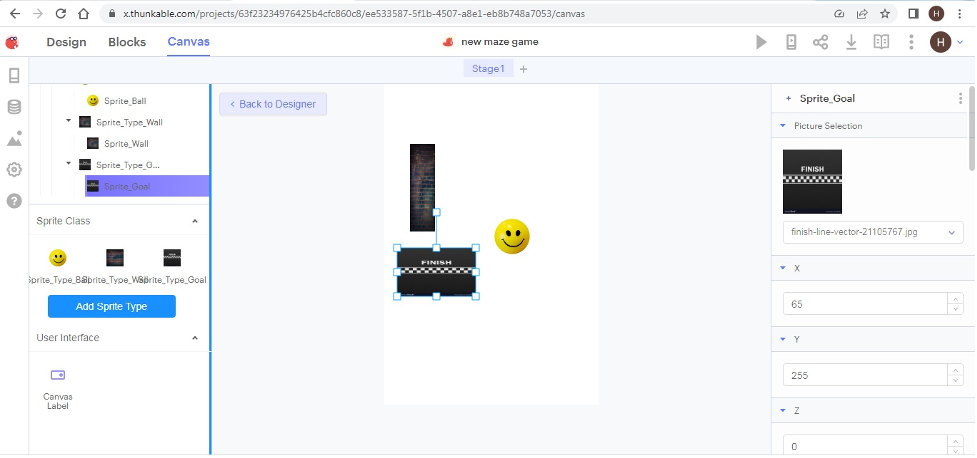
Now, it’s time to create the maze itself as our user interface is ready. We’ll add sprite types to the sprite class to draw the maze. We’ll add a sprite type ball, sprite type wall, and sprite type goal to the sprite class and upload their images.
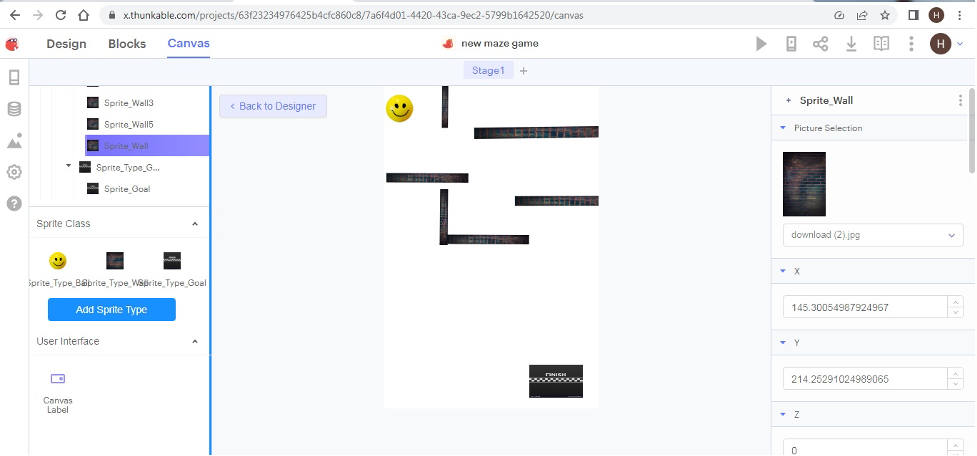
The maze’s walls will then be represented by a series of indistinct buttons. Drag and drop a “Button” component into the screen, then change the text and background colors to “None” to do this. Finally, modify the button’s dimensions and placement such that it aligns with one of the walls. Continue this procedure for each of the walls, being careful to properly align each button with the maze’s outline.
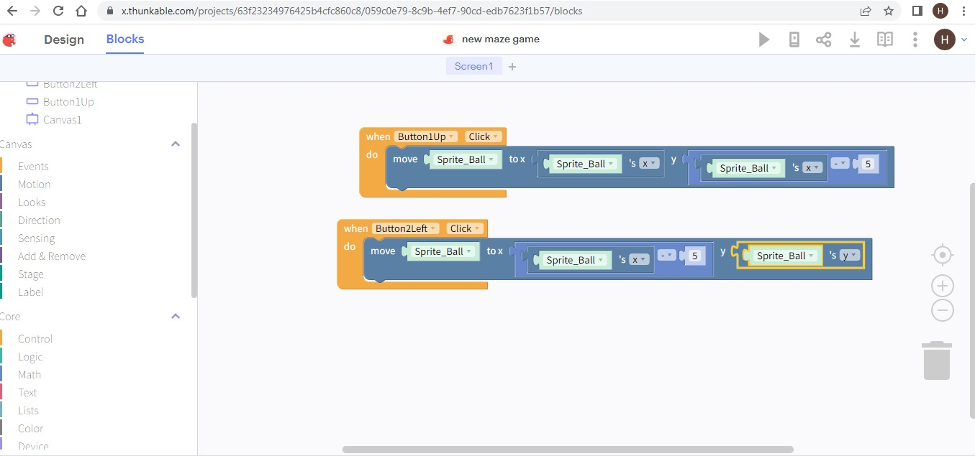
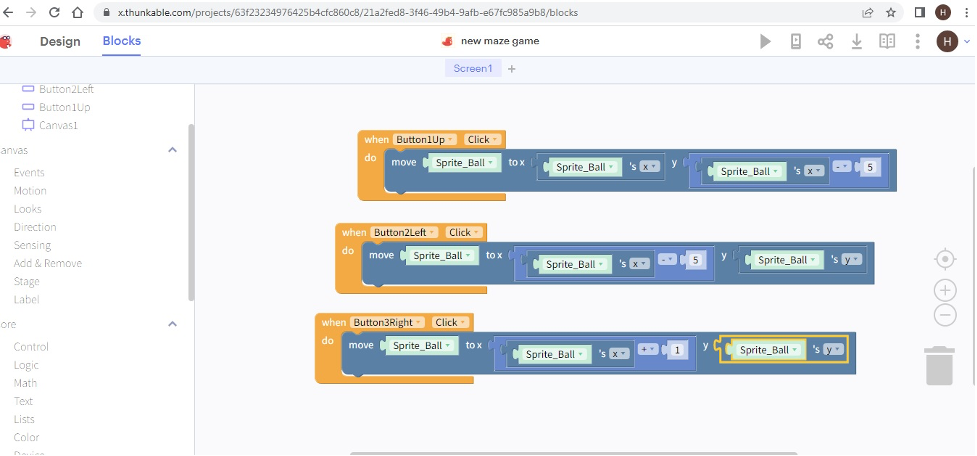
Step 3: Adding Player Movement
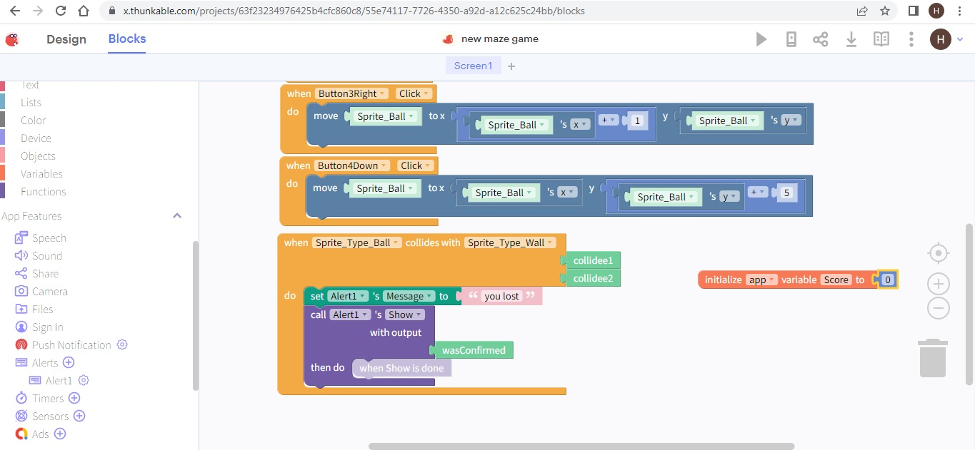
Now that we have the maze set up and the walls programmed, it’s time to add player movement. Next, we’ll use programming blocks to allow the player to move in different directions. We’ll need to programme all of the buttons to move the player in the game. Click on each button, then select the “Blocks” tab to complete the action. We will use Thunkable’s programming blocks to add this logic and use event blocks to move the sprite ball. You can click buttons up down left right to control the movement of the ball in the game.
Step 4: Adding Win/Lose Conditions
It’s time to include win/lose criteria in the game now that the maze and player movement have been established. To accomplish this, we’ll utilize programming blocks to determine when the player has reached the end of the maze or collided with a wall.
To detect when the player has collided with a wall, we’ll use the same “When Button Click” block that we used to program the maze walls. Next, we will add a programming block and detect when the sprite ball collides with the sprite wall and display “you lost”. If it is, we’ll add blocks that display a message to the player, indicating that they have lost the game.
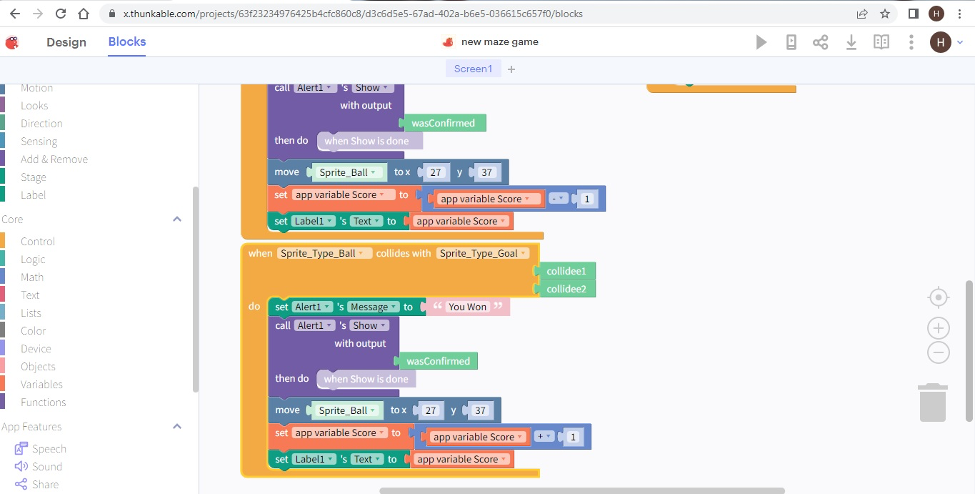
To detect when the player has reached the end of the maze, we’ll add a “When Image Click” block to the “Image” component for the end of the maze. Now, we will add a programming block and detect when the sprite ball collides with the sprite goal and display “you won”. If it is, we’ll add blocks that display a message to the player, indicating that they have won the game.
Step 5: Testing and Publishing the Game
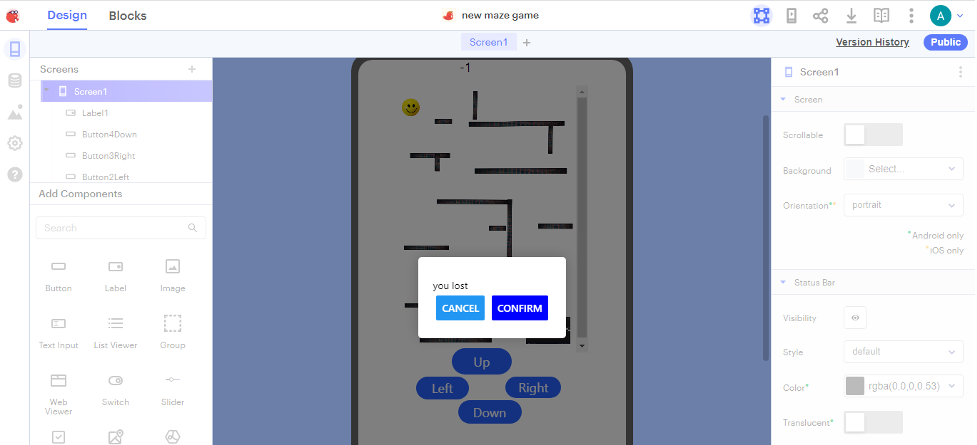
It’s time to check that everything is working properly by testing the maze game. The user interface, maze, player movement, and win/lose criteria of the maze game have been implemented. Choose the “Test” button in the upper right corner of the Thunkable screen to launch a game preview. Once you’ve pressed this button, you can play the game’s preview to make sure everything is working properly.
Conclusion
The process of creating a Maze game in Thunkable is enjoyable and just takes a few hours. The user interface, the maze, and player movement may all be designed, as well as win/lose conditions, by using the methods described in this article to develop a fully functional game. Thunkable is a great resource for getting started, whether you’re trying to develop your own programming abilities or make a fun and captivating game for people to enjoy.
The benefits of learning app development for kids doesn’t require prior knowledge of coding. At Codingal, kids start app development at a very young age. They learn concepts in coding through practical activities and creating fun projects.
Our specialized course in app development focuses on amplifying critical skills like problem-solving, game design, logical thinking, and building complex games using text-based programming.
Try a free class with us and see how your child can create their first functional game in under an hour!