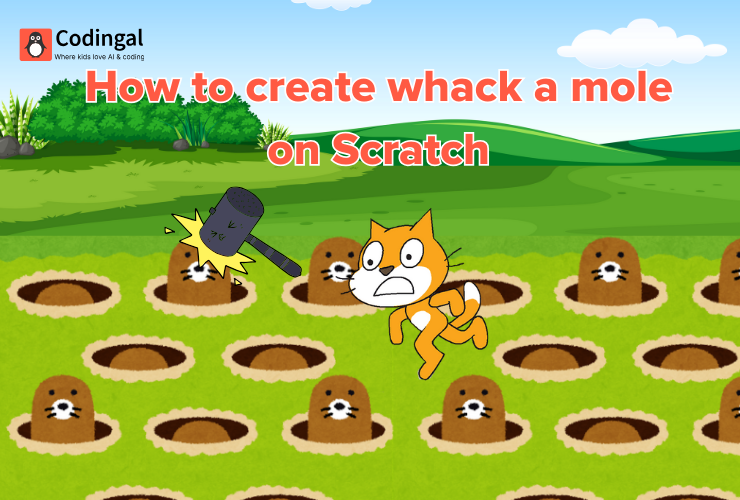
Ever wanted to create your own arcade game? Whac-A-Mole is a classic, fast-paced game where you try to hit moles as they pop up from their holes. It’s not only incredibly fun to play but also a fantastic project for learning the basics of game development and coding. And the best part? You can build your very own version using Scratch, a free and easy-to-use visual programming language developed by MIT. This blog post will guide you step-by-step through the process of creating your own Whac-A-Mole game in Scratch, perfect for beginners and aspiring game developers!
Getting Started: Setting Up Your Scratch Project
Before we dive into coding, let’s set up our Scratch project. You’ll need to create a new project on the Scratch website (scratch.mit.edu) or desktop editor.
1. Choose Your Sprites
For a Whac-A-Mole game, you’ll primarily need two main sprites:
- The Mole: This will be the character that pops up and down. You can choose an existing sprite from the Scratch library (like a bear, cat, or even a ghost!) and rename it “Mole,” or draw your own.
- The Hammer (or Mallet): This will be the tool you use to “whack” the mole. You can draw a simple hammer sprite or find one that fits your game’s theme.
Steps to create and choose a sprite in Whack a mole:
- Delete the default Cat Sprite: Click the trash can icon on the cat sprite in the sprite pane.
- Choose a new sprite for your Mole: Click on the “Choose a Sprite” icon (the cat head) and search for a suitable character. Once selected, rename it to “Mole” in the sprite information area.
- Choose a new sprite for your Hammer: Repeat the process for the hammer sprite and rename it “Hammer.”
2. Design Your Backdrop
Your game needs a background! A simple backdrop with a few holes would be perfect for a Whac-A-Mole game. You can draw your own or use one from the Scratch library. Choose a Backdrop: Click on the “Choose a Backdrop” icon (the picture icon) and select a backdrop that fits your game. You might want something simple like “Grassland” or “Desert.” You can also draw your own backdrop with holes for the moles to pop out of.

Coding the Mole: Making it Appear and Disappear
This is where the magic happens! We need to make our mole sprite pop up from different locations and then disappear. We’ll use a combination of hide, show, go to x y, wait, and create clone of myself blocks.
1. Initial Setup for the Mole
First, let’s set up the mole so it’s hidden when the game starts and ready to be cloned.
Code for the Mole Sprite:
Plain Text
when green flag clicked hide set size to (50) % // Adjust size as needed
2. Creating Mole Clones
To make multiple moles appear from different holes, we’ll use clones. The original mole sprite will act as a
template for its clones.

Code for the Mole Sprite (continued):

Plain Text

when green flag clicked hide set size to (50) %

// Adjust size as needed

forever wait (pick random (1) to (3)) seconds create clone of [myself]

end
3. What Clones Do: Pop Up and Down
Now, let’s define what each mole clone does when it’s created. It should appear at a random position, wait for a short time, and then disappear.
Code for the Mole Sprite (continued – for clones):
Plain Text
when I start as a clone go to x (pick random (-200) to (200))

y (pick random (-100) to (100))

// Adjust coordinates for your holes

show wait (pick random (0.5) to (1.5)) seconds

hide delete this clone
Coding the Hammer: Making it Whack!
The hammer sprite needs to follow the mouse pointer and react when it clicks on a mole.
1. Hammer Follows Mouse
Code for the Hammer Sprite:
Plain Text
when green flag clicked forever go to [mouse-pointer] end2. Whacking the Mole
When the hammer is clicked and touching a mole, we want the mole to disappear and the score to increase. We’ll need to
create a variable for the score.

Code for the Mole Sprite (continued - for clones):
Plain Text
when I start as a clone go to x (pick random (-200) to (200))

y (pick random (-100) to (100))

show wait (pick random (0.5) to (1.5)) seconds

if <touching [mouse-pointer]?> and <mouse down?>

then change [score] by (1) hide delete this clone

else

hide

delete this clone

end
Adding Score and Timer
To make the game more challenging and track progress, we’ll add a score and a timer.
1. Create Score and Timer Variables
Go to the “Variables” category and click “Make a Variable.” Create two new variables: score and time.
2. Initialize Score and Timer
Set the initial score to 0 and the timer to a set amount (e.g., 30 seconds) when the game starts.
Code for the Stage (or a new ‘Game Manager’ sprite):
Plain Text
when green flag clicked

set [score] to (0) set [time] to (30)

start sound [game music]

// Optional: add background music repeat until <(time) = (0)> wait (1) seconds change [time] by (-1) end broadcast [game over]
Making it Fun: Sound Effects and Game Over
Adding sound effects and a clear game over screen will make your game more engaging.
1. Sound Effects
Add sounds for when a mole is whacked and for the game over event.
Code for the Mole Sprite (continued – inside the ‘if touching mouse-pointer’ block):
Plain Text
if <touching [mouse-pointer]?> and <mouse down?>

then

change [score] by (1) start sound [pop]

// Add a 'pop' or 'whack' sound hide delete this clone

else

hide delete this clone end
2. Game Over Screen
Create a new backdrop or sprite for the “Game Over” screen.
Code for the Stage (continued):

Plain Text

when I receive [game over]

switch backdrop to [Game Over Backdrop]

// Create a new backdrop for Game Over stop all sounds say (join [Your final score: ] (score)) for (5) seconds

stop [all]
Conclusion
Congratulations! You’ve just created your very own Whac-A-Mole game in Scratch. You’ve learned about creating sprites, using clones, handling user input, managing variables, and adding sound effects. This project is a fantastic stepping stone for more complex game development. Don’t be afraid to experiment, add new features, or customize your game with different characters and backdrops. The possibilities are endless in Scratch! Happy coding!