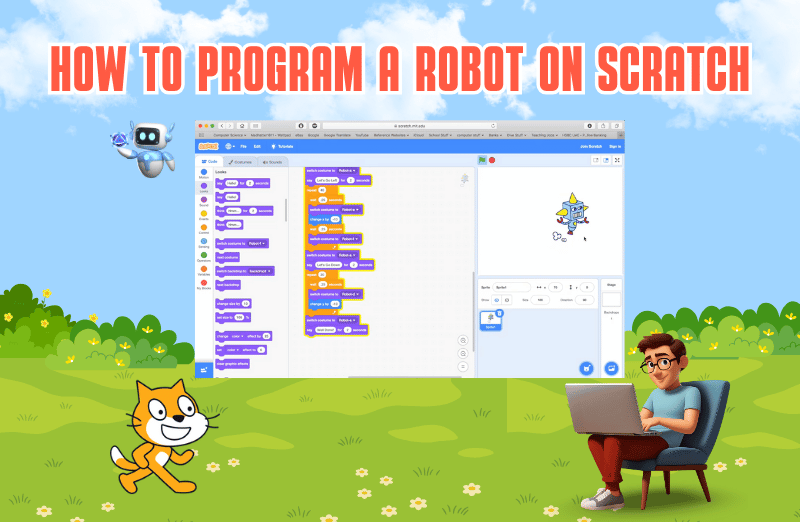
Introduction
Programming a robot may sound more like advanced or something only experts can do, but with Scratch, of course it’s easy and fun! Through block-based coding language that’s perfect for beginners, especially kids. It lets you control robots and create awesome interactive projects using simple drag-and-drop blocks.
By the end of this article, you will be able to clearly understand how to program a robot on Scratch in a way that’s simple to understand, even if you’re just starting out.
What is Scratch?
Scratch is a free coding platform where you use blocks to create stories, games, and animations. Designed especially for kids so that the journey to code is easy and fun. But did you know Scratch can also be used to control real robots?
With the help of Scratch extensions and robot kits, you can make robots move, turn, light up, and even interact with the environment. It can range from a LEGO WeDo, mBot, or another robot, Scratch can be your starting point for learning how to program robots.

Step by step guide to make a robot on Scratch
Here is the step by step guide to make the robot using Scratch programming:
Step 1: Getting Started with Your Robot and Scratch
Here are the basic things you will need to have in order to start with your robot and scratch.
- A Robot Kit: Some popular beginner-friendly robot kits that work with Scratch include LEGO WeDo, mBot, and Edison. These robots come with motors, sensors, and wheels that you can control through coding.
- Scratch Software: You can use the online version of Scratch from the website or even install the app.
- Scratch Extensions: To connect your robot to Scratch, you’ll first need to add an extension that enables Scratch to communicate with your robot.
Step 2: Adding a Scratch Extension for Your Robot
Here’s how to add an extension in Scratch:
- Click the “Extensions” button at the bottom left of the screen.
- Search for your robot’s extension. If you’re using LEGO WeDo, select the “LEGO WeDo 2.0″ extension. For mBot, choose the “mBot extension”, and so on.
Learn more: Scratch Extensions: How to Unlock New Features
Step 3: Moving Your Robot
Now that your robot is connected, let’s start programming! One of the simplest things you can do is make your robot move.
Let’s say you want your robot to move forward. In Scratch, you’d use a block like this:
when green flag clicked
  move robot forward
This block tells the robot to move forward when you press the green flag, which is the start button in Scratch.
You can also control how far the robot moves by adding a number to the block:
move robot forward for 2 secondsThis command will make the robot move forward for 2 seconds and then stop.
Step 4: Turning Your Robot
Besides moving forward, you might want your robot to turn left or right. Here’s how you can program that in Scratch
|
| turn robot right for 1 second |
Step 5: Using Sensors to Make the Robot Smarter
Many robots come with sensors that help them detect obstacles, follow lines, or respond to light. With Scratch, you can program your robot to use these sensors.
For example, if your robot has a distance sensor, you can program it to stop when it detects an object in front of it:
when distance to object is less than 10
  stop robot
This block tells the robot to stop moving if something comes closer than 10 units (which could be centimeters or inches, depending on your robot).
You can also use sensors to make the robot respond to light, sound, or touch.
Step 6: Adding Loops for Repeated Actions
What if you want your robot to keep moving in a loop, like driving around continuously? You can use loops in Scratch to repeat actions.
Here’s an example of a loop that makes the robot move forward and then turn repeatedly:
forever
  move robot forward for 2 seconds
  turn robot right for 1 second
This block will make the robot keep moving forward and turning in a loop forever, or until you stop it.
Step 7: Programming Interactive Behavior
One of the most fun parts of programming robots is making them respond to their environment. You can program your robot to react to different events.
For example, you can program the robot to make a sound when it bumps into something:
when distance to object is less than 5
  stop robot
  play sound "beep"
This makes the robot stop and play a sound when it gets close to an object.
Step 8: Creating a Complete Robot Program
Now that you’ve learned the basics, you can put everything together into a complete program. For example, you could make a robot that moves forward, turns, avoids obstacles, and plays sounds.
Here’s a simple program for a robot that explores a space while avoiding walls:
forever
  move robot forward
  if distance to object is less than 10
      stop robot
      turn robot right for 1 second
This program makes the robot move forward, and if it detects an object (like a wall) within 10 units, it stops and turns right before continuing.
Conclusion
Programming your robot on Scratch is a fantastic way to learn coding and robotics, even From moving and turning to using sensors and creating loops, you now know the basics to get started. With practice, you can create even more advanced and exciting projects where your robot performs all sorts of cool tasks!
Jump right on to fun coding camps, where your kids learn to adapt to the digital world of coding through simple and fun learning experiences! Let them join their first trial class today!
Encourage learning everywhere you go and have fun with your coding journey!