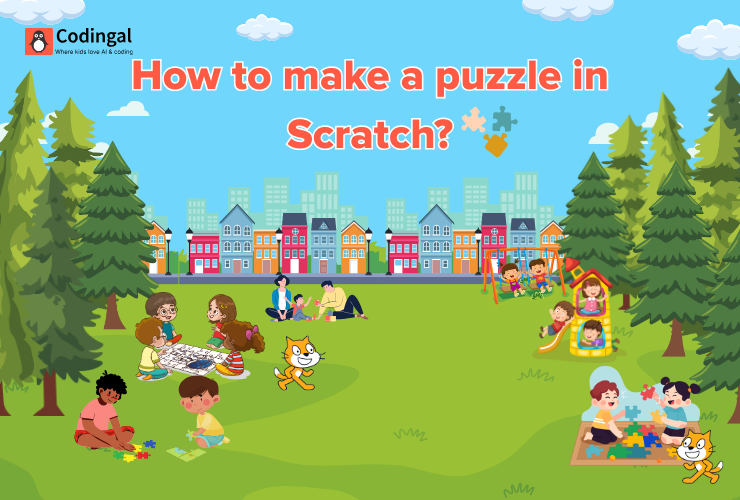
Creating a puzzle on Scratch is a fun and easy way to learn coding. Regardless the fact that you are new to Scratch or already familiar with its block-based coding, this article will guide you step-by-step on how to make your own puzzle game.
Step by step guide to make puzzle on Scratch
Here is the step by step guide to make the puzzle on scratch:
Step 1: Create Puzzle Pieces
For a jigsaw puzzle, you’ll need to first create sprites (characters of your own preference) that represent each puzzle piece. You can either utilise the Scratch’s built-in tools or upload your own images.
Step 2: Design the Puzzle Background
This can be as simple as a plain background, or you can design any outline of where each puzzle piece should go.
To create a backdrop in Scratch:
- Click on the “Stage” and then “Backdrops.”
- Draw or upload a background that will help the player know where to place the pieces.
Step 3: Program the Movements
The next step is to make the puzzle pieces movable. This means the player can click and drag the pieces to move them around the screen. And in Scratch you can do this by programming the code blocks given.
Start with this:
when green flag clicked

go to random position

set drag mode to draggable- This code will then make the puzzle piece start at any spot and allow it to be dragged by the player. For each puzzle, keep applying this code repeatedly.
Step 6: Correct Snap Pieces
When we play solve a puzzle, we usually enjoy it when the pieces snap and becomes a match! Well, to have na effect just like that on your puzzle, we create the ‘snap’ effect. Here’s how to do it:
- For each piece, you need to know where it should be placed on the screen. Let’s say “Piece 1” should go to a specific x and y position.
Add this code for each puzzle piece:
when I receive [drag finished v]
  if touching (the correct spot) then
      go to [x: (insert x position here) y: (insert y position here)]
      set drag mode to not draggable
This code checks if the piece is touching the right area or not. And if the right puzzle is attached to it, then the effect of ‘snap’ will appear.
Repeat this for all the puzzle pieces, making sure to adjust the x and y positions for each one.

Step 7: Check if the Puzzle is Complete
To make the game more fun, you’ll want to have some way to check if the player has finished the puzzle. You can do this by checking if all the pieces are in the right position.
Here’s one way to do it:
- Create a variable called “Puzzle Complete.”
Set this variable to 0 at the start of the game:
when green flag clicked
  set [Puzzle Complete v] to 0
Every time a piece snaps into place, increase the variable by 1:
if touching (the correct spot) then
  go to [x: (insert x position here) y: (insert y position here)]
  change [Puzzle Complete v] by 1
Finally, when all the pieces are in place, display a “You Win” message:
if [Puzzle Complete v] = (number of pieces) then
  say [You Win!] for 2 seconds
Step 8: Test Your Puzzle
Now that you’ve programmed all the pieces, it’s time to test your puzzle. Click the green flag to start the game and try dragging the pieces to see if they move and snap into place correctly.
If something isn’t working, go back and check your code to make sure all the pieces are in the right positions and the code is correct.
Conclusion
Congratulations! You’ve now learned how to create a simple jigsaw puzzle in Scratch! You can now use the same steps to create different types of puzzles in the future according to your liking.
Jump right on to code camps for kids, where your kids learn to adapt to the digital world of coding through simple and fun learning experiences! Let them join their first trial class today!
Encourage learning everywhere you go and have fun with your coding journey! Happy Coding!