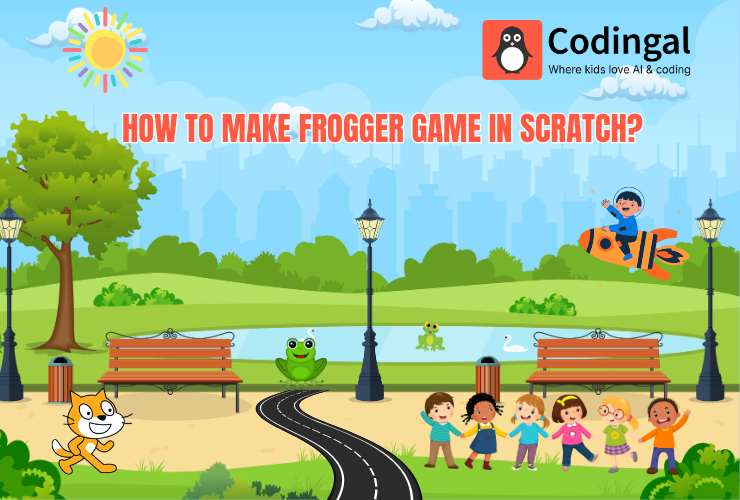
Creating your own Frogger-style game in Scratch is one of the best ways for kids to learn animation, keyboard controls, collision detection, and game logic—all while building a fun and exciting project. In this step-by-step guide, we’ll walk through everything you need to build a classic Frogger game where the frog crosses a busy road without getting hit.
This frogger game in scratch tutorial is designed for beginners, so kids aged 7+ can easily follow along.
What Is Frogger?
Frogger is a classic arcade game where the player controls a frog. The goal is to reach the finish line safely by avoiding moving cars. This teaches essential coding skills like coordinates, movement, loops, and conditionals.
What You Will Learn in Frogger Game?
By building Frogger in Scratch, kids will learn:
- How to move a character using arrow keys?
- How to animate cars and obstacles?
- How to detect collisions?
- How to reset the character when it loses?
- How to create win/lose conditions?
- How to use loops and events effectively?
Step 1: Set Up Your Scratch Project
Open scratch.mit.edu and click Create.
- Delete the default cat sprite.
- Choose a frog sprite from the library (or draw your own).
- Select a road background or draw your own with multiple lanes.
- Tip: Use clear lane markings so the game looks more realistic.
Step 2: Add Frog Movement (Arrow Keys)
Select your frog sprite and add the movement code:
Move Up
when [up arrow] key pressed
change y by 10

Move Down
when [down arrow] key pressed
change y by -10

Move Right
when [right arrow] key pressed
change x by 10

Move Left
when [left arrow] key pressed
change x by -10
Your frog can now move freely across the screen.
Step 3: Create Traffic (Car Sprites)
- Add a car sprite from the library.
- Duplicate it to create 3–6 cars across different lanes.
- Change each car’s color to make them unique.
Step 4: Animate the Cars
Add this code to each car sprite:
when green flag clicked
go to x: -240 y: (lane position)
forever
   move 10 steps
   if <touching edge> then
      go to x: -240 y: (same lane)
   end
end
Cars in different lanes should have different speeds. Some can move faster to make the game more challenging.
Step 5: Detect Collision With Cars
Add this code to the frog sprite:
forever
   if <touching [car]> then
      go to x: 0 y: -150   // starting position
      play sound [pop]
   end
end
Step 6: Add a Winning Goal
Create a grass area or finish line at the top.
Add this code to the frog:
forever
   if <touching [finish line]> then
      say [You Win!] for 2 secs
      stop all
   end
end
Step 7: Add Sound & Difficulty Levels
Add sound effects such as collision sounds, winning cheers, and background music.
To increase difficulty in the frogger game in scratch by:
- Increase car speed
- Add more lanes
- Make cars come from both directions

Step 8: Add a Score System
Create a variable called Score.
Reset the score:
when green flag clicked
set [Score] to 0
Increase score when the frog reaches the finish line:
change [Score] by 1
Step 9: Add Lives
Create a variable called Lives, set to 3.
change [Lives] by -1
if <(Lives) = 0> then
   say [Game Over] for 2 secs
   stop all
end
Step 10: Polish Your Game
To polish your frogger game in Scratch you can:
- Add instructions on screen
- Add a title card
- Improve sprite costumes
- Create smoother lane graphics
- Add a countdown timer
- Add logs on water, moving platforms, night mode, and random car speeds
Final Thoughts
Building a Frogger game in Scratch is an excellent way for kids to learn programming fundamentals like loops, conditions, variables, and game design. Encourage your child to experiment, add their own twist, and make the game uniquely theirswith Codingal guiding them every step of the way.