Introduction
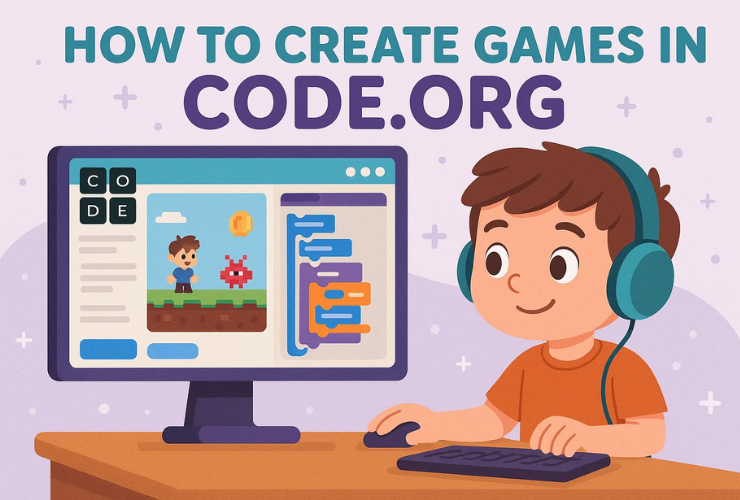
Code.org is one of the best platforms for beginners to learn how to code, especially for kids. With its interactive tutorials and drag-and-drop coding blocks, Code.org makes learning programming fun and easy. And what’s more fun than to learn how to create a game in Code.org?
In this guide, we will show you how to create a simple game in Code.org using its App Lab feature. Whether you’re new to coding or looking to improve your skills, this tutorial will walk you through the process of creating a game from scratch. By the end of this guide, you’ll know how to design your game, add movement and interactivity, and share your creation with friends and family.
What is Code.org?
Code.org is a nonprofit organization that provides free coding education. Their platform offers interactive courses for students of all ages, from beginners to more advanced learners. One of the most popular features of Code.org is the App Lab, a coding environment where kids can create interactive games, apps, and animations.
With block-based programming and JavaScript, App Lab helps beginners understand the core concepts of coding while making learning fun and interactive.
Why Create a Game on Code.org?
Creating games on Code.org is a great way to:
- Learn to Code: Game development teaches coding concepts like loops, variables, conditionals, and event handling in a fun and engaging way.
- Stimulate Creativity: You can customize everything, from characters and backgrounds to interactions and rules.
- Improve Problem-Solving Skills: Game design requires a lot of critical thinking and logic, which helps enhance problem-solving skills.
- Build Confidence: When you create something interactive, it gives you a sense of accomplishment and encourages you to keep learning.
Step By Step Guide on How to Create a game in Code.org
Let’s dive into creating your game on Code.org, here is the step by step guide:
Step 1: Set Up Your Code.org Account
Before starting your game project, you need to create an account on Code.org:
- Go to Code.org.
- Click Sign Up and create a free account with either an email or Google account.
- Once you’re signed in, navigate to App Lab. You’ll find this under the Create menu.
- Click on Create New Project to start building your game.
Step 2: Plan Your Game
Before jumping into coding, it’s essential to plan your game. Here are some questions to think about:
1. What type of game do you want to create?
- A simple maze game where a character avoids obstacles?
- A platformer where the player jumps between platforms?
- A space shooter where the player controls a spaceship and shoots enemies?
2. What will the game look like?
- What will the background look like?
- What characters or objects will be in your game?
3. How will the game play?
- Will the player move a character with the arrow keys or mouse clicks?
- What happens when the player wins or loses?
Once you have a basic idea, it’s time to start building!
Step 3: Create Your Game Screen in App Lab
Now, let’s create the basic layout for your game in App Lab.
Design the Game Screen:
- In the App Lab, you can add UI elements like buttons, labels, and images to design your game screen.
- Click on Design in the top menu to start adding the game interface.
Add a Background:
- Choose an image from the Media section, or upload your own background by clicking Upload Image.
- Drag the image to the Screen. Resize it if necessary to fit the whole screen.
Add Player Character:
- Choose a sprite or image for your player (like a character or ball).
- In the Design tab, drag the image to the screen. You can resize and move it around as you like.
Step 4: Add Movement to the Player
The next step is to make your player sprite move. To do this, you will use the “set property” block to control the player’s position based on the arrow keys or mouse.
- Go to the Code Tab:
- Under the Events section, drag the block that says “when (key) key pressed” to the workspace. This will allow your player to move when you press a key on the keyboard.
- Add Arrow Key Controls:
- Drag and drop the “set property” block into the workspace, and choose the X or Y coordinate to move the player horizontally or vertically.
- For example:
- When the right arrow key is pressed:
set player.X to player.X + 5 - When the left arrow key is pressed:
set player.X to player.X - 5 - When the up arrow key is pressed:
set player.Y to player.Y - 5 - When the down arrow key is pressed:
set player.Y to player.Y + 5
- When the right arrow key is pressed:
- Test the Movement:
- Click the Run button to test how your character moves on the screen. If everything works, you should be able to control the player using the arrow keys.
Step 5: Add Obstacles or Enemies
Now that your player is moving, let’s make the game more challenging by adding obstacles or enemies. You can use sprites like blocks, enemies, or spikes.
- Create Obstacle Sprites:
- Go to the Design tab and add an obstacle sprite (e.g., a red square for a spike or a green block for an enemy).
- Resize and place them around the game area.
- Add Collision Detection:
- In the Code tab, you will need to add code to check if the player touches an obstacle.
- For example:
when green flag clicked forever if (player is touching (obstacle)) // Code for losing the game (reset, show game over, etc.) end end - Make the Obstacles Move:
- You can add movement to obstacles. For example, make them move back and forth or up and down to increase the challenge.
- Use blocks like
change X byorchange Y byto animate the obstacles.
Step 6: Add Scoring and Winning Conditions
Every game needs a goal, so let’s add a score system and a winning condition.
- Create a Score Variable:
- Go to the Variables tab and click on Make a variable.
- Name it “score” and set its initial value to 0.
- Add the following code:
when green flag clicked set score to 0 forever // Increase the score based on time or actions change score by 1 end - Winning the Game:
- Create a winning condition, like reaching a goal or avoiding all obstacles.
- If the player meets the condition (e.g., touches a special flag), they win.
- Example:
when green flag clicked
forever
  if (player is touching [winning flag])
    say [You Win!] for 2 seconds
    stop all
  end
end
Step 7: Customize and Polish Your Game
Now that you have the basic gameplay, let’s customize and polish the game with the following additions:
- Sound Effects:
- Add sound effects for actions like winning, collisions, or moving by going to the Sound section.
- Example:
play sound [pop v] until done - Background Music:
- Add background music to enhance the experience. Simply drag and drop a music file into your project.
- Level System:
- Create multiple levels where the player has to overcome more difficult obstacles as they progress.
- Animations:
- Add simple animations to your characters or obstacles to make the game visually appealing.
Step 8: Share Your Game
Once you’re happy with your game, it’s time to share it with others!
- Save Your Game:
Click File > Save to save your project. - Share Your Game:
- You can share your game with friends and family by providing the share link generated by Code.org.
Conclusion
Congratulations! You’ve now learned how to create your own game in Code.org. From setting up player controls and obstacles to adding winning conditions and scoring systems, you’ve taken the first steps into the world of game development.
The beauty of coding is that there’s always room for improvement and creativity. Now that you know the basics, you can add new features, tweak the design, and create even more exciting games. Whether you’re interested in creating action-packed platformers or peaceful puzzle games, Code.org offers the perfect environment to experiment and learn.
👉 Ready to take your coding skills to the next level? At Codingal, we offer interactive coding classes for kids where they can build even more advanced projects, including games, apps, and websites.
✨ Book a Free Trial Class today and start creating the next big game!
