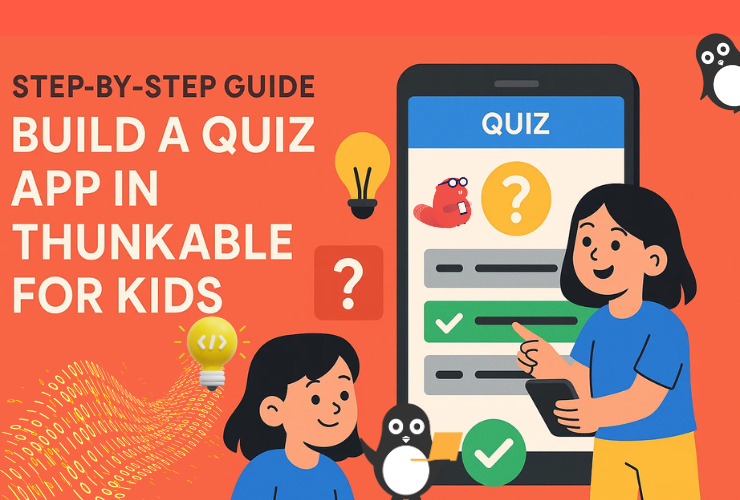
💡 Introduction: Turn Curiosity Into Code
Have you ever played a fun quiz game and thought, “Hey, I could make one of these!”?
Well, with Thunkable, you can!
Thunkable lets you build your own mobile app using colorful coding blocks — no typing or tricky syntax needed. In this tutorial, you’ll learn how to create a Quiz App from scratch — one that asks questions, checks answers, and keeps score!
By the end, you’ll have your very own quiz game that works on your phone or tablet. Ready to become a quiz-app creator? Let’s dive in! 🚀
🎯 What You’ll Learn
- How to design your quiz screens in Thunkable
- How to add questions and answer buttons
- How to use variables to keep score
- How to give instant feedback to players
- How to display the final score at the end of the game
🧰 What You’ll Need
- A free Thunkable account
- The Thunkable Live app on your phone (to test your quiz instantly)
- A few fun questions and answers of your own
- About 45–60 minutes of creative time
🖥️ Step 1: Start a New Project
- Go to Thunkable.com and click Create New Project.
- Name it something fun like “My Quiz App”.
- You’ll see a blank mobile screen — this is your canvas where you’ll design your app.
💡 Tip: Use the Preview option to see how your app will look on a real phone.
🎨 Step 2: Design Your Quiz Screen
Let’s create the layout of the quiz screen!
Add Components:
- Label → Change its text to:
"Welcome to My Quiz!"
and make it bold and centered. - Label → This will show the question.
Name it QuestionLabel and set text to"Question will appear here". - Buttons → Add four buttons for the answer choices.
- Rename them: OptionA, OptionB, OptionC, OptionD.
- Change their text to “Option 1,” “Option 2,” etc.
- Label → Add a ScoreLabel to show score, set text to
"Score: 0". - Button → Add a Next Button and rename it NextButton.
- Text: “Next Question”
- Disable it at first (you’ll enable it later through code).
Your screen should now look like a mini gameboard with one question and four choices.
🔣 Step 3: Add Quiz Logic With Blocks
Now it’s time to make your quiz come alive with coding blocks!
- Go to the Blocks tab at the top.
- Add a list variable called
questions.
initialize variable questions to
[
  { "question": "What planet do we live on?", "A": "Mars", "B": "Earth", "C": "Venus", "D": "Jupiter", "answer": "B" },
  { "question": "Which animal is known as the king of the jungle?", "A": "Lion", "B": "Tiger", "C": "Elephant", "D": "Zebra", "answer": "A" },
  { "question": "How many legs does a spider have?", "A": "6", "B": "8", "C": "10", "D": "12", "answer": "B" }
]
- Create a variable
indexand set it to 1. - Create a variable
scoreand set it to 0.
🧠 Step 4: Display the First Question
When the screen opens, show the first question from your list.
when Screen Opens →
  set QuestionLabel.Text to questions[index].question
  set OptionA.Text to questions[index].A
  set OptionB.Text to questions[index].B
  set OptionC.Text to questions[index].C
  set OptionD.Text to questions[index].D
This tells the app which question and answers to display.
🎯 Step 5: Check If the Answer Is Correct
Now make the buttons interactive!
You’ll use the same code for each button but change the answer letter.
Example for ButtonA:
when OptionA.Click →
  if OptionA.Text = questions[index].(questions[index].answer) then
    change Score by +1
    set ScoreLabel.Text to "Score: " + Score
    show alert "Correct!"
  else
    show alert "Oops! Try again."
  set NextButton.Enabled to true
Repeat the same logic for OptionB, OptionC, and OptionD, changing the button name each time.
💡 Tip: You can copy and paste blocks, then just edit the button names.
⏭️ Step 6: Move to the Next Question
Now program your Next Button.
when NextButton.Click →
  change index by +1
  if index ≤ length of list questions then
    update QuestionLabel.Text and options to next question
    set NextButton.Enabled to false
  else
    open another screen "ResultScreen"
This tells the app to show the next question or end the quiz when you reach the last one.
🏁 Step 7: Create a Result Screen
- Click the “+” icon to add a new screen.
- Name it ResultScreen.
- Add a Label called ResultLabel.
- Add a Button called RestartButton with text
"Play Again".
Now code it:
when ResultScreen Opens →
  set ResultLabel.Text to "Your Final Score is " + score + " / " + length of list questions
And to restart:
when RestartButton.Click →
  open another screen "Screen1"
🎉 Step 8: Customize Your Quiz
Make your quiz colorful and exciting!
- Add background colors or images.
- Include sound effects when an answer is correct or wrong.
- Add animations or emojis for fun feedback.
- Replace general knowledge questions with your favorite topics — cartoons, Minecraft, math, science, or sports!
📱 Step 9: Test on Your Phone
- Open the Thunkable Live app on your device.
- Log in with the same account.
- Tap your project name — and play your quiz!
Fix any small mistakes (like button labels or order) and keep testing until everything feels smooth.
🧩 Step 10: Share and Show Off Your App!
When your quiz works perfectly:
- Click Download → export as an Android or iOS app.
- Share it with friends and family — challenge them to beat your score!
- You can even publish your app on Google Play or App Store later.
💡 Tip: Keep your question list short and fun. You can always add new ones later!
🧠 What Kids Learn by Building This App
| Concept | What It Teaches |
|---|---|
| Variables | How to store and update data like score or question number |
| Lists | Managing multiple questions and answers |
| Conditions (If-Then) | Checking if answers are correct |
| Events | Making buttons interactive |
| UI Design | Creating simple, readable, and fun layouts |
| Problem Solving | Planning logic and debugging errors |
Building a quiz app teaches the fundamentals of computational thinking in the most fun way possible! Do check out our Thunkable for kids course?
🧑🏫 Teacher & Parent Tip
Encourage kids to:
- Work in pairs — one designs, one codes.
- Present their quiz to the class or family.
- Reflect afterward: “What did I learn today?” or “What will I add next?”
This helps reinforce confidence and curiosity.
🌈 Conclusion: Learn, Play, and Create!
Building a Quiz App in Thunkable isn’t just about coding—it’s about turning creativity into something you can see, touch, and share.
Thunkable gives kids the power to bring their ideas to life while learning real-world app development skills in a playful, visual way.
At Codingal, we help kids take this journey even further by guiding them step-by-step through app development, from their first drag-and-drop project to advanced interactive apps. With expert teachers, exciting lessons, and real results, we make learning to code fun, meaningful, and future-ready.
So, open Thunkable today, start your first project, and code your own quiz adventure!
Because every coder starts with a simple idea — and yours might just be the next big hit! 🚀


