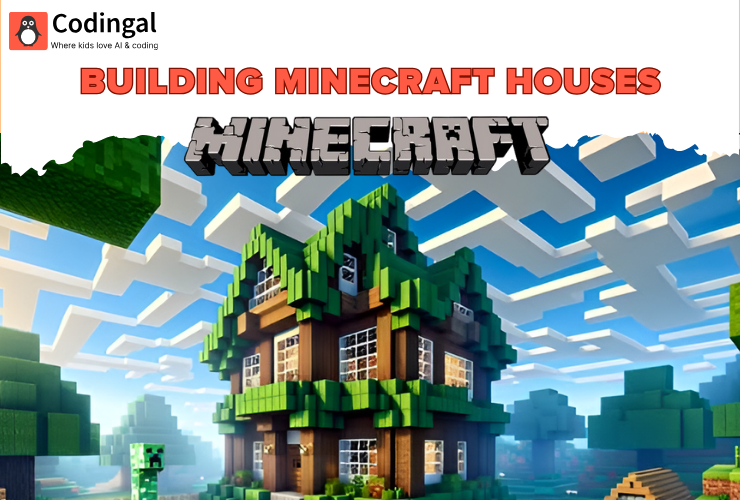
Introduction to the Minecraft House
Welcome to the wide, blocky world of Minecraft! As you take your first steps, you’ll quickly realize that this isn’t just a game of exploration; it’s a game of survival. When the sun sets and the world darkens, strange and dangerous creatures emerge from the shadows. To survive your first night and beyond, you’ll need a safe place to call home. That’s where building your first house comes in – it’s a rite of passage for every Minecraft player and the foundation for all your future adventures.
Building a house in Minecraft is more than just a practical necessity; it’s an expression of your creativity and a personal mark on the world. From a simple dirt hut to a magnificent castle, your home is your sanctuary, your workshop, and your base of operations. This guide will walk you through the essential steps of building your first house, from gathering materials to adding those final, cozy touches. Whether you’re a complete beginner or just looking for some fresh ideas, we’ll help you build a Minecraft home that’s both functional and fantastic.
Step 1: Gather Your Essential Materials
Before you can start building, you need to gather some basic materials. The most important resource for your first house is wood. Here’s how to get it:
- Find a Tree: Look for any type of tree (oak, birch, spruce, etc.).
- Punch the Wood: Walk up to the tree trunk, aim your cursor at a block of wood, and hold down the left mouse button (or the corresponding button on your controller). Your character will start punching the block until it breaks and drops a smaller, floating version of itself.
- Collect the Wood: Walk over the floating wood block to pick it up. It will be added to your inventory.
- Gather at least 10-15 wood blocks to start. Once you have wood, you can craft it into planks, which are the primary building blocks for your first house.
Crafting Basics: From Wood to Planks
- Open Your Inventory: Press the ‘E’ key (or the corresponding button on your controller) to open your inventory screen.
- Crafting Grid: You’ll see a small 2×2 crafting grid next to your character. Place your wood blocks into one of the slots in this grid.
- Create Planks: In the output slot, you’ll see wood planks appear. Each block of wood creates four planks. Click on the planks to move them into your inventory.
Now that you have wood planks, you can create a Crafting Table, which is essential for making more complex items.
Making a Crafting Table
- Open Your Inventory: Go back to your 2×2 crafting grid.
- Fill the Grid: Place one wood plank in each of the four slots.
- Craft the Table: A Crafting Table will appear in the output slot. Move it to your inventory.
Place your Crafting Table on the ground by selecting it in your hotbar and right-clicking on a clear spot. Now you have a 3×3 crafting grid, which you’ll need to make tools, doors, and other essential items.
Step 2: Choose a Location for Your House
Where you build your house is just as important as how you build it. Here are some tips for choosing a good location:
- Near Resources: Build near a forest for easy access to wood. Being close to a cave can also be helpful for finding coal and iron.
- Good Visibility: A flat, open area or the top of a small hill will give you a good view of your surroundings, making it easier to spot approaching monsters.
- Near Water: Water is useful for farming and can be a natural barrier against some monsters.
- Avoid Dangerous Areas: Stay away from dark forests, swamps, and deserts for your first house, as these can have more dangerous monsters.
- Mark Your Spot: Once you’ve found a good location, it’s a good idea to mark it with a tall pillar of dirt or a torch so you can find your way back if you get lost.
Step 3: Design and Build Your Basic House
Now for the fun part – building your house! For your first home, a simple square or rectangular shape is a good starting point. Here’s a step-by-step guide:
1. Lay the Foundation
- Outline the Shape: Use your wood planks to create the outline of your house on the ground. A 5×5 or 6×6 square is a good size for a starter home.
- Build the Walls: Once you have the foundation, build the walls up at least three blocks high. This will give you enough headroom to move around comfortably inside.
2. Add a Roof
- Simple Flat Roof: The easiest way to add a roof is to simply cover the top of your walls with more wood planks. This will keep out rain and prevent spiders from climbing in.
- Pitched Roof (Optional): For a more traditional look, you can create a pitched roof using stairs. Craft stairs from wood planks at your Crafting Table. Place them along the top edge of your walls, creating a sloped effect.
3. Craft and Place a Door
A door is essential for getting in and out of your house while keeping monsters out.
- Craft a Door: At your Crafting Table, arrange six wood planks in a 2×3 rectangle. This will create three doors.
- Place the Door: Leave a 1×2 opening in one of your walls. Select the door in your hotbar and right-click on the bottom block of the opening to place it.
4. Add Lighting
Monsters can spawn in dark areas, so it’s crucial to light up the inside of your house.
- Find Coal: Look for coal ore (stone blocks with black specks) in caves or on the sides of cliffs. Mine it with a pickaxe (you can craft a wooden one with sticks and planks).
- Craft Torches: At your Crafting Table, place one piece of coal above one stick. This will create four torches.
- Place Torches: Place torches on the walls or floor inside your house to keep it well-lit and safe.
Step 4: Furnish Your New Home
Now that you have a basic shelter, it’s time to add some essential furniture to make it a functional home:
- Bed: A bed allows you to sleep through the night and sets your spawn point, so if you die, you’ll reappear at your house. Craft a bed with three blocks of wool (from sheep) and three wood planks.
- Chest: A chest is used to store items you don’t want to carry with you. Craft a chest by arranging eight wood planks in a circle on your Crafting Table.
- Furnace: A furnace is used to smelt ores (like iron) and cook food. Craft a furnace with eight blocks of cobblestone (mined from stone) in a circle.
Step 5: Expanding and Improving Your House
Your first house is just the beginning! As you gather more resources, you can expand and improve your home in many ways:
- Add Windows: Smelt sand in a furnace to create glass, which you can craft into glass panes for windows. This allows you to see outside without letting monsters in.
- Upgrade Your Materials: Replace your wood walls with cobblestone or other stronger materials for better protection.
- Add More Rooms: Expand your house to include separate rooms for crafting, storage, enchanting, and sleeping.
- Start a Farm: Create a small farm outside your house to grow wheat, carrots, and other crops for a reliable food source.
- Build a Fence: A fence around your house will keep monsters away from your doorstep.
Conclusion: Your Home in the World of Minecraft
Congratulations, you’ve built your first house in Minecraft! You now have a safe place to rest, store your treasures, and plan your next adventure. Your home is a testament to your creativity and survival skills, and it’s a place you can be proud of.
Remember, there are no rules when it comes to building in Minecraft. Your house can be as simple or as complex as you want it to be. Experiment with different materials, shapes, and designs. Let your imagination run wild, and soon you’ll be building incredible structures that will be the envy of all your friends. Now, go forth and build your dream home in the world of Minecraft!


